
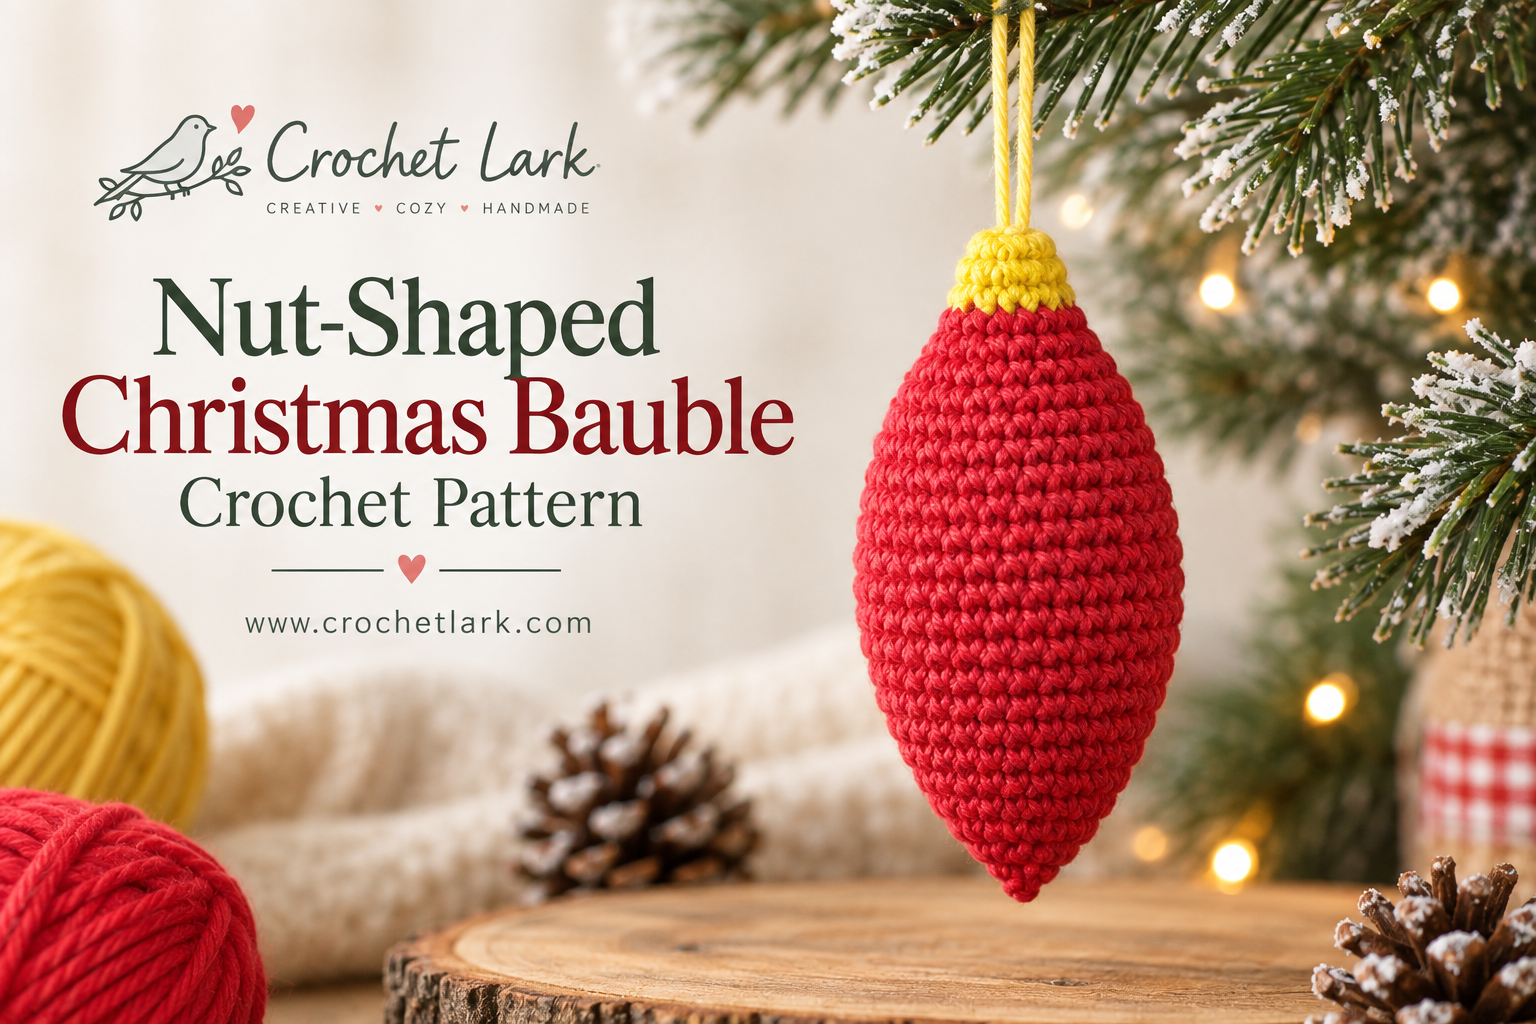
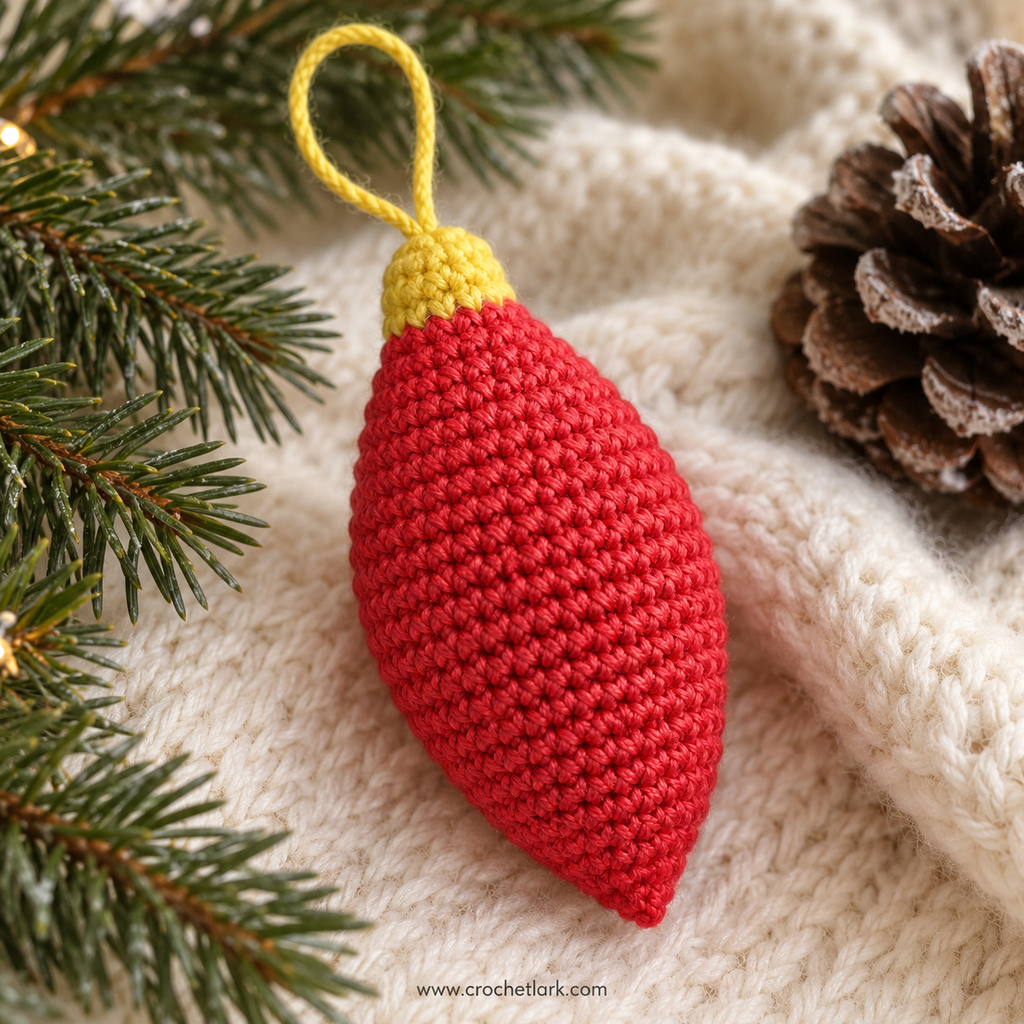
Add a different shape to your handmade Christmas decorations with this nut-shaped crochet bauble. The ornament has a plump red center, gently tapered ends, a small yellow top, and a matching yarn loop for hanging on the tree.
The project is worked mostly in single crochet using simple increases and decreases to create the shape. Because the entire ornament is crocheted as one piece, there are no separate body sections to sew together afterward.
It is a lovely small project for holiday decorating, handmade gift sets, festive garlands, or using up small amounts of DK yarn.
Quick Answer
This crochet Christmas bauble is made from the top down in continuous rounds. Begin with yellow yarn, switch to red for the main body, increase gradually until the ornament reaches its widest point, then decrease toward the pointed base. Stuff the bauble, close the final opening, and add a yellow yarn loop at the top. The reference project measures approximately 11 cm high by 5 cm wide.
Why You’ll Love This Project
This ornament uses a simple combination of single crochet, increases, and decreases, making the construction easy to follow once you are comfortable working in the round.
The shaping is created entirely through the stitch counts, so the recognizable tapered bauble form develops naturally as you crochet. The two-color design also keeps the project visually interesting without requiring complicated colorwork.
Because the finished ornament is small, it works well as a quick seasonal project and can easily be made in several color combinations.
Materials
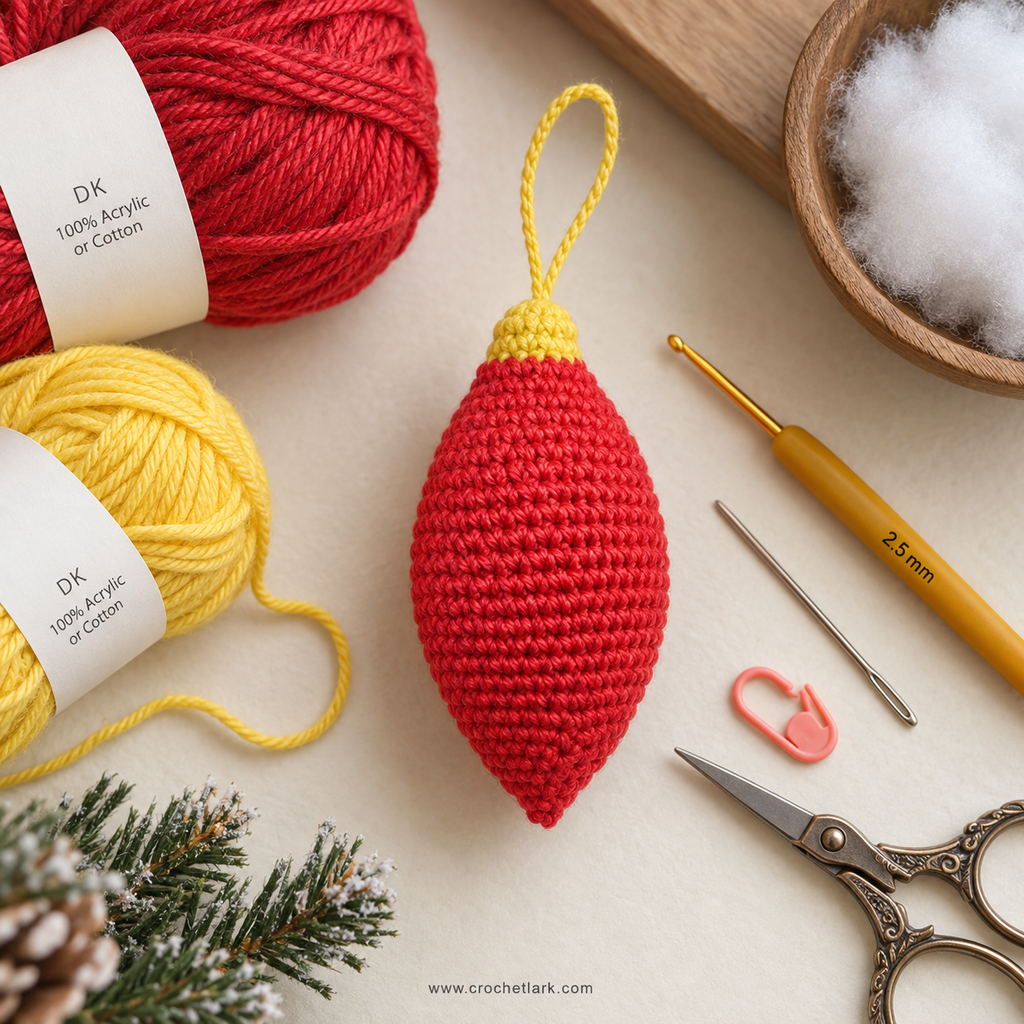
You will need:
- DK yarn in yellow — approximately 1 g / 2.3 m / 2.5 yd
- DK yarn in red — approximately 11 g / 25.5 m / 28 yd
- 2.5 mm crochet hook
- Polyester stuffing
- Tapestry needle
- Scissors
- Stitch marker
Finished Size
Using the referenced DK yarn and a 2.5 mm crochet hook, the finished bauble is approximately:
11 cm / 4.3 inches high, excluding the hanging loop
5 cm / 2 inches wide
Your finished dimensions may vary depending on yarn, hook size, and crochet tension.
Gauge
Gauge is not essential for fit, but the reference gauge is:
- 7 sc = 2.5 cm / 1 inch
- 7 rounds = 2.5 cm / 1 inch
Abbreviations
This pattern uses US crochet terminology.
- R – Round
- mc – Magic circle
- st / sts – Stitch / stitches
- ch – Chain
- sl st – Slip stitch
- sc – Single crochet
- inc – Increase
- dec – Decrease
- BLO – Back loop only
- FLO – Front loop only
- [ ] x n – Repeat the instructions inside the brackets the stated number of times
- (n) – Number of stitches at the end of the round
Before You Begin
The bauble is worked in a continuous spiral rather than joining at the end of each round. Place a stitch marker in the first stitch and move it up after every completed round.
A firm crochet fabric works best for stuffed ornaments because it prevents the filling from showing between the stitches.
The source pattern includes a chain after Round 2 while still identifying the project as worked in continuous rounds. Follow that chain as written; the stated stitch count remains 12.
Crochet Instructions
Yellow Top
Using yellow yarn:
R1: Make a magic circle and work 6 sc into the ring. (6)
R2: Inc in each stitch around, then ch 1. (12)
R3: Sc BLO around. (12)
R4–R5: Sc around. (12)
Change to red yarn.
Red Bauble Body
R6: [Sc, inc] x 6. (18)
R7: Sc around. (18)
R8: [2 sc, inc] x 6. (24)
R9: Sc around. (24)
R10: [5 sc, inc] x 4. (28)
R11–R12: Sc around. (28)
R13: [6 sc, inc] x 4. (32)
R14: Sc around. (32)
R15: [7 sc, inc] x 4. (36)
R16: [17 sc, inc] x 2. (38)
R17: 9 sc, inc, 18 sc, inc, 9 sc. (40)
R18–R20: Sc around. (40)
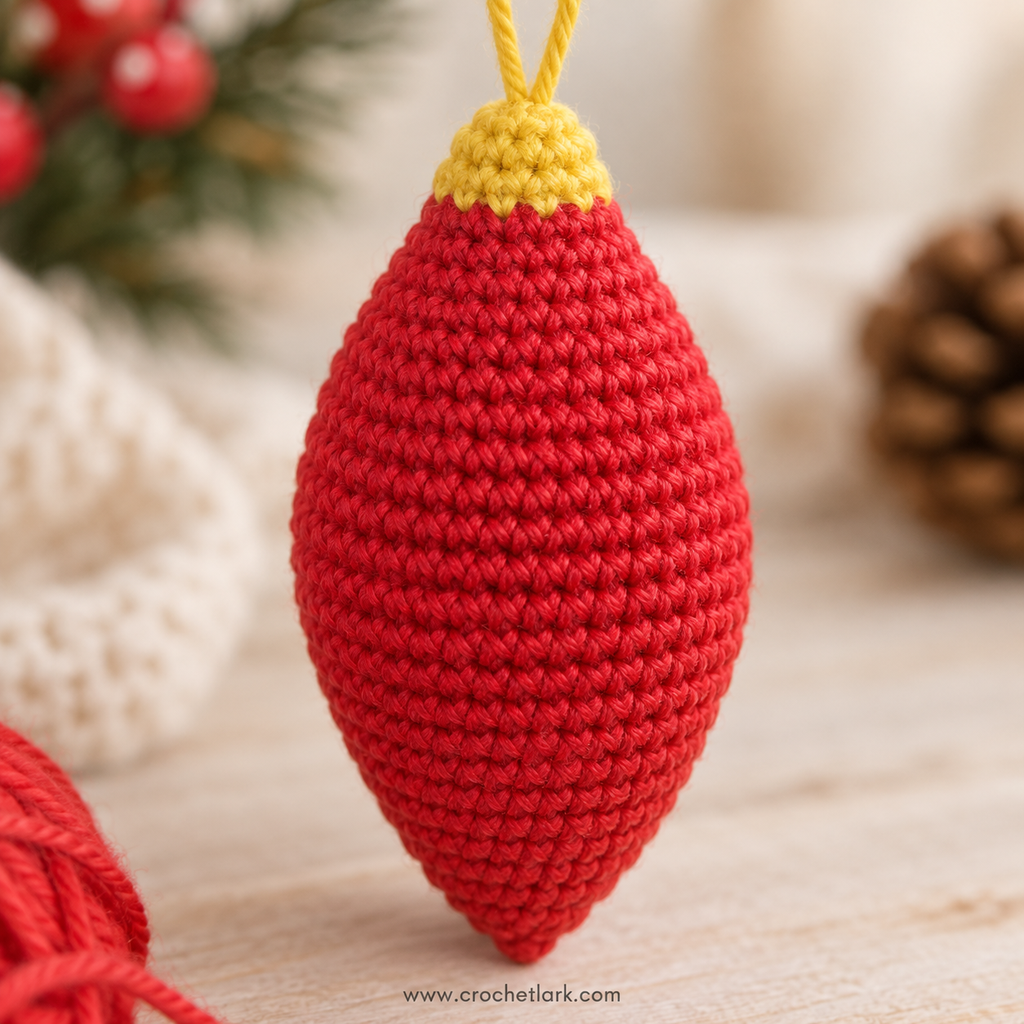
The center of the ornament is now at its widest point.
R21: 9 sc, dec, 18 sc, dec, 9 sc. (38)
R22: [17 sc, dec] x 2. (36)
R23: [7 sc, dec] x 4. (32)
R24: Sc around. (32)
R25: [6 sc, dec] x 4. (28)
R26–R27: Sc around. (28)
R28: [5 sc, dec] x 4. (24)
R29: Sc around. (24)
Stuff the ornament firmly. Continue adding small amounts of stuffing during the remaining rounds so the center stays full without stretching the stitches.
R30: [2 sc, dec] x 6. (18)
R31: Sc around. (18)
R32: [Sc, dec] x 6. (12)
R33: Sc around. (12)
R34: Dec x 6. (6)
Closing the Bauble
Cut the red yarn and fasten off, leaving a tail long enough to close the opening.
Thread the tail through a tapestry needle.
Pass the needle through the front loops of the final 6 stitches.
Pull firmly until the opening closes completely.
Secure the yarn and weave the remaining tail into the inside of the ornament.
Hanging Loop
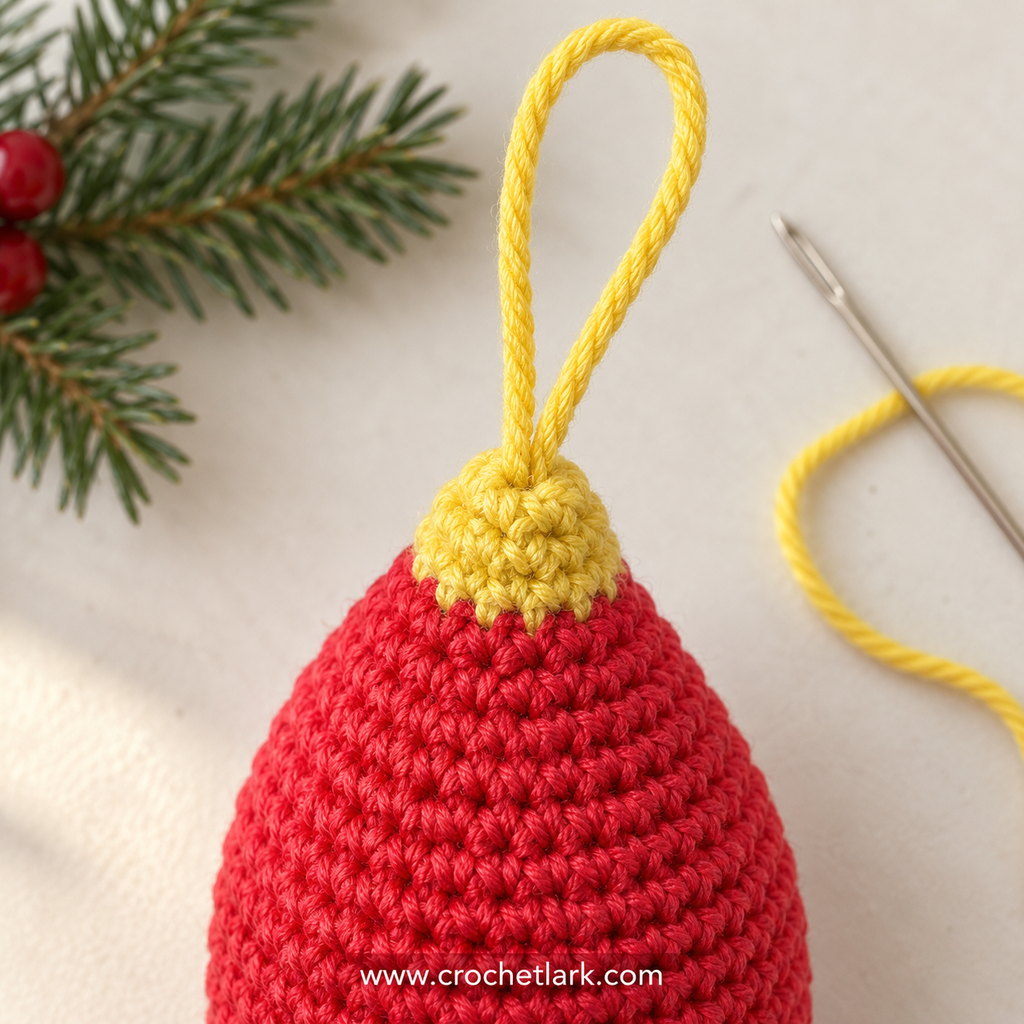
Cut approximately 40 cm / 16 inches of yellow yarn.
Using a tapestry needle, pass the strand through the top of the bauble between Rounds 1 and 2.
Arrange the yarn so an even strand extends from each side of the top.
Bring the two strands together to form the hanging loop, then tie them securely with a double knot.
Assembly
This ornament does not require separate crochet pieces to be sewn together.
Once the body has been stuffed and the lower opening closed, check the overall shape before finishing the hanging loop.
Gently shape the center with your fingers so the widest section looks evenly rounded. The lower section should gradually narrow into a defined point.
Make sure the yellow top sits centered above the red body and that the hanging loop is positioned so the bauble hangs straight.
Finishing
Gently roll the ornament between your palms to distribute the stuffing evenly.
If one side looks flatter than the other, carefully massage the filling toward that area rather than forcing extra stuffing through the crochet fabric.
Shape the bottom point between your fingers and check that the decreases form a smooth taper.
Trim any remaining yarn ends only after they are securely woven inside.
[OPTIONAL PDF DOWNLOAD BUTTON – Download the Printable Nut-Shaped Christmas Bauble Crochet Pattern]
Helpful Notes
Keep your stitch marker in place throughout the project. Losing the beginning of the round can make it difficult to keep the shaping correctly aligned.
Count your stitches after every increase and decrease round. Catching a missed increase or decrease immediately is much easier than correcting the shape several rounds later.
Use small pieces of stuffing at a time. This helps create an even surface without producing firm lumps inside the ornament.
The finished size is not critical, so you can experiment with other yarn weights. Remember that thicker yarn and a larger hook will create a larger ornament, while thinner yarn will make a smaller version.
For stuffed crochet pieces, choose a hook that creates tight enough stitches to keep the filling hidden.
You can also change the red and yellow colors to suit your Christmas décor. Traditional red, deep green, cream, gold, burgundy, or icy pastels can all work well while keeping the same construction.
FAQ
Is this nut-shaped Christmas bauble suitable for beginners?
It is best suited to an adventurous beginner who is already comfortable making a magic circle, crocheting single crochet stitches in the round, and working increases and decreases.
Is the ornament worked in joined rounds?
No. The project is worked primarily in continuous spiral rounds, so a stitch marker is important for keeping track of the first stitch.
Do I need to crochet the yellow top separately?
No. The ornament begins with the yellow section and continues directly into the red body after the color change.
When should I stuff the bauble?
The pattern specifically calls for firm stuffing after Round 29, followed by additional stuffing as needed while the final decrease rounds are completed.
How do I close the pointed bottom?
After Round 34, cut the yarn and thread the tail through the front loops of the six remaining stitches. Pull the yarn tight to close the opening.
Can I make the ornament larger?
Yes. Changing yarn weight and hook size will change the finished dimensions. Keep in mind that the crochet fabric still needs to be dense enough to contain the stuffing.
Can I make several baubles in different colors?
Absolutely. The same pattern can be used with different color combinations to create a coordinated collection of handmade Christmas ornaments.
Can I use cotton yarn?
A suitable DK cotton can be used. The finished texture and dimensions may differ slightly from the reference ornament depending on the yarn and your tension.
Do I need exact gauge?
No. Gauge is provided as a reference rather than as a requirement because the ornament does not need to fit a person or another object.
Final Thoughts
This nut-shaped Christmas bauble is a simple way to add a different silhouette to a collection of handmade tree decorations. The gradual increases and decreases create the full center and tapered point without requiring complicated construction or separate pieces.
Once you have made the first ornament, the compact size and repetitive rounds make it practical to crochet a whole set in coordinating Christmas colors.
Whether you hang one on the tree, add it to a handmade garland, or include it with a holiday gift, it is a charming little seasonal project that can be reused year after year.