
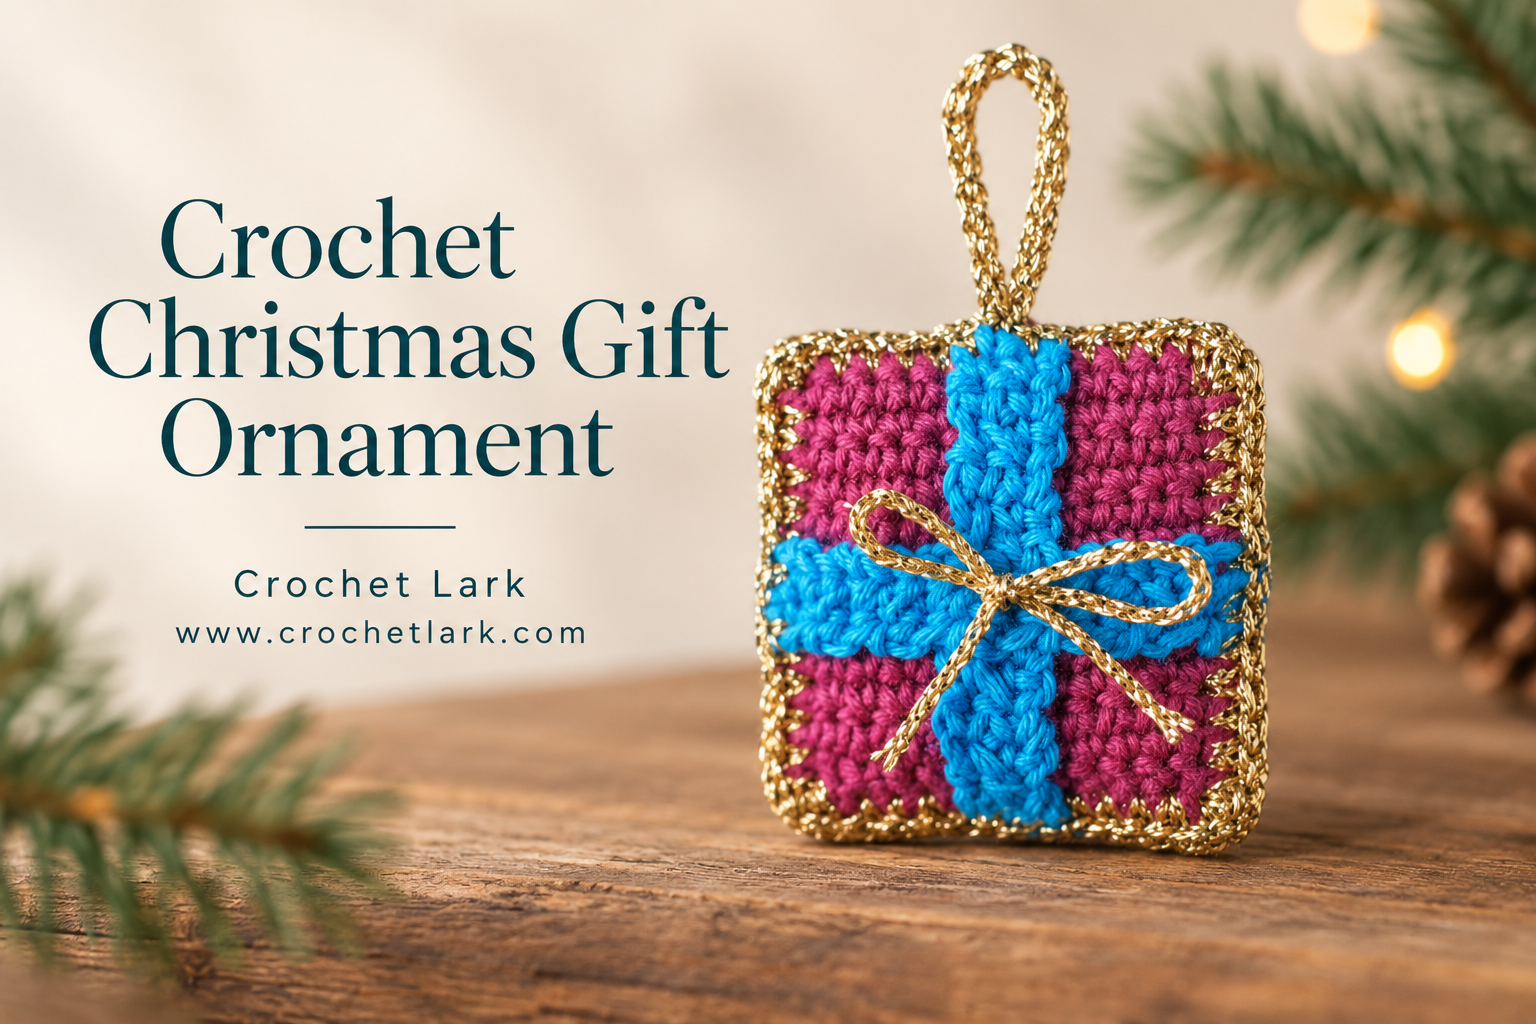
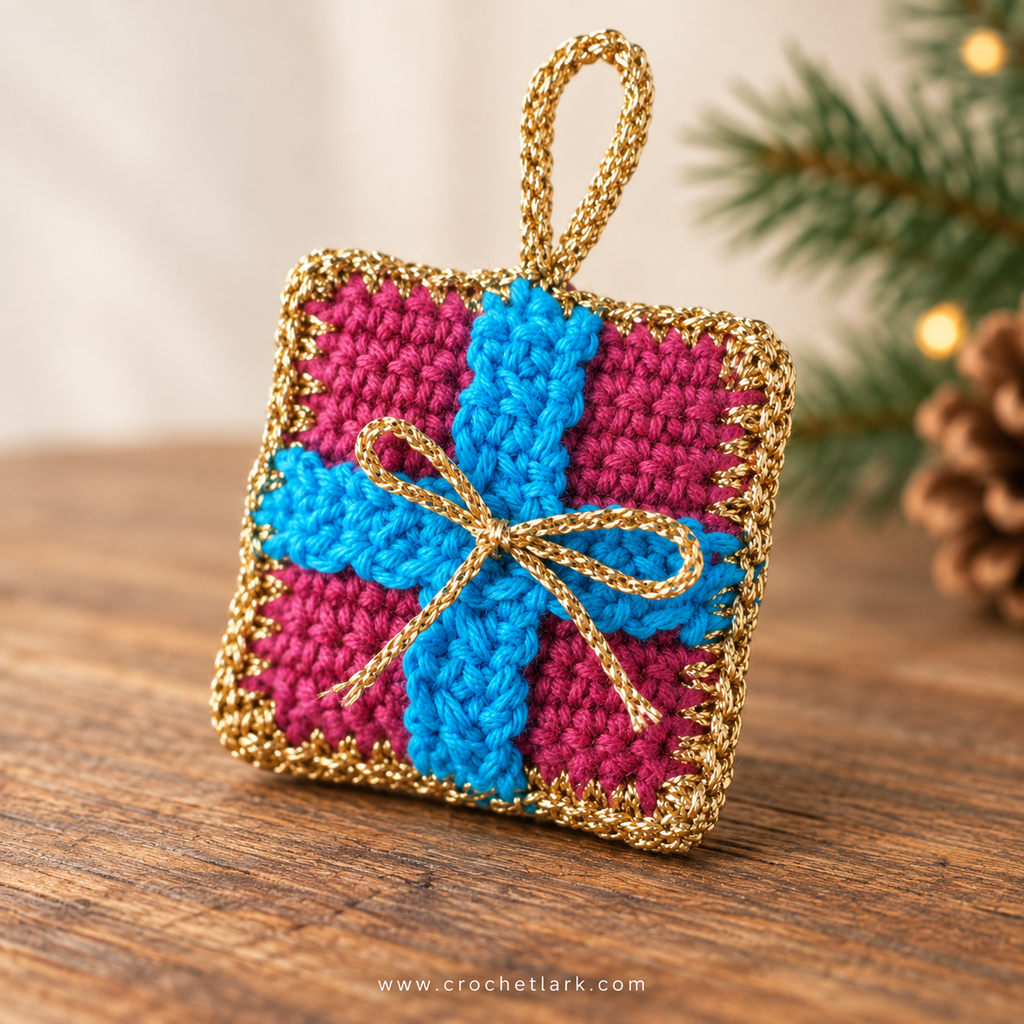
This tiny crochet Christmas gift ornament looks like a wrapped present, complete with contrasting ribbon, a sparkling edge, a hanging loop, and a little bow. It is a cheerful addition to a tree, wreath, gift tag, or festive garland.
The ornament is worked as two small flat squares. After the ribbon strips are added, the panels are crocheted together around the edge and lightly stuffed. It is an approachable project for crocheters comfortable with single crochet and simple joining.
Quick Answer
This ornament is made from two 12-stitch square panels in Color A. Add two narrow Color B ribbon strips to each panel, join the panels with Color C single crochet, lightly stuff the ornament, then make a chain-loop hanger and tie on a bow. The finished ornament is about 2 in (5 cm) square.
Why You’ll Love This Project
- A quick, compact Christmas make using small yarn amounts.
- The flat-panel construction keeps the shaping simple.
- The ribbon placement creates a recognizable wrapped-present look.
- Easy to personalize with different color combinations.
- Ideal for decorating, gifting, or adding to handmade packages.
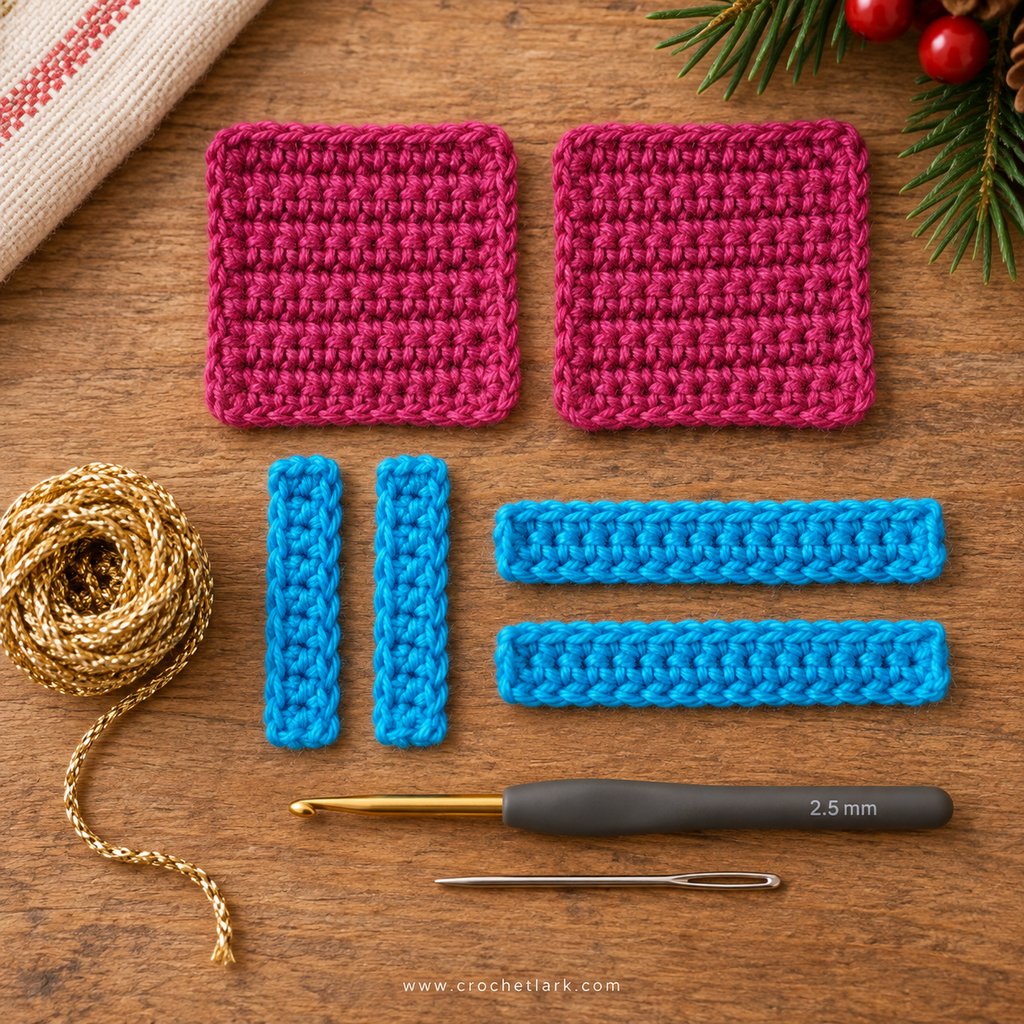
Materials
- DK-weight yarn in three colors:
- Color A – Berry: 5 g / 11.6 m / 12.7 yd
- Color B – Blue: 2 g / 4.6 m / 5 yd
- Color C – Gold: 1 g / 5 m / 5.5 yd
- 2.5 mm crochet hook (US C)
- Small amount of stuffing
- Yarn needle, scissors, stitch marker, and optional pins
You may use the same DK yarn for all three colors. The metallic yarn is optional; use a regular DK yarn for Color C if preferred.
Finished Size
Approximately 2 x 2 in (5 x 5 cm) after assembly. Final size varies with yarn, hook, and tension.
Gauge
Gauge is not essential, but the sample gauge is 7 sc and 7 rows per 1 in (2.5 cm).
Abbreviations
- ch – chain
- R – row or round
- sc – single crochet
- sl st – slip stitch
- st(s) – stitch(es)
- [ … ] x n – repeat the bracketed sequence n times
Before You Begin
- This pattern uses US crochet terminology.
- The two gift panels are worked back and forth in rows. Turning chains do not count as stitches.
- Use a hook small enough to keep stuffing from showing through the join.
- The two panels must face right side out before assembly, with both ribbon fronts visible.
Crochet Instructions
Square Gift Panels – Make 2
With Color A, ch 13.
- R1: Starting in the second ch from hook, sc in each ch across, ch 1, turn. (12)
- R2-R11: Sc in each st across, ch 1, turn. (12) Repeat for 10 rows total.
- R12: Sc in each st across. (12)
Fasten off. Make a second matching panel.
Ribbon 1 – Make 2
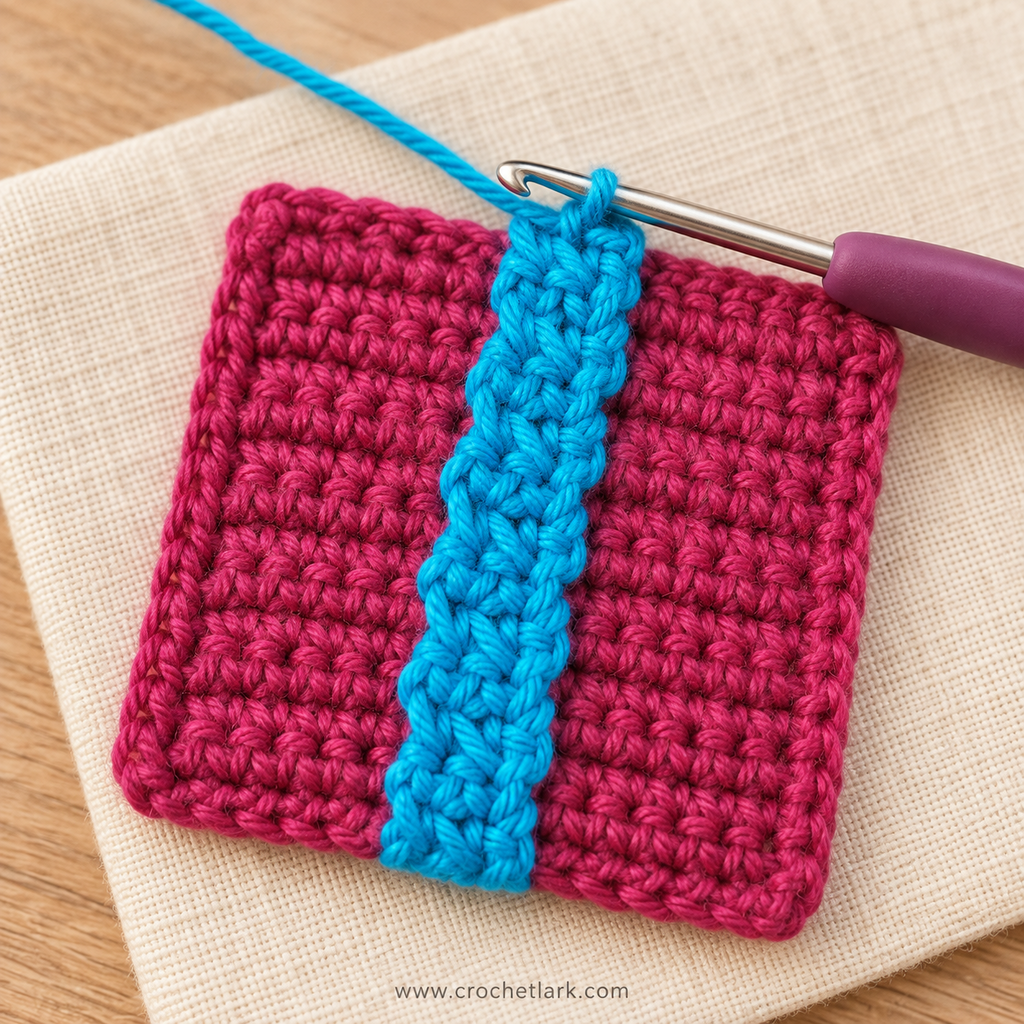
Add this vertical ribbon strip to each panel. With Color B, attach yarn in the sixth foundation-chain stitch of one Square Gift panel. Turning chains do not count as stitches.
- R1: Sc 2, ch 1, turn. (2)
- R2-R12: Sc 2, ch 1, turn. (2) Repeat for 11 rows total.
Align the free end with the opposite edge of the square. Count 5 stitches along that edge. Insert the hook through both the Square Gift edge stitch and the corresponding Ribbon 1 stitch.
- R13: Sl st 2 loosely through both layers. (2)
Fasten off. Repeat on the second Square Gift panel.
Ribbon 2 – Make 2
Add this horizontal ribbon strip to each panel. With Color B, attach yarn at approximately the sixth row of one Square Gift panel. Turning chains do not count as stitches.
- R1: Sc 2, ch 1, turn. (2)
- R2-R12: Sc 2, ch 1, turn. (2) Repeat for 11 rows total.
Align the free end with the opposite edge. Count 5 rows along the panel edge and insert the hook through both the Square Gift edge stitch and the corresponding Ribbon 2 stitch.
- R13: Sl st 2 loosely through both layers. (2)
Fasten off. Repeat on the second Square Gift panel. Use the Color B tails to tack the ribbons neatly to the panels, then weave in all remaining tails.
Assembly and Hanging Loop
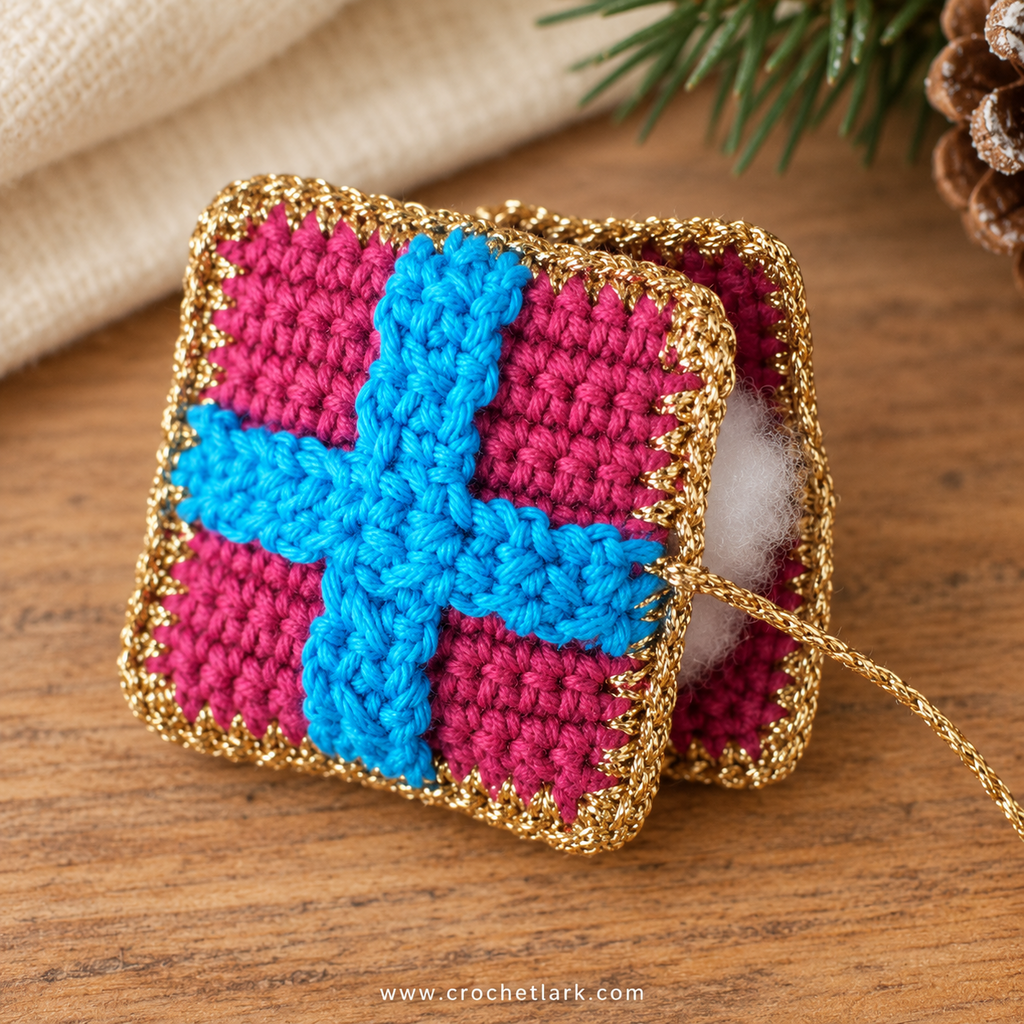
Place the two finished gift panels together with the ribbon sides facing outward. The joining stitch count is flexible; work evenly around the edges.
- At the top edge, insert the hook through a side stitch of both panels and join Color C.
- Work sc evenly around all four sides to join the panels. Work 3 sc in each corner stitch.
- When you have joined about half of the perimeter, begin stuffing. Continue adding a small amount of stuffing as you work so the ornament stays softly padded.
- Near the final vertical ribbon, make 1 sc in the ribbon, ch 20, then sc in the next ribbon stitch. This creates the hanging loop.
- Sl st to the first joining stitch to close. Check that the loop length suits your tree; add or remove chains if desired before fastening off.
- Leave a 4 in (10 cm) tail. Sew this tail through the bottom stitches – the first and last stitches – of the loop to secure it, then weave the tail into the ornament.
Bow and Finishing
Cut an extra length of Color C. Weave it through the center stitch of Ribbon 2 on the front of the ornament. Tie a bow at the ribbon crossing and secure it with a double knot. Trim the ends as desired.
Helpful Notes
- Keep the two ribbon strips centered as you attach them so they cross neatly at the middle.
- Make the joining single crochet stitches even rather than tight; this helps the small square retain its shape.
- Use only a little stuffing. Overstuffing can distort the ribbon and stretch the side join.
- For a coordinated tree set, change Color A and Color B while using the same edging yarn.
FAQ
Is this ornament suitable for beginners?
Yes. It uses chains, single crochet, slip stitches, and basic assembly. The most detailed part is aligning the ribbon strips before joining the two panels.
Can I use yarn other than Ricorumi DK?
Yes. Any comparable DK-weight yarn will work. Changing yarn weight or hook size changes the finished size.
Do I have to use metallic yarn for the gold edge?
No. A standard DK yarn in a gold, cream, or contrasting color works for the edge, loop, and bow.
Can I make the hanger longer?
Yes. The sample uses ch 20. Add chains for a longer loop or use fewer chains for a shorter loop, then secure it the same way.
Final Thoughts
This little present is a satisfying way to add handmade color to Christmas decorating. Once you have made one, the simple panel-and-ribbon construction is easy to repeat in any festive palette.