
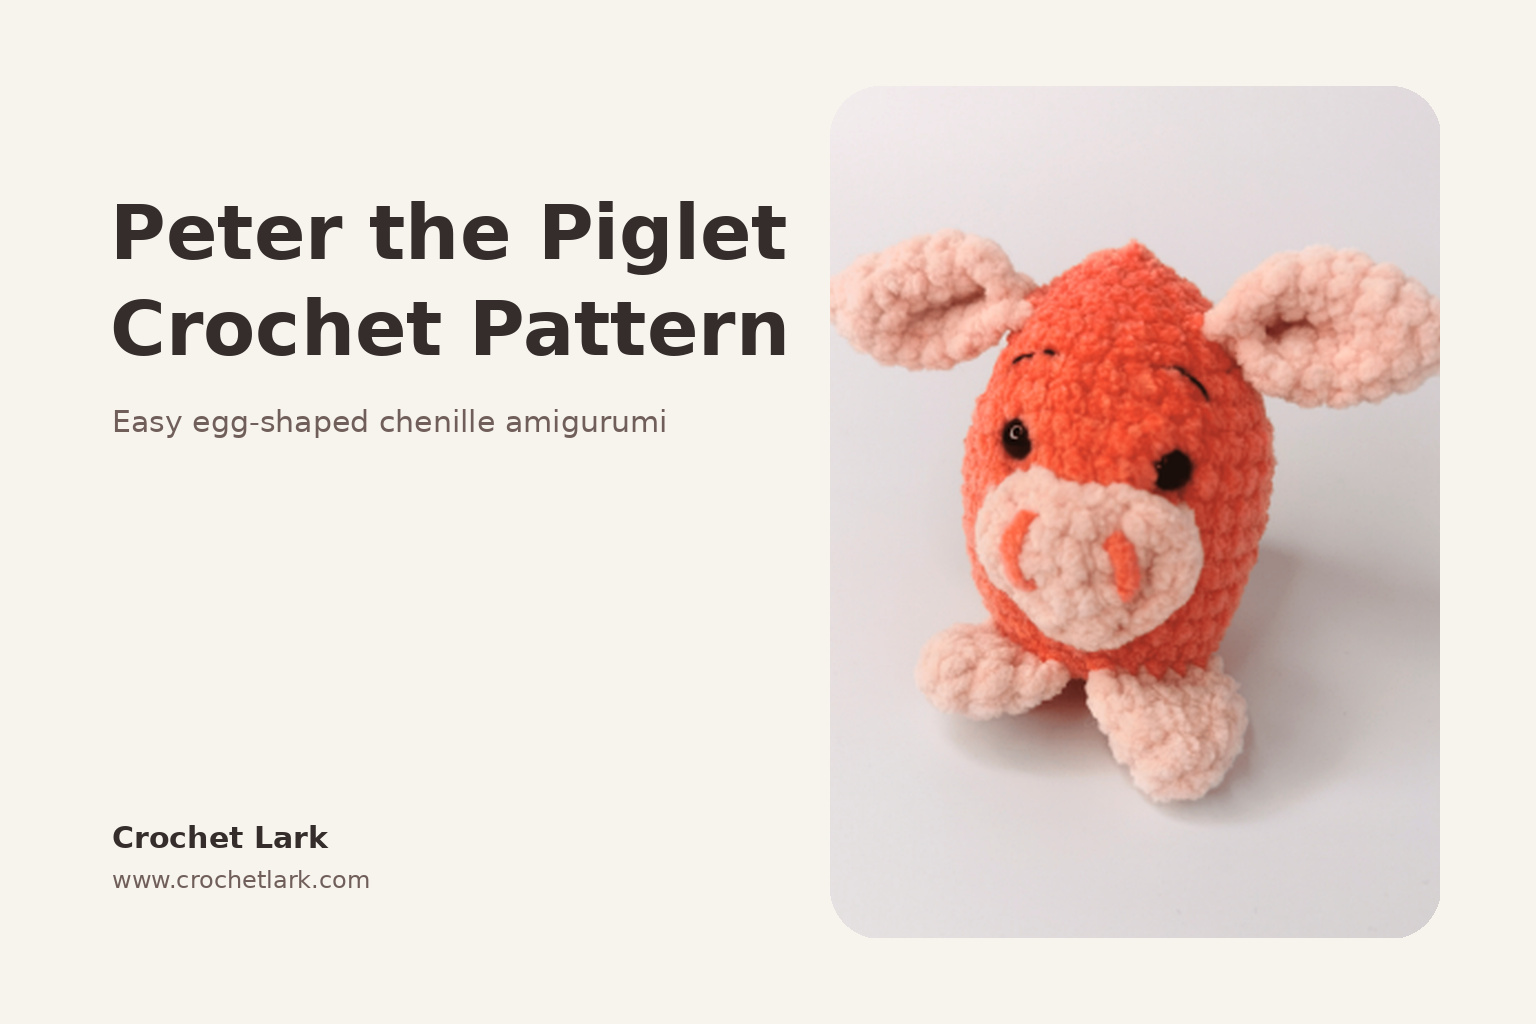
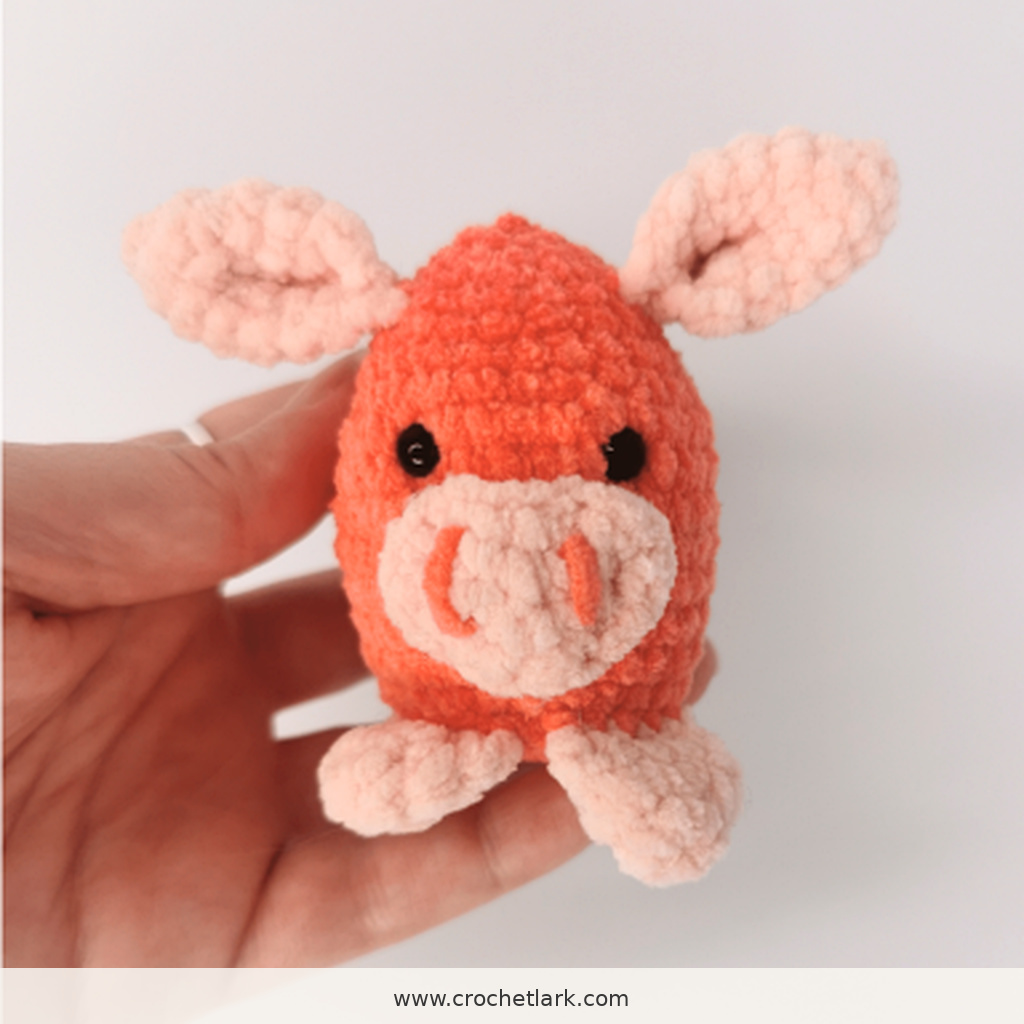
Peter the Piglet is a small, soft amigurumi pig with a simple egg-shaped body, floppy ears, tiny feet, a curled tail, and an oval snout.
The pattern uses chenille yarn for a plush finish. The feet and ears are joined directly to the body while crocheting, which keeps the amount of sewing to a minimum.
This version is written in US crochet terminology and keeps all verified stitch counts, shaping rounds, attachment points, and finishing details intact.
Quick Answer
This easy piglet crochet pattern is worked mainly in continuous single crochet rounds. You will make the feet and ears first, crochet an oval snout separately, and then work the body from the bottom upward. The feet and ears are joined as part of the body rounds, while the snout is sewn on at the end.
Skill Level: Easy
Terminology: US crochet terms
Main Technique: Continuous rounds
Construction: Feet and ears crocheted onto the body; snout sewn on
[DOWNLOAD PDF BUTTON – Peter the Piglet Printable Crochet Pattern]
Why You’ll Love This Project
- Small amigurumi project that works up quickly.
- Minimal sewing compared with many stuffed animals.
- Soft chenille yarn gives the piglet a plush texture.
- Simple egg-shaped construction with clear increases and decreases.
- Cute handmade gift for Easter, spring, birthdays, or animal lovers.
Materials
You will need:
- Color A – Dark Pink: DK chenille yarn, approximately 8 g / 20.3 m / 22.3 yds
- Color B – Light Pink: DK chenille yarn, approximately 6 g / 15.2 m / 16.6 yds
- 2.5 mm crochet hook
- Polyester stuffing
- Yarn needle
- Scissors
- Stitch marker
- Two 6 mm safety eyes
- Black embroidery thread, optional
- Pins, optional Emma_Homemade_Peter_the_Piglet_…
Finished Size
A finished measurement is not specified in the verified pattern information, so no exact size is given here.
Your finished piglet will vary depending on yarn thickness, tension, stuffing, and hook choice.
Gauge
A formal gauge swatch is not required.
The important point is to create a firm crochet fabric so the stuffing does not show between the stitches. A hook smaller than the size normally recommended for your yarn can help achieve this.
Abbreviations
- R# – Round number
- st – Stitch
- ch – Chain
- sl st – Slip stitch
- mc – Magic circle
- sc – Single crochet
- inc – Increase
- dec – Decrease
- sk – Skip
- [ ] x n – Repeat the instructions inside the brackets the stated number of times
- ( ) – Stitch count at the end of the round Emma_Homemade_Peter_the_Piglet_…
Before You Begin
Work in continuous rounds unless the instructions specifically state otherwise. Place a stitch marker in the first stitch and move it up after every round.
Make both feet and both ears before beginning the body because these pieces are joined directly into later body rounds.
Do not stuff the feet, ears, or snout. Stuff the main body firmly and gradually while you work.
Crochet Instructions
Feet – Make 2
Use Color B – Light Pink.
Do not stuff.
R1: Work 5 sc into a mc. (5)
R2: Inc in every stitch around. (10)
R3: Sc around. (10)
R4: Flatten the piece. Crochet through both layers with 5 sc to close the foot. (5)
Fasten off and hide the yarn tail inside the foot.
Repeat for the second foot. Emma_Homemade_Peter_the_Piglet_…
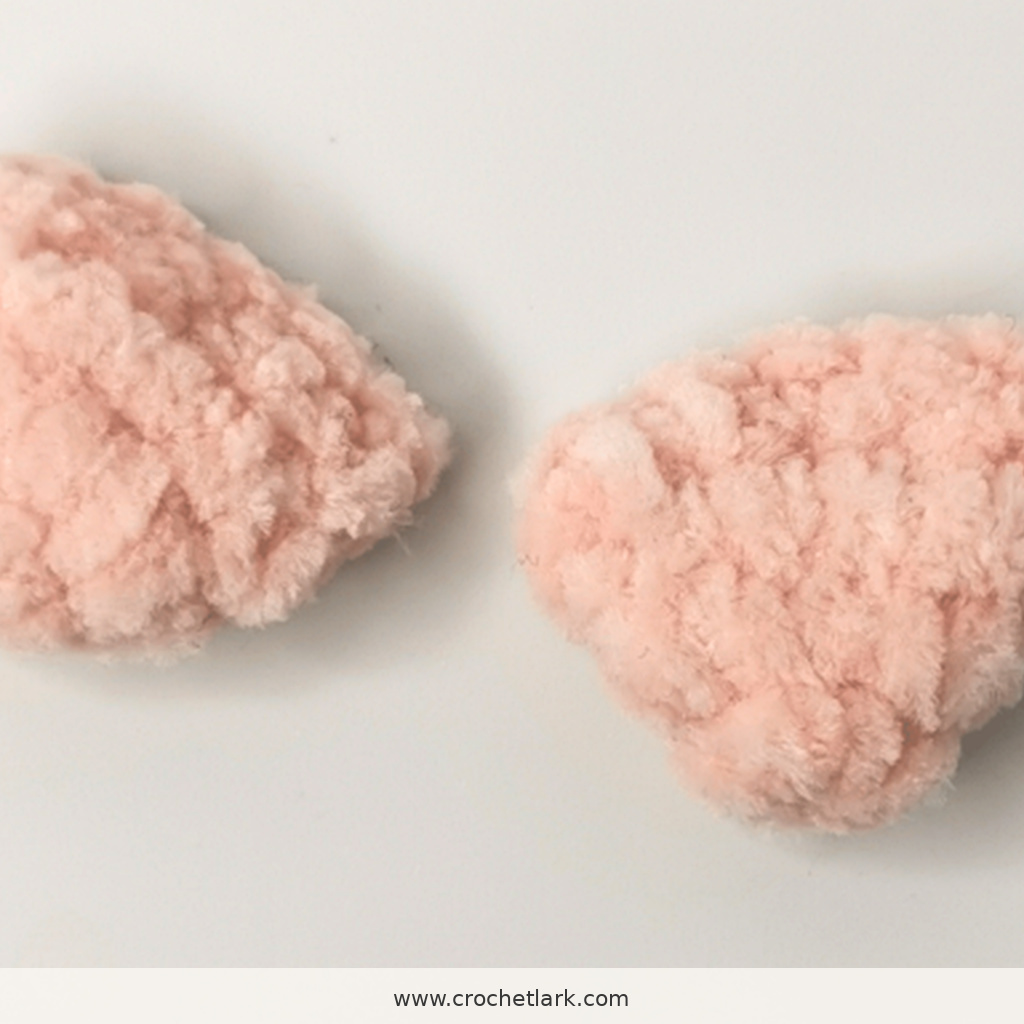
Ears – Make 2
Use Color B – Light Pink.
Do not stuff.
R1: Work 4 sc into a mc. (4)
R2: [Inc, sc] x 2. (6)
R3: [Inc, 2 sc] x 2. (8)
R4: [Inc, 3 sc] x 2. (10)
R5: [Inc, 4 sc] x 2. (12)
R6: [Inc, 5 sc] x 2. (14)
R7: [Inc, 6 sc] x 2. (16)
R8: Flatten the ear and crochet through both layers with 8 sc. (8)
R9: Ch 1. Fold the closed edge of the ear in half, then crochet through both layers with 4 sc to form the shaped ear base. (4)
Fasten off and weave in the yarn ends.
Make the second ear the same way. Emma_Homemade_Peter_the_Piglet_…
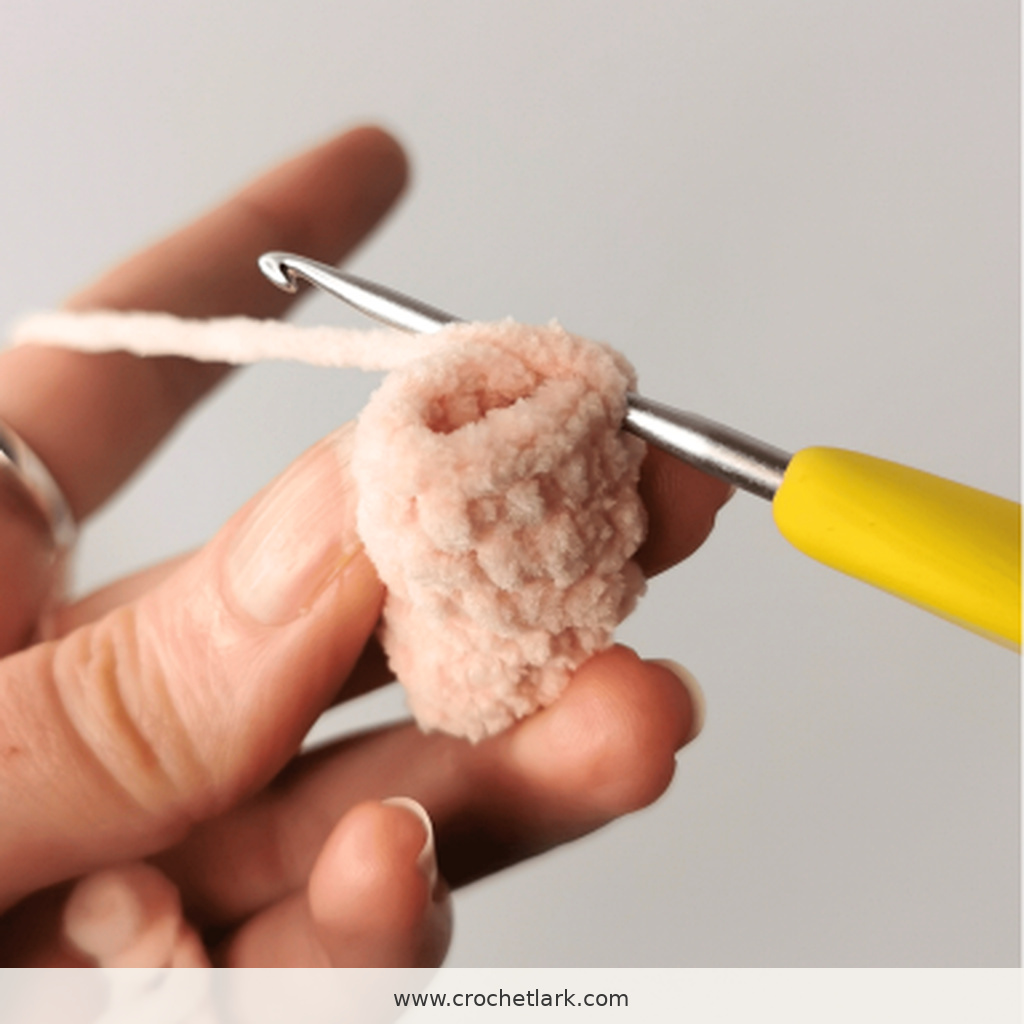
Snout
Use Color B – Light Pink.
Do not stuff.
Foundation: Ch 7.
Round 1
Starting in the second ch from the hook:
Sc in next 2 sts, inc in next 2 sts, sc in next st, then work 3 sc into the final chain.
Continue along the opposite side of the foundation chain:
Sc in next st, dec, sc in next st, inc, then sl st into the first stitch.
Stitch count: 15
The slip stitch is not included in the stitch count.
Round 2
Ch 1, sc in the same stitch, 2 sc, inc, 4 sc, inc, 5 sc, inc, then sl st into the first stitch.
Stitch count: 18
The beginning chain and finishing slip stitch are not counted.
Cut the yarn, leaving a long tail for sewing the snout onto the body. Weave in the starting tail.
Using Color A – Dark Pink, embroider two short parallel nostrils on the snout. Position them approximately 3 stitches apart. Emma_Homemade_Peter_the_Piglet_…
Body
Use Color A – Dark Pink.
Begin stuffing firmly as the body develops.
R1: Work 8 sc into a mc. (8)
R2: Inc in every stitch around. (16)
R3: [Sc, inc] x 8. (24)
Round 4 – Attach the Feet
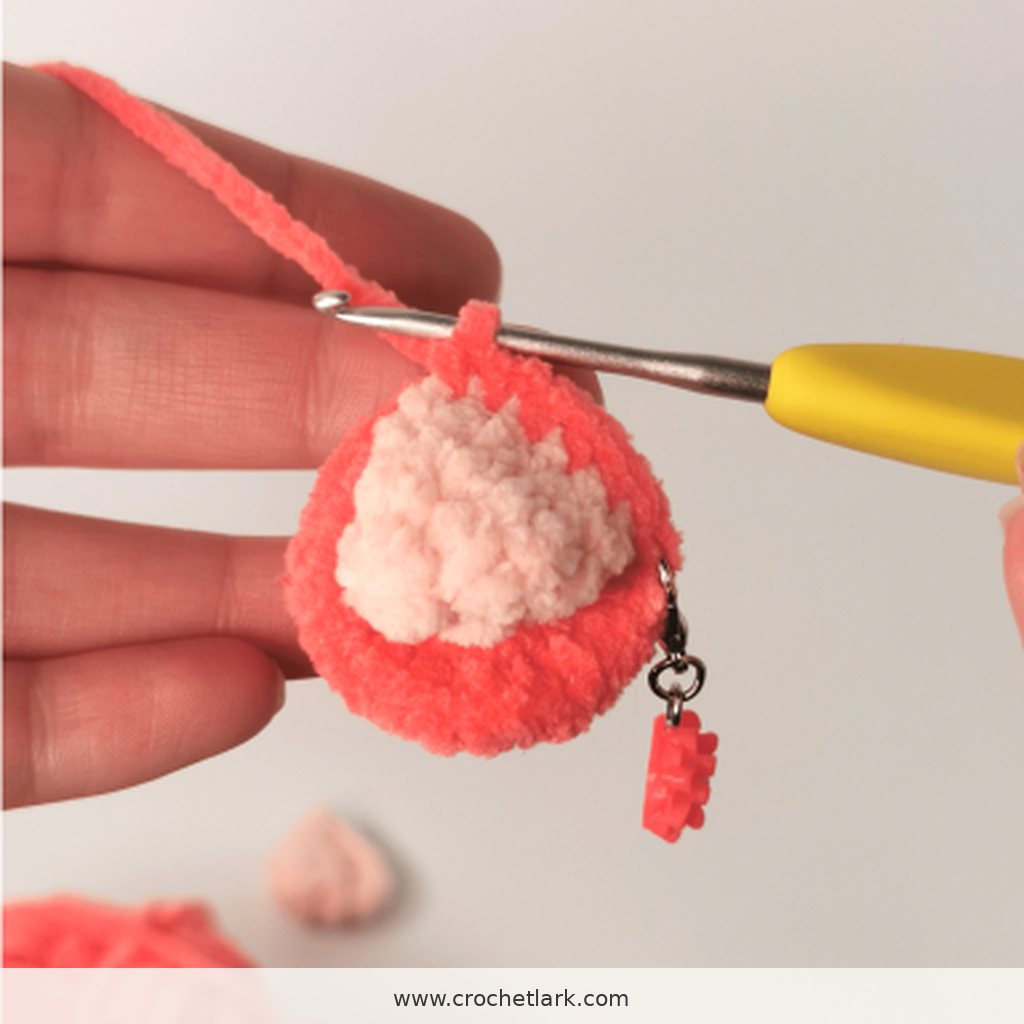
R4: Sc 1, crochet the first foot onto the body with 5 sc, sc 1, crochet the second foot onto the body with 5 sc, then sc in the remaining 12 sts. (24)
To join a foot, insert your hook through the next stitch of the foot and the corresponding body stitch, then complete the single crochet through both pieces.
R5: [2 sc, inc] x 8. (32)
Round 6 – Make the Tail
R6: Sc in the next 25 body stitches.
Ch 10 for the tail.
Starting in the second chain from the hook, work:
[Sc, dec] x 3
Work back along the chain toward the body.
Sc into the next body stitch, then work 6 sc around the body to complete the round.
Body stitch count: 32
The tail stitches are not included in the 32-stitch body count.
R7-R12: Sc around for 6 rounds. (32)
R13: [2 sc, dec] x 8. (24)
R14: Sc around. (24)
Insert the Eyes
Place the 6 mm safety eyes between R11 and R12, centered above the feet.
Leave 5 stitches between the eyes.
R15: [2 sc, dec] x 6. (18)
Round 16 – Attach the Ears
R16: Sc around while joining both ears to the sides of the head. (18)
Keep the open side of each shaped ear facing toward the front of the piglet.
A verified placement guide is:
- Join first ear with 4 sc.
- Work 5 sc.
- Join second ear with 4 sc.
- Work 5 sc.
This totals 18 stitches.
Ear positioning is more important than forcing an exact angle, so make sure both ears sit evenly and face forward.
R17: [Sc, dec] x 6. (12)
R18: Sc around. (12)
Finish stuffing the body.
R19: Dec around. (6)
Fasten off, leaving enough yarn to close the opening.
Thread the yarn tail through the front loops of the final 6 stitches. Pull firmly to close, secure the yarn, and hide the end inside the body. Emma_Homemade_Peter_the_Piglet_… Emma_Homemade_Peter_the_Piglet_…
Assembly
Attach the Snout
Position the light-pink snout in the center of the face.
It should sit approximately across R6-R10 of the body and directly beneath the eyes.
Use the long yarn tail to sew the snout securely in place.
Add the Eyebrows – Optional
Thread a needle with black embroidery thread.
Embroider a small eyebrow above each eye at approximately R14.
Keep the stitches subtle so they complement the small face rather than overpower it. Emma_Homemade_Peter_the_Piglet_…
Finishing
Check the piglet from the front and side.
Make sure the feet are positioned evenly, both ears face toward the front, and the snout is centered below the eyes.
Redistribute the stuffing with your fingers if necessary, then gently shape the body until it has an even egg-like silhouette.
Helpful Notes
Chenille yarn can make individual stitches difficult to see, so a stitch marker is particularly useful on this project.
When joining the feet or ears, crochet through both the component stitch and the corresponding body stitch at the same time. This secures the pieces without requiring a separate sewing step.
Avoid overstuffing directly behind the face. Firm stuffing is useful for maintaining the body shape, but the snout area should remain smooth.
Because the ears are soft and unstuffed, their exact resting angle may vary slightly.
FAQ
Is this piglet crochet pattern suitable for beginners?
It is an approachable amigurumi project if you are comfortable with single crochet, increases, decreases, magic circles, working in continuous rounds, and joining pieces while crocheting.
Are the feet sewn onto the body?
No. Both feet are crocheted directly onto the body during Round 4.
Are the ears sewn on?
No. The ears are joined during Round 16.
Do I stuff the ears and feet?
No. The feet, ears, and snout remain unstuffed.
Where do the safety eyes go?
Insert the 6 mm eyes between Rounds 11 and 12 with 5 stitches between them.
Can I use regular yarn instead of chenille?
The pattern was verified with DK chenille yarn. A different yarn can change the finished dimensions and appearance. Choose a hook that creates a sufficiently tight fabric to prevent stuffing from showing.
Is gauge important?
A measured gauge is not required for this amigurumi. Consistent, tight stitches are more important.
Final Thoughts
Peter the Piglet combines a compact egg-shaped body with simple details that give the finished amigurumi plenty of character.
The joined-as-you-go feet and ears reduce finishing work, while the embroidered nostrils, optional eyebrows, floppy ears, and small curled tail complete the piglet without requiring complicated shaping.