
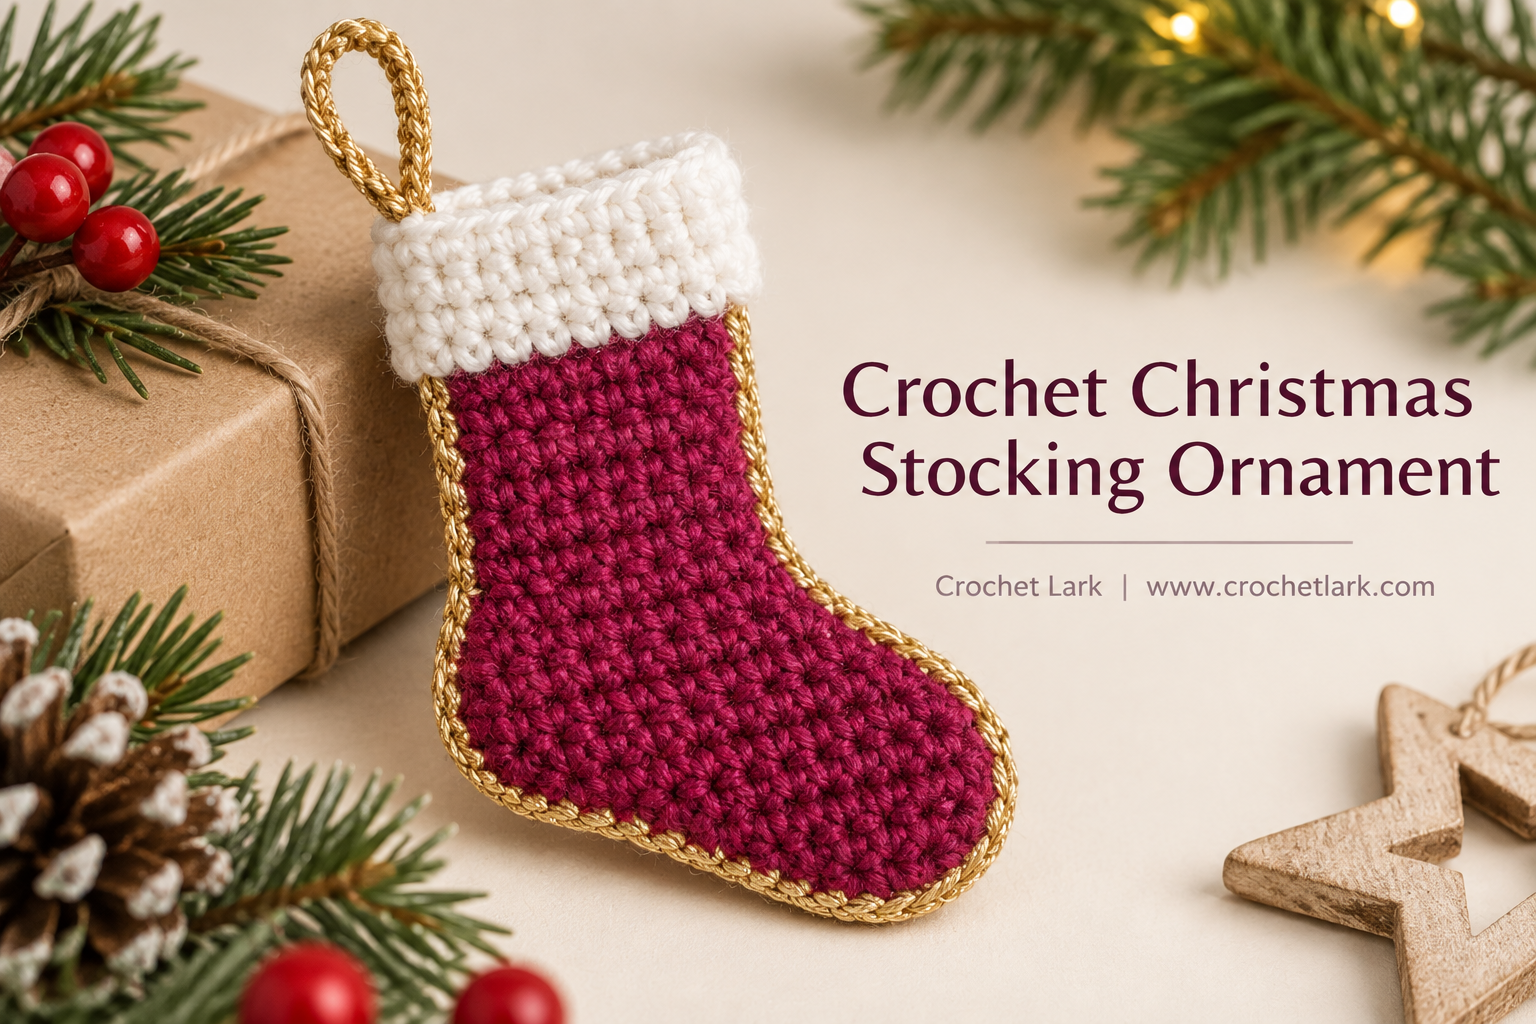
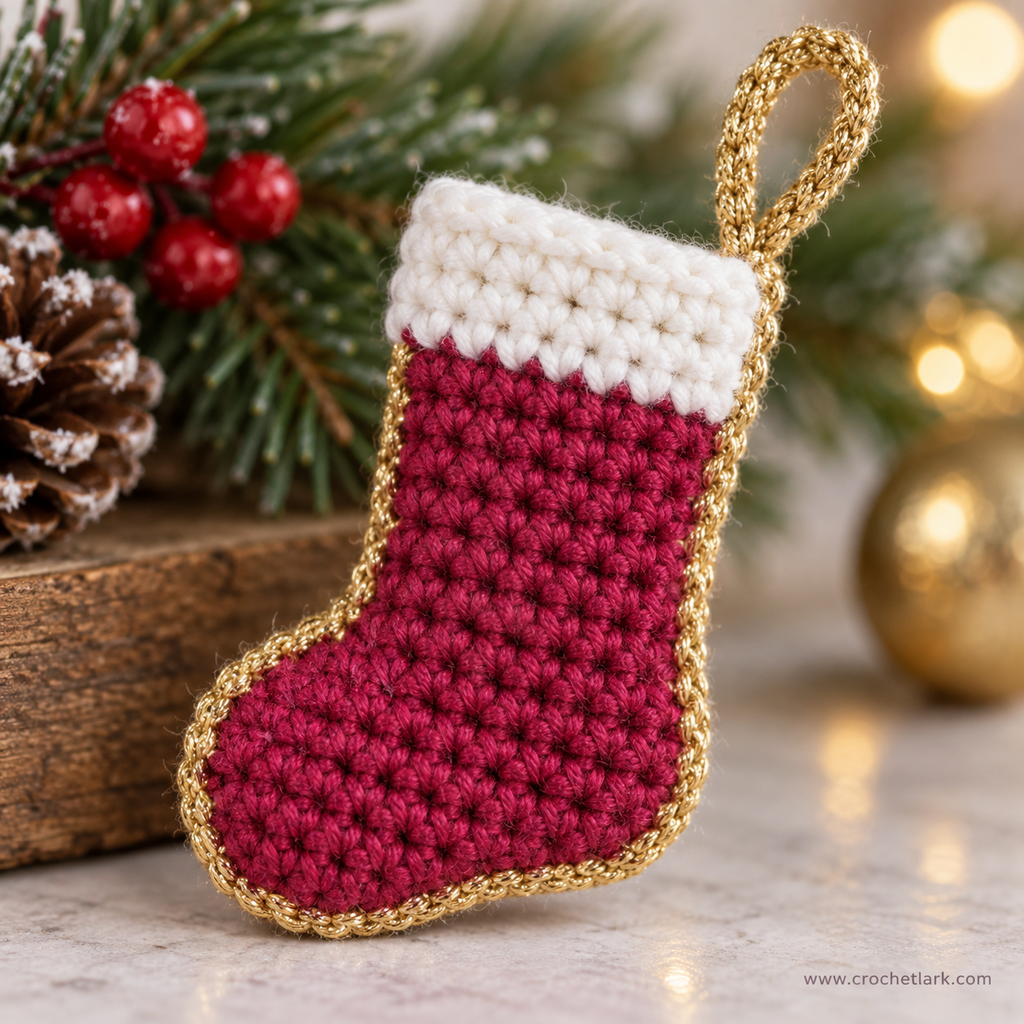
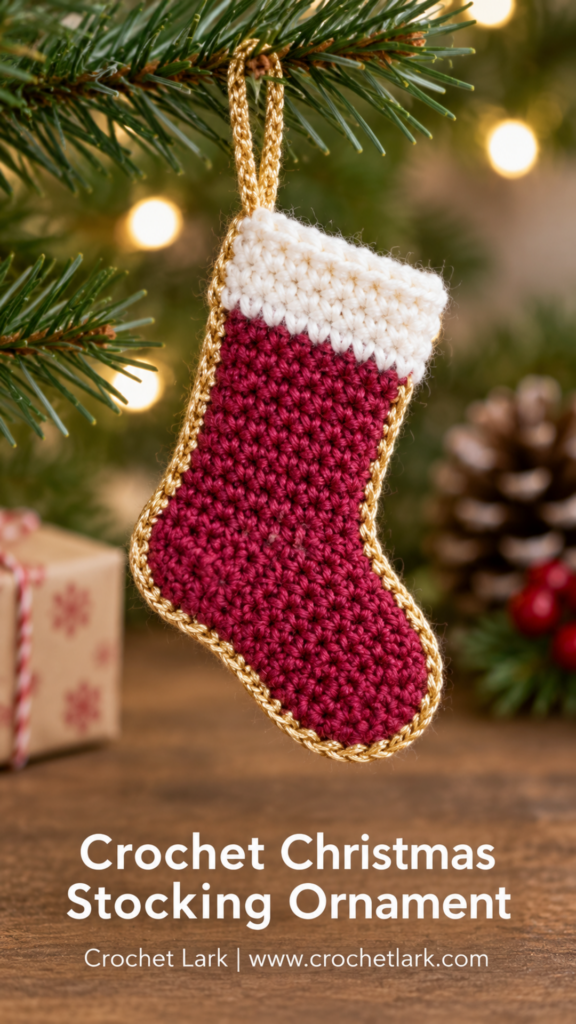
This small crochet stocking ornament adds a handmade touch to a Christmas tree, gift wrap, or festive garland. It is made from two flat stocking panels, lightly stuffed, and joined with a contrasting gold edge.
The pattern uses US crochet terms and includes the complete rows, cuff instructions, joining method, and hanging loop.
Quick Answer
Crochet two flat berry-colored stocking panels, add a white cuff to each at opposite short edges, then join the panels with gold yarn while stuffing. Finish with a chain hanging loop.
Why You’ll Love This Project
- Small, quick seasonal make
- Uses simple single crochet rows
- Makes a soft, lightweight tree ornament
- Easy to personalize with different yarn colors
- Includes a built-in hanging loop
Materials
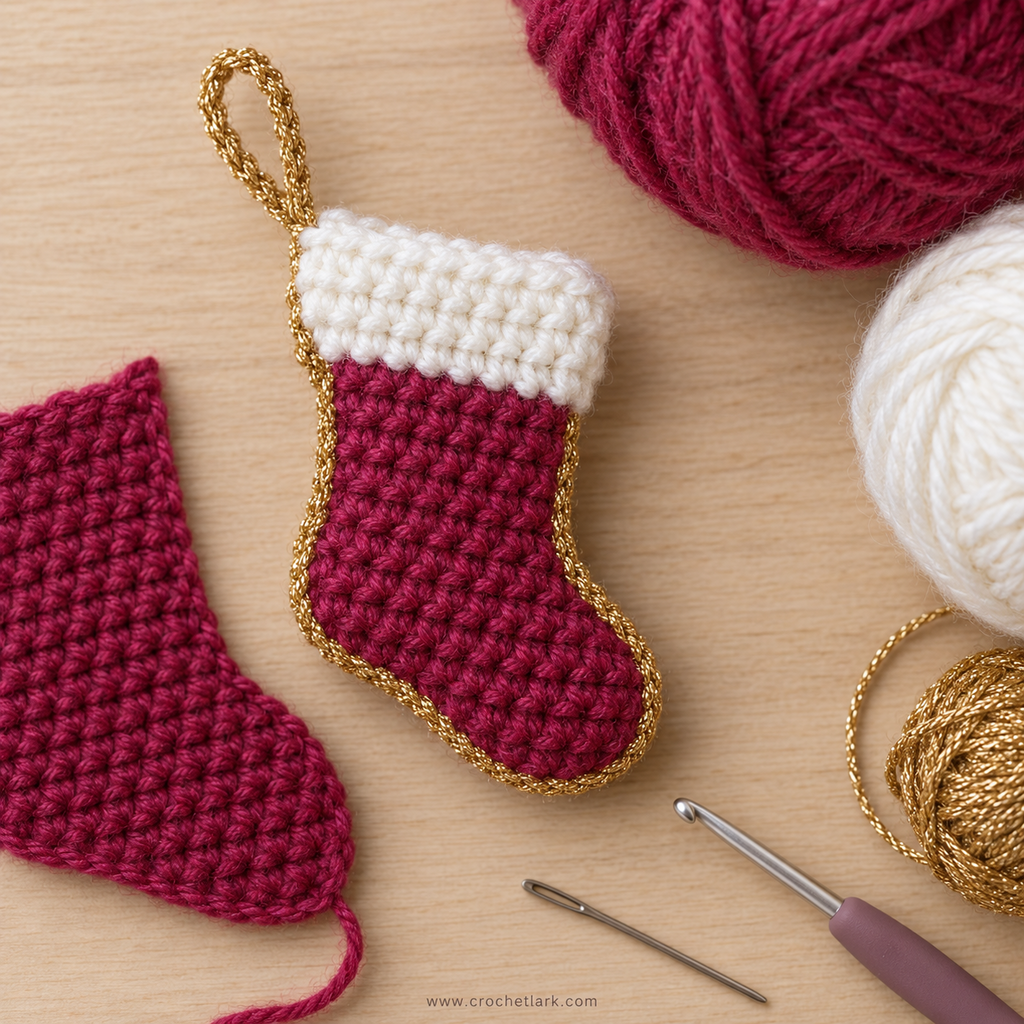
- DK yarn:
- Color A: Berry — 11 g / 25.5 m / 28 yd
- Color B: White — 3 g / 7 m / 7.6 yd
- Color C: Gold — 1 g / 5 m / 5.5 yd
- 2.5 mm / US C crochet hook
- Small amount of stuffing
- Yarn needle
- Scissors
- Stitch marker
- Pins, optional
Finished Size
Approximately 12 cm / 4.8 in high by 7 cm / 2.8 in wide after assembly. Size can vary with yarn, hook, and tension.
Gauge
Gauge is not essential. Reference gauge:
- 7 sc = 2.5 cm / 1 in
- 7 rows = 2.5 cm / 1 in
Abbreviations
- ch = chain
- sc = single crochet
- sl st = slip stitch
- st(s) = stitch(es)
- inc = 2 sc in one stitch
- dec = single crochet decrease
Turning chains do not count as stitches.
Before You Begin
The stocking is worked flat in rows. Make two matching panels. The white cuff is worked across the short upper edge; attach it at opposite short edges on the two panels so they mirror each other.
Use a firm tension or a smaller hook than your yarn label suggests so the stuffing does not show through.
Crochet Instructions
Stocking Panels — Make 2
Using Color A, ch 21.
- R1: Sc in 2nd ch from hook and in each remaining ch, 20 sc; ch 1, turn. (20)
- R2: 19 sc, inc; ch 1, turn. (21)
- R3: 21 sc; ch 1, turn. (21)
- R4: 20 sc, inc; ch 1, turn. (22)
- R5: 22 sc; ch 1, turn. (22)
- R6: 21 sc, inc; ch 1, turn. (23)
- R7: 23 sc; ch 1, turn. (23)
- R8: 22 sc, inc; ch 1, turn. (24)
- R9: 24 sc; ch 1, turn. (24)
- R10: 23 sc, inc; ch 1, turn. (25)
- R11: Work 12 sc only; leave the remaining stitches of R10 unworked. Ch 1, turn. (12)
- R12: 12 sc; ch 1, turn. (12)
- R13: Inc, 9 sc, dec; ch 1, turn. (12)
- R14: 12 sc; ch 1, turn. (12)
- R15: Inc, 9 sc, dec; ch 1, turn. (12)
- R16: Dec, 8 sc, dec; ch 1, turn. (10)
- R17: Dec, 6 sc, dec; ch 1, turn. (8)
- R18: Dec, 4 sc, dec; ch 1, turn. (6)
- R19: Dec, 2 sc, dec. (4)
Cut Color A and fasten off.
White Cuff
On the first panel, attach Color B to R1 of the shortest flat edge. Work horizontally across the vertical stitches.
- R20: 11 sc across; ch 1, turn. (11)
- R21–R23: 11 sc; ch 1, turn. (11) Repeat for 3 rows.
- R24: 11 sc. (11)
Cut yarn, fasten off, and weave in ends.
Repeat the full panel and cuff instructions for the second panel. For this one, attach Color B to R10 of the short side instead of R1.
Assembly and Hanging Loop

Place both stocking panels together with their edges aligned. Attach Color C just below the corner on the longest side, inserting the hook through the matching stitch of both layers.
Single crochet around the outer edge to join both panels:
- Work 3 sc in each corner stitch.
- At the two toe-end corners, work 2 sc in each corner.
- Begin adding stuffing when the join is about halfway complete.
- Continue adding small amounts of stuffing while closing the ornament.
At the stitch just before the top-left cuff corner:
- Work 1 sc in the corner stitch.
- Ch 20 for the hanging loop.
- Work 1 sc again in the same corner stitch.
- Sl st to the first Color C sc.
Cut Color C, leaving a 10 cm / 4 in tail. Sew the tail through the first and last stitches of the loop to secure it. Weave in all remaining ends.
Optional Printable Pattern
Helpful Notes
Keep both panels facing in the same direction before joining; the white cuffs should sit on opposite short edges. Do not force a fixed stitch count around the outside—place your joining stitches evenly so the edge stays smooth.
FAQ
Can I use different yarn colors?
Yes. You can make traditional red and white stockings, use striped cuffs, or replace the gold edging with any coordinating yarn.
Can I make the hanging loop longer?
Yes. Add or remove chains from the ch-20 loop before fastening it.
Is this ornament worked in the round?
No. The stocking is made from two flat crocheted panels, then joined around the outside.
Final Thoughts
This mini stocking is a practical Christmas crochet project that looks polished on a tree and is easy to customize for gifts or festive decor. The verified source measurements, gauge, panel construction, and stitch counts are reflected above.