
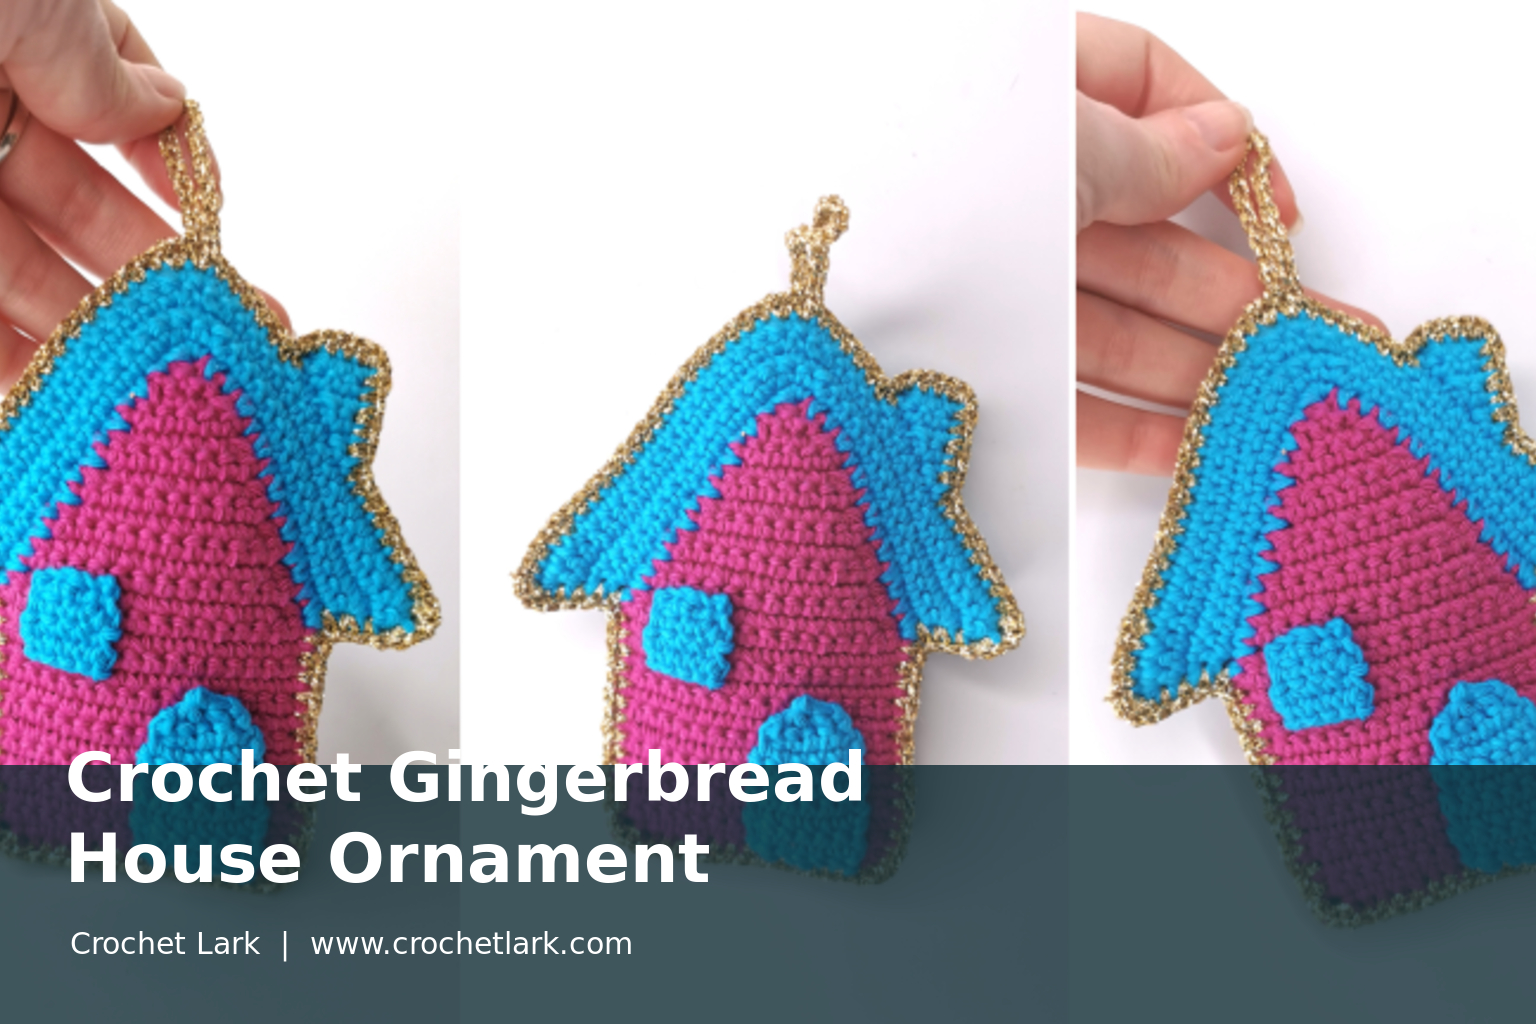
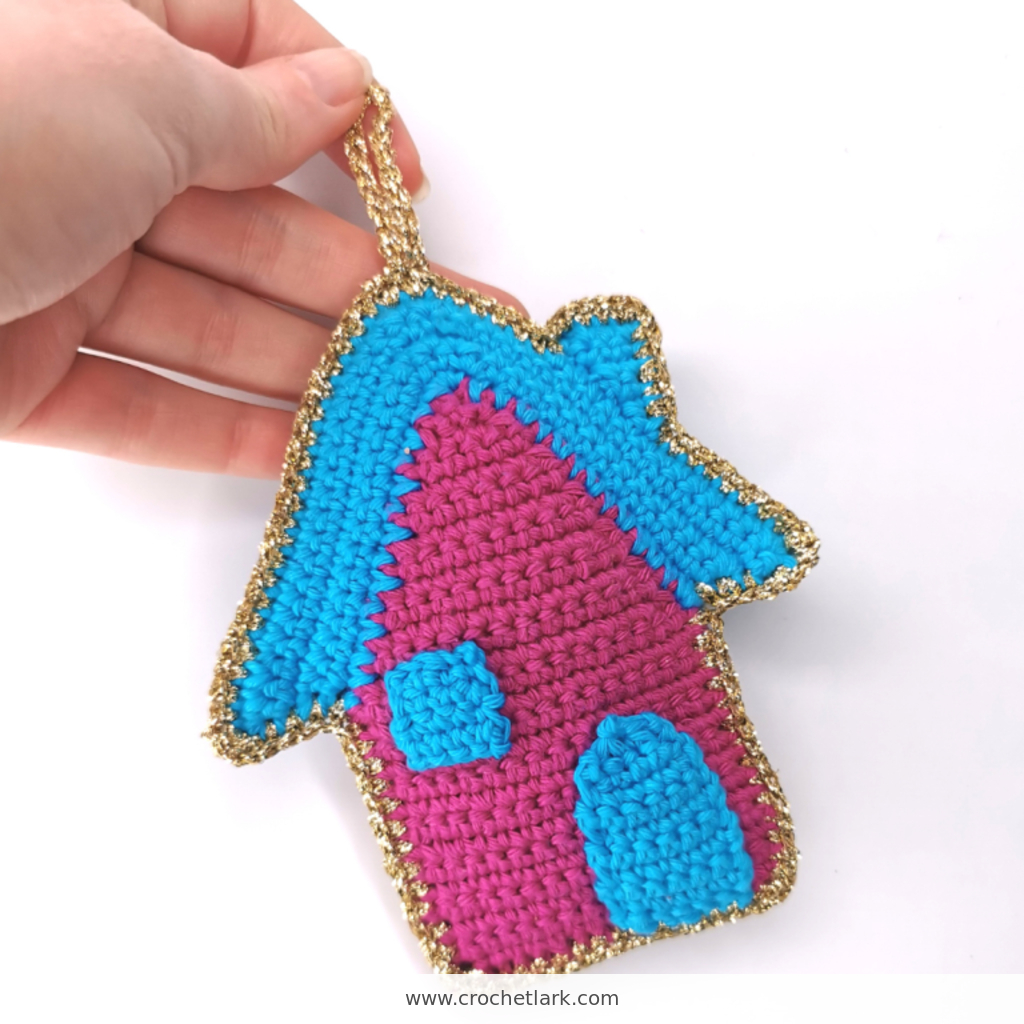
This cheerful crochet house ornament is a small stuffed decoration with a bright house body, shaped roof, door, window, metallic-style edging, and hanging loop.
It is made from two flat house panels, so it is a satisfying project for crocheters who enjoy clear shaping and simple finishing.
Quick Answer
Crochet two matching house panels, add the door and window to one front panel, then join both panels with Color C while stuffing. The final joining round creates the decorative border and hanging loop.
Why You’ll Love This Project
- A compact Christmas decoration with a recognizable house shape
- Uses small amounts of DK yarn
- Flat-panel construction keeps the shaping manageable
- Includes a built-in hanging loop
- Easy to customize with your own color combination
Materials
- DK yarn:
- Color A – berry/pink: 12 g / 28 m / 31 yd
- Color B – blue: 7 g / 16.3 m / 17.8 yd
- Color C – gold: 1 g / 5 m / 5.5 yd
- 2.5 mm / US C crochet hook
- Polyester stuffing
- Yarn needle
- Scissors
- Stitch marker
- Pins, optional
Finished Size
Approximately 12.5 cm / 4.9 in high and 11 cm / 4.3 in wide.
Gauge
7 sc and 7 rows = 2.5 cm / 1 in. Gauge is for reference and is not essential for this ornament.
Abbreviations
- ch – chain
- sc – single crochet
- sl st – slip stitch
- st(s) – stitch(es)
- dec – single crochet decrease
- inc – 2 sc in the same stitch
- sk – skip
- R – row
Before You Begin
Work the house panels flat and turn at the end of each row. Use a smaller hook than the yarn label suggests if needed to keep stuffing from showing through.
Crochet Instructions
House Panels – Make 2
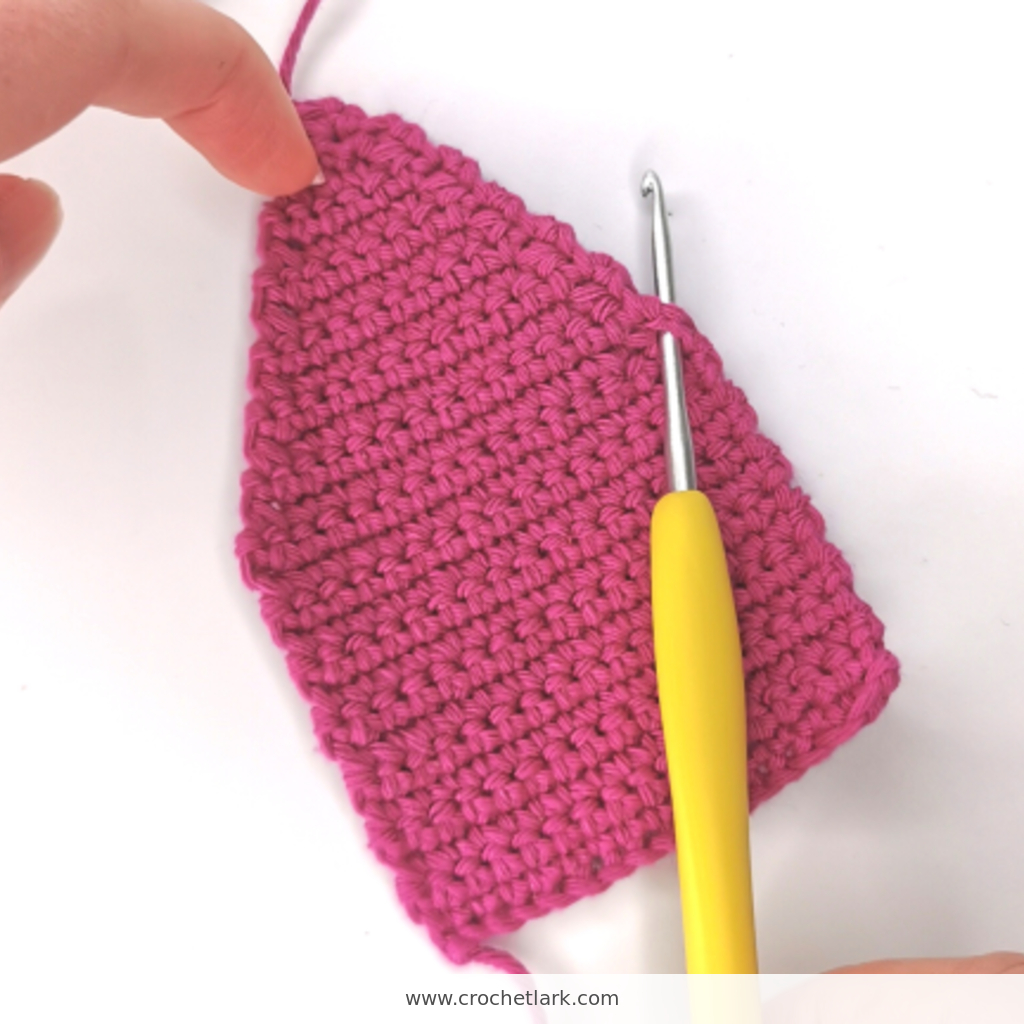
Using Color A, ch 17.
- R1: Starting in the second ch from hook, sc across; ch 1, turn. (16)
- R2-14: Sc across; ch 1, turn. (16) Repeat for 13 rows.
- R15: Dec, sc 12, dec; ch 1, turn. (14)
- R16: Sc across; ch 1, turn. (14)
- R17: Dec, sc 10, dec; ch 1, turn. (12)
- R18: Sc across; ch 1, turn. (12)
- R19: Dec, sc 8, dec; ch 1, turn. (10)
- R20: Sc across; ch 1, turn. (10)
- R21: Dec, sc 6, dec; ch 1, turn. (8)
- R22: Sc across; ch 1, turn. (8)
- R23: Dec, sc 4, dec; ch 1, turn. (6)
- R24: Sc across; ch 1, turn. (6)
- R25: Dec, sc 2, dec; ch 1, turn. (4)
- R26: Dec twice; ch 1, turn. (2)
- R27: Dec. (1) Fasten off.
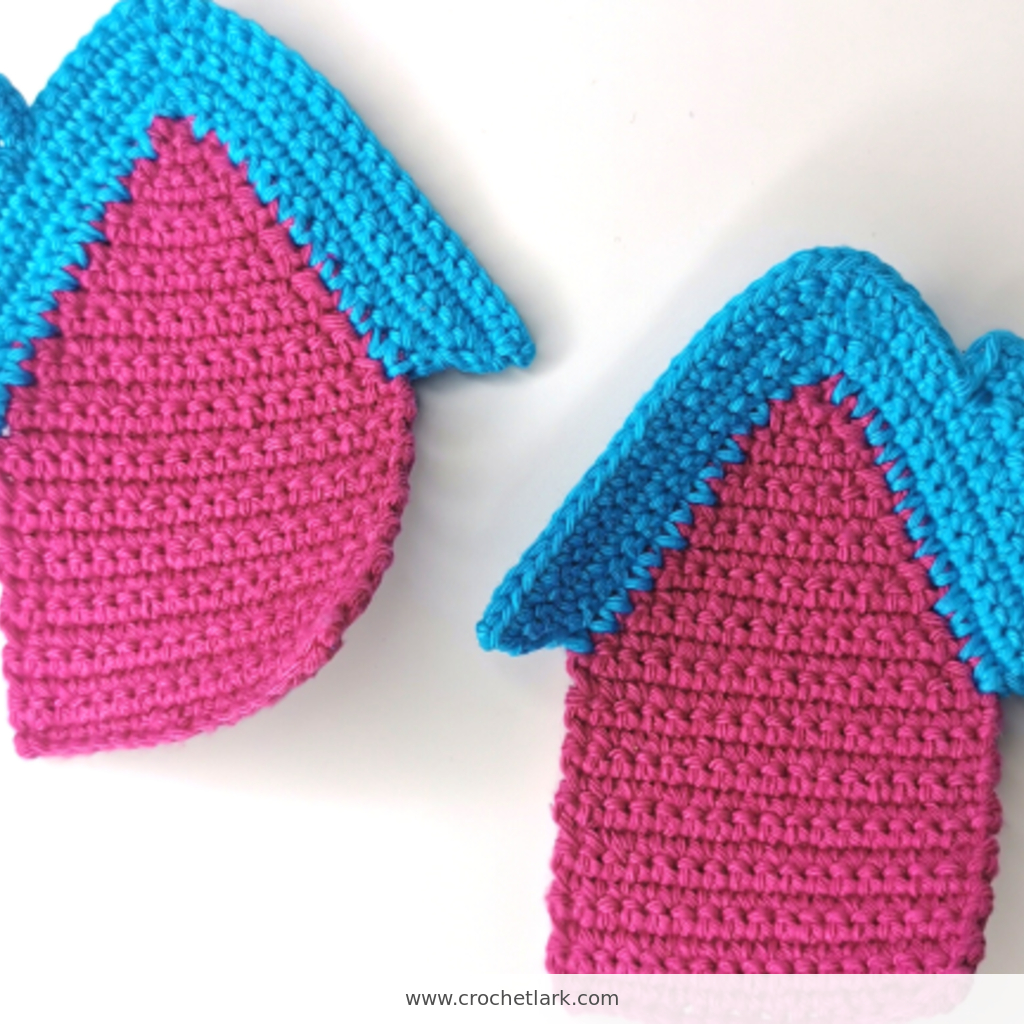
Attach Color B between R13 and R14 to make the roof.
- R28: Sc 13 evenly along the first roof slope, work 3 sc in the peak st, then sc 13 evenly down the opposite slope; ch 1, turn. (29)
- R29: Inc, sc 12, inc, sc, inc, sc 12, inc; ch 1, turn. (33)
- R30: Inc, sc 15, inc, sc 15, inc; ch 1, turn. (36)
- R31: Inc, sc 16, inc twice, sc 16, inc; ch 1, turn. (40)
- R32: Inc, sc 8. Make the chimney: ch 1, turn; sc 1, ch 1, turn; sc in chimney, sc in next 2 roof sts, ch 1, turn; sk 1, sc 2, ch 1, turn; sc 2 in chimney sts, sc in next roof st, ch 1, turn; sc 3, ch 1, turn; sc 3, ch 1; work 2 sc down the left chimney edge and sl st in the same roof st. Continue with sc 7 along the roof, inc twice, sc 18 down the roof side, inc in final st. (57; chains and sl st not counted) Fasten off.
Make the second panel the same way and weave in ends.
Door
Using Color B, ch 7.
- R1: Starting in second ch from hook, sc 6; ch 1, turn. (6)
- R2-8: Sc 6; ch 1, turn. (6) Repeat for 7 rows.
- R9: Dec, sc 2, dec; ch 1, turn. (4)
- R10: Dec twice. (2)
Leave a long sewing tail and fasten off.
Window
Using Color B, ch 5.
- R1: Starting in second ch from hook, sc 4; ch 1, turn. (4)
- R2-3: Sc 4; ch 1, turn. (4) Repeat for 2 rows.
- R4: Sc 4. (4)
Leave a long sewing tail and fasten off.
Assembly and Finishing
Sew the door and window onto one house panel; this is the front.
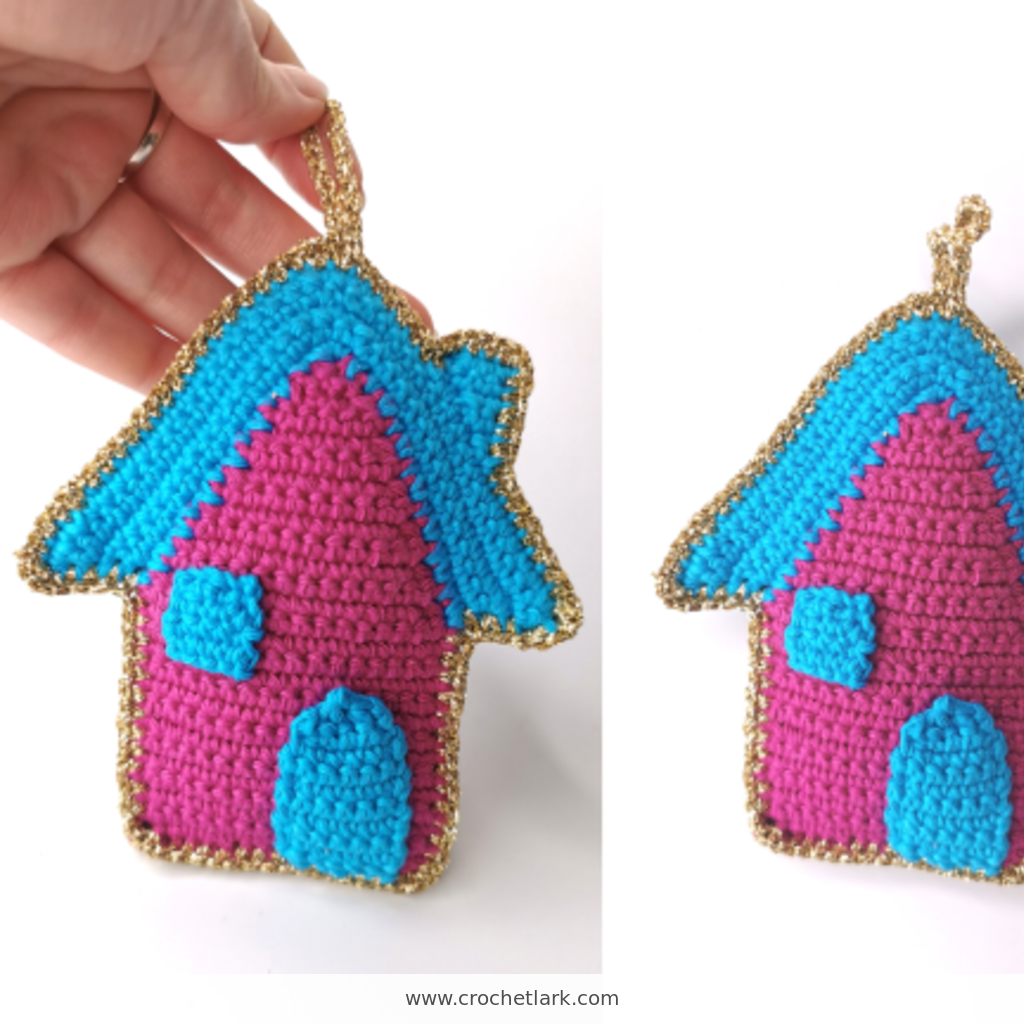
Place both house panels together, aligning all edges. Starting at the top-left corner, insert the hook through both layers and attach Color C.
Sc around the outside edge to join both panels. Work 3 sc in each corner stitch. Add stuffing once you reach halfway, then continue stuffing lightly while closing.
At the stitch immediately before the roof peak:
- Sc in the top house st.
- Ch 20.
- Sc again in the same top st.
- Sl st to the first Color C sc.
Leave a 10 cm / 4 in yarn tail. Sew this tail through the first and last stitches at the loop base to secure it, then weave in all remaining ends.
[PDF DOWNLOAD BUTTON: Download the Printable Crochet Gingerbread House Ornament Pattern]
Helpful Notes
Keep the ornament softly stuffed so it stays flat and house-shaped. Check that the roof panels align before joining. The hanging loop can be lengthened or shortened by changing the 20-chain count.
FAQ
Is this pattern worked in the round?
No. The two house panels, roof, door, and window are worked flat in rows.
Can I use different yarn?
Yes, but use a hook suitable for the yarn and expect the finished size to change.
Can I change the loop length?
Yes. Add or remove chains in the hanging-loop section before securing it.
Final Thoughts
This colorful house ornament works beautifully as a tree decoration, gift topper, or handmade seasonal keepsake. The technical details above were verified against the authorized reference pattern