
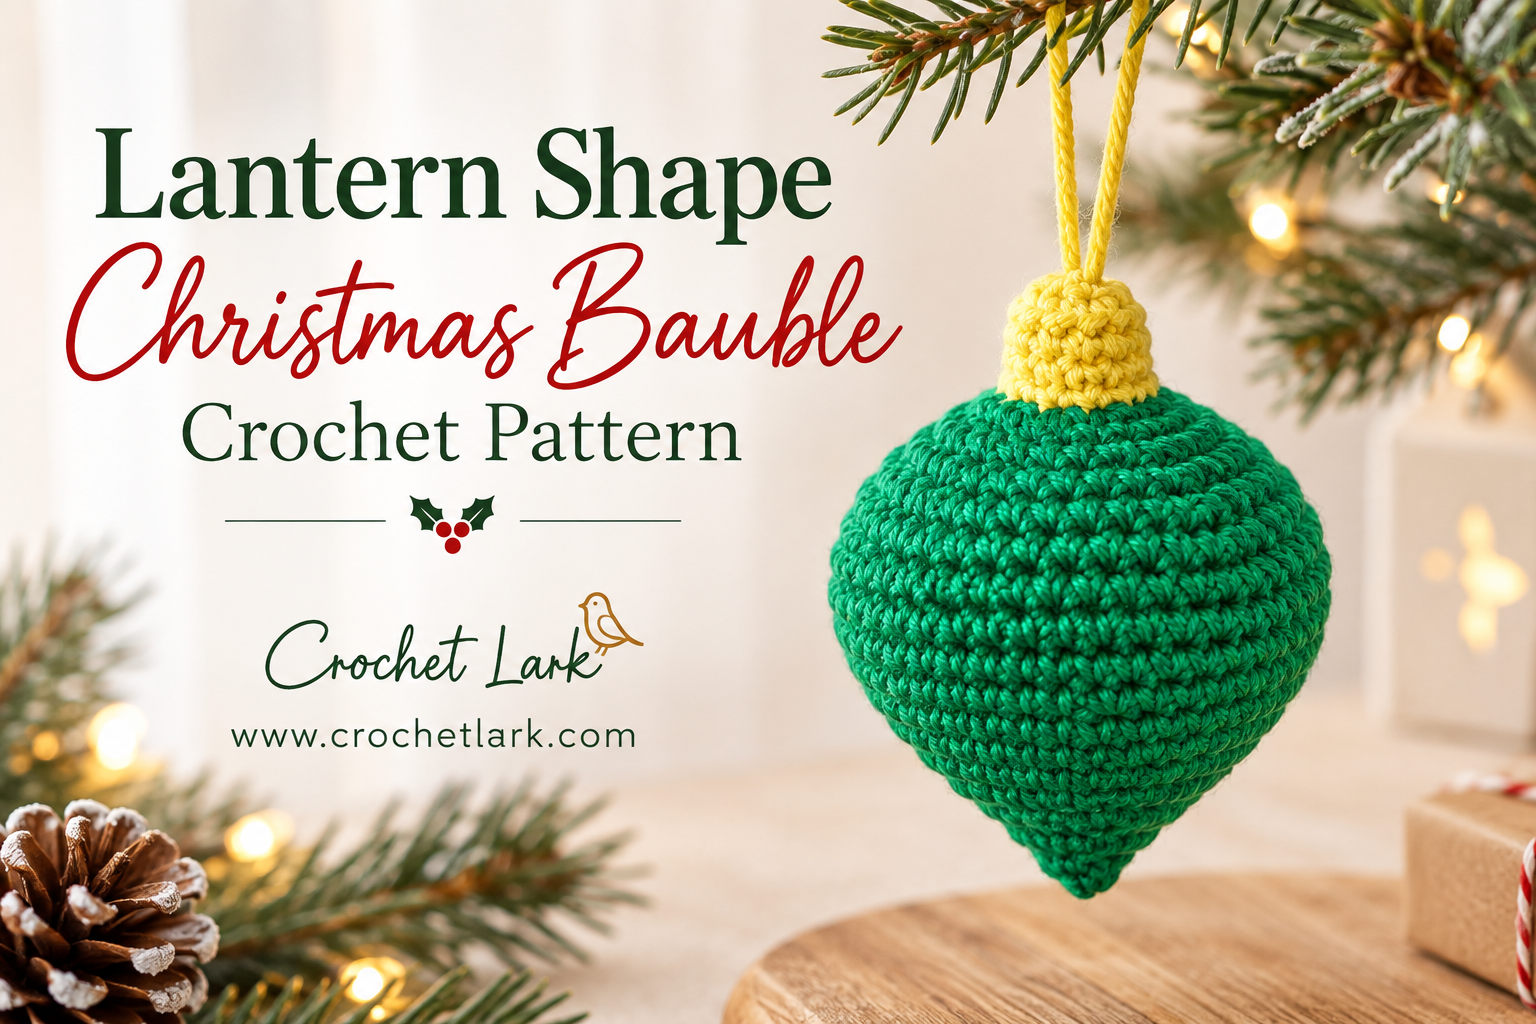
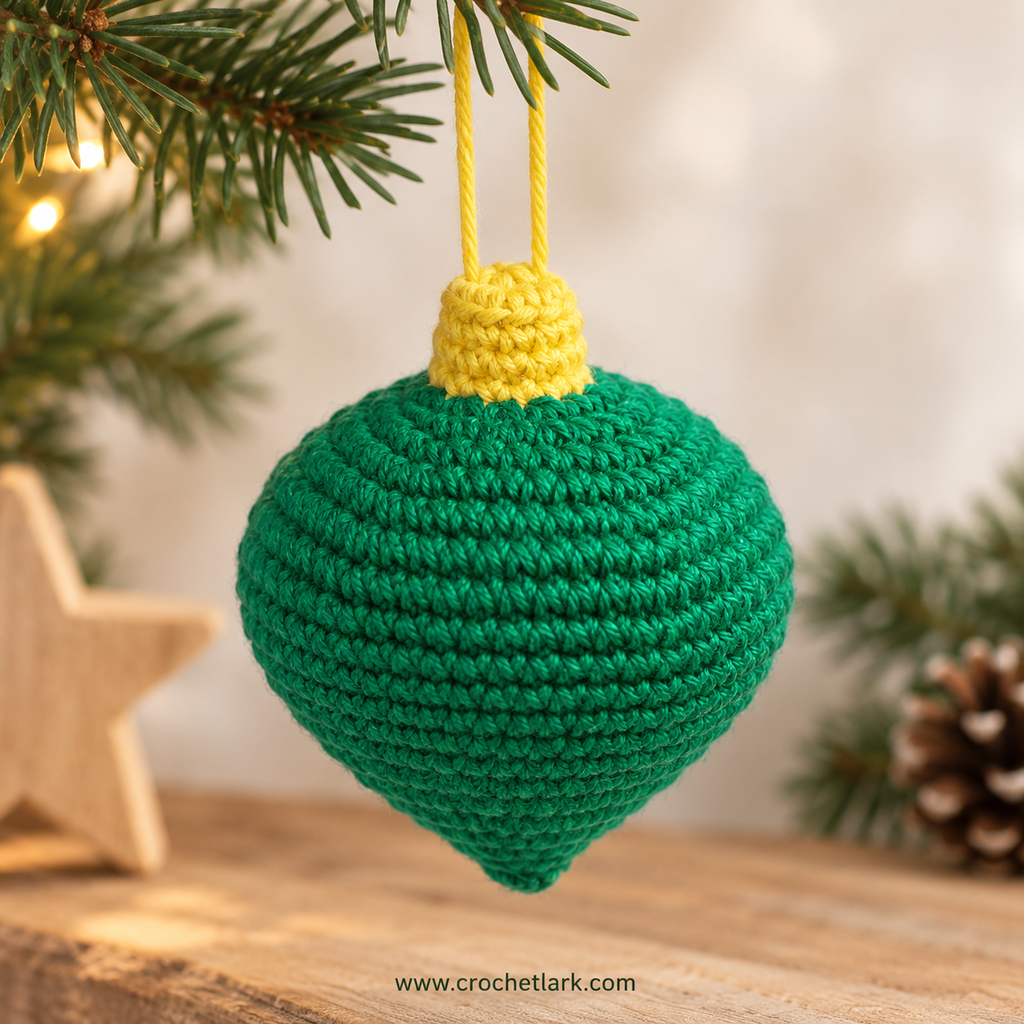
Add a handmade touch to your Christmas tree with this lantern shape Christmas bauble crochet pattern. Its rounded green body tapers neatly to a point, while the small yellow top and hanging loop give it the look of a classic festive ornament.
The bauble is worked mainly in continuous rounds using single crochet, increases, and decreases. There are no separate body pieces to sew together, making this a practical little Christmas project when you want something decorative without a complicated assembly process.
It also works well for using small amounts of leftover DK yarn, and you can easily change the colors to coordinate with your own holiday decorations.
Quick Answer
This crochet Christmas bauble is made with DK yarn and a 2.5 mm crochet hook. It is worked in a continuous spiral from the yellow top through the green body, stuffed as the shape develops, and finished with a separate yellow yarn hanging loop.
Using the specified yarn and hook, the finished bauble measures approximately 8 cm / 3.2 in high by 6 cm / 2.3 in wide, excluding the hanging loop. The original pattern is rated Easy.
Why You’ll Love This Project
- Quick seasonal crochet project
- Uses only small amounts of yarn
- Minimal finishing and no separate body pieces
- Simple single-crochet construction
- Easy to customize with different Christmas colors
- Ideal for trees, garlands, gift toppers, and handmade holiday sets
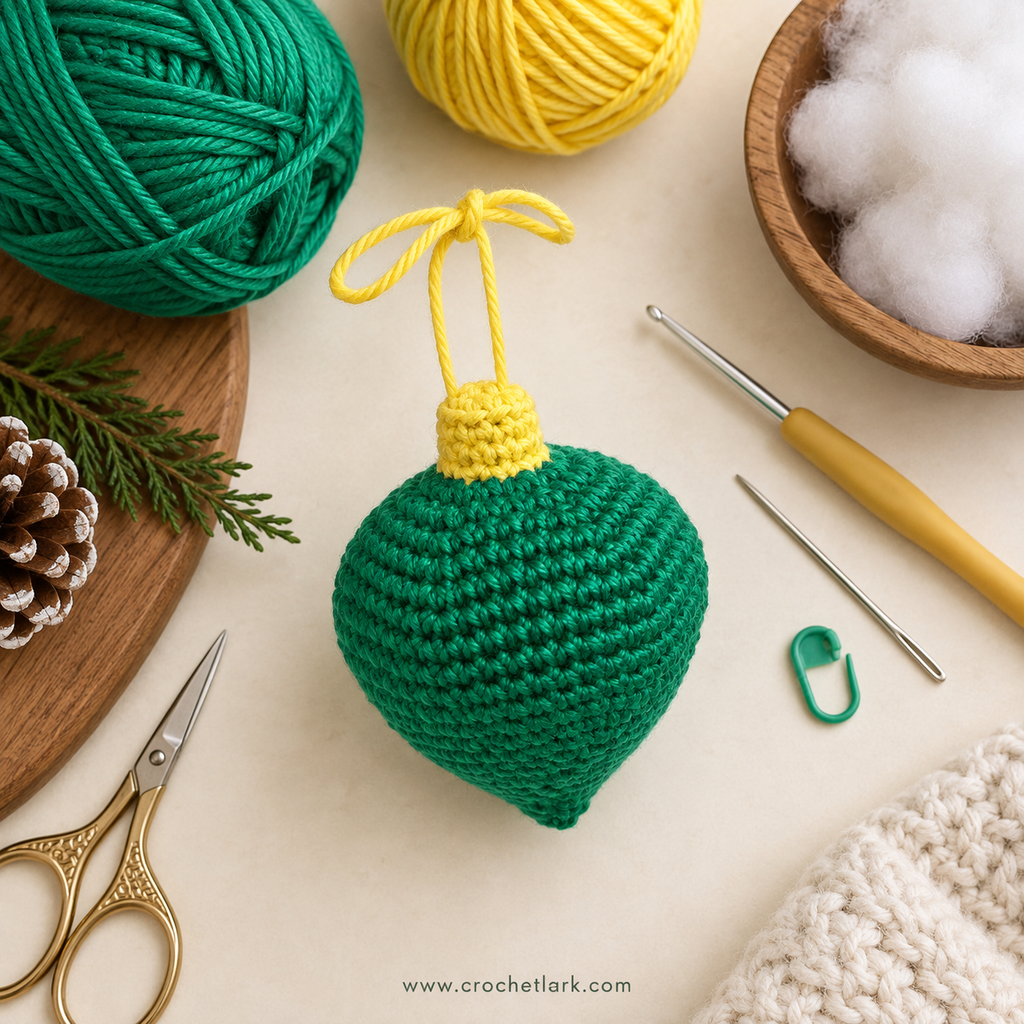
Materials
You will need:
- DK yarn
- Color A — Yellow: approximately 1 g / 2.3 m / 2.5 yd
- Color B — Green: approximately 11 g / 25.5 m / 28 yd
- 2.5 mm crochet hook
- Polyester stuffing
- Tapestry needle
- Scissors
- Stitch marker
The source pattern uses Rico Ricorumi DK as its reference yarn, but another suitable DK yarn can be substituted.
Finished Size
Using DK yarn and a 2.5 mm hook, the finished bauble is approximately:
8 cm / 3.2 in high × 6 cm / 2.3 in wide
The measurement does not include the hanging loop.
Your finished dimensions may change depending on yarn choice, hook size, and personal tension.
Gauge
Gauge is not essential for this project, but the reference gauge is:
- 7 sc = 2.5 cm / 1 in
- 7 rows = 2.5 cm / 1 in
Matching the gauge more closely will help produce a bauble similar in size to the sample.
Abbreviations
This pattern uses US crochet terminology.
- R — Round
- MC — Magic circle
- st / sts — Stitch / stitches
- ch — Chain
- sl st — Slip stitch
- sc — Single crochet
- inc — Increase; work 2 sc in the same stitch
- dec — Decrease
- BLO — Back loop only
- FLO — Front loop only
- [ ] × number — Repeat the instructions inside the brackets the stated number of times
- (number) — Stitch count at the end of the round
Before You Begin
The bauble is worked in continuous spiral rounds rather than joined rounds. Place a stitch marker in the first stitch of each round and move it upward as you work.
Keep your stitches reasonably firm so that the stuffing does not show through the fabric. Using a hook slightly smaller than you might normally use with the yarn can help create a dense crochet fabric.
The ornament is stuffed during construction. After Round 26, make sure the main body is firmly and evenly filled before the opening becomes too small to adjust easily.
Important: Round 2 ends with a ch 1 in the verified source instructions. That chain does not change the stated stitch count of 12 and is retained here rather than being silently altered.
Crochet Instructions
Yellow Top
Begin with Color A — Yellow.
Round 1
Make a magic circle and work 6 sc into the circle.
Stitch count: 6
Round 2
Work 2 sc in each stitch around.
12 sts
Then ch 1.
Round 3
Working in the back loops only, sc in each stitch around.
12 sts
Rounds 4–5
Sc in each stitch around.
12 sts per round
You will work 2 rounds with no increases.
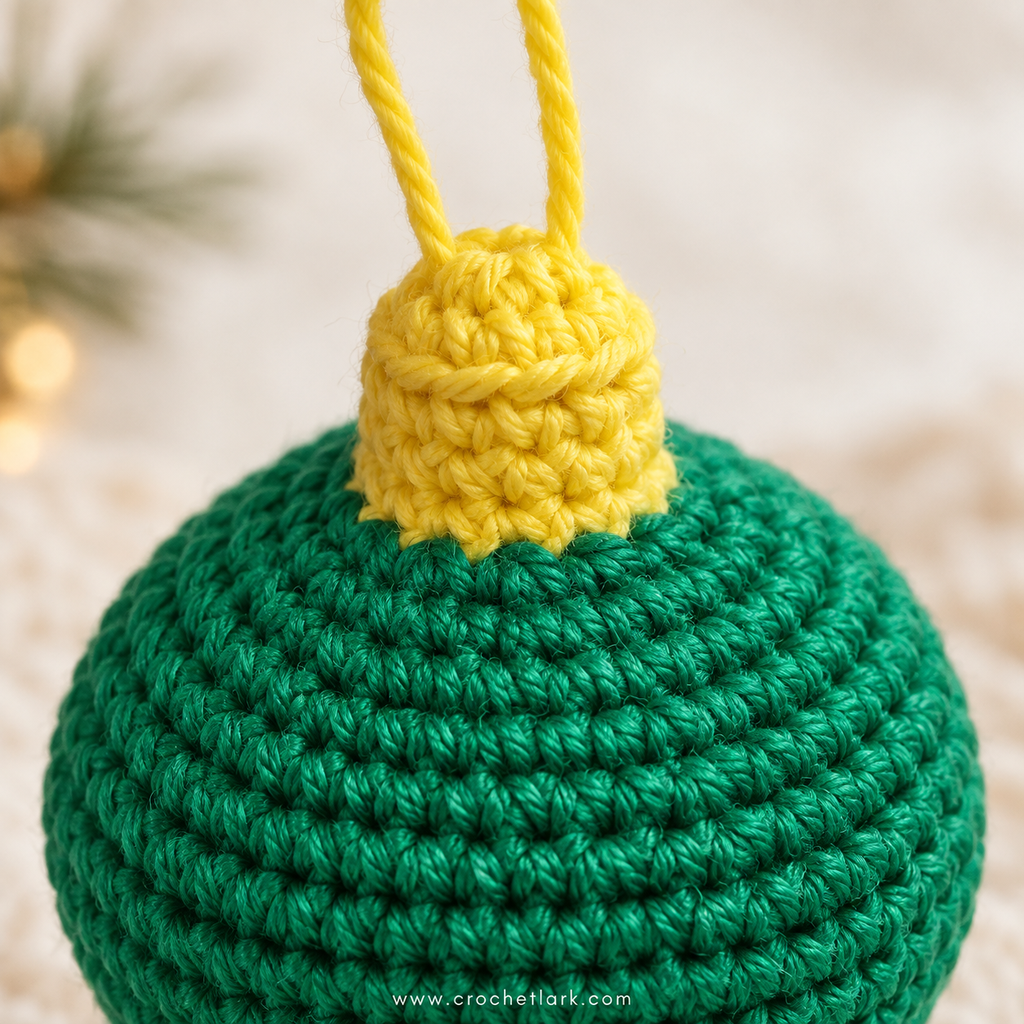
Change to Color B — Green.
Green Bauble Body
Round 6
Inc in each stitch around.
24 sts
Round 7
Repeat:
[3 sc, inc] × 6
30 sts
Round 8
Repeat:
[4 sc, inc] × 6
36 sts
Round 9
Repeat:
[5 sc, inc] × 6
42 sts
Round 10
Repeat:
[6 sc, inc] × 6
48 sts
Round 11
Repeat:
[7 sc, inc] × 6
54 sts
Rounds 12–15
Sc in each stitch around.
54 sts per round
Work 4 rounds total.
At this stage, the upper section of the green bauble should be broad and rounded.
Shaping the Lower Bauble
Round 16
Repeat:
[7 sc, dec] × 6
48 sts
Round 17
Repeat:
[6 sc, dec] × 6
42 sts
Round 18
Sc around.
42 sts
Round 19
Repeat:
[5 sc, dec] × 6
36 sts
Round 20
Sc around.
36 sts
Round 21
Repeat:
[4 sc, dec] × 6
30 sts
Round 22
Sc around.
30 sts
Round 23
Repeat:
[3 sc, dec] × 6
24 sts
Round 24
Sc around.
24 sts
Round 25
Repeat:
[2 sc, dec] × 6
18 sts
Round 26
Sc around.
18 sts
Stuff the bauble firmly. Shape the stuffing evenly so the upper section stays rounded and the narrowing lower section remains symmetrical.
Continue adding stuffing after each remaining round as necessary.
Round 27
Repeat:
[1 sc, dec] × 6
12 sts
Round 28
Sc around.
12 sts
Check the stuffing again before completing the final decrease round.
Round 29
Dec around.
6 sts
Fasten off, leaving enough yarn to close the opening.
Thread the yarn tail onto a tapestry needle. Pass the needle through the front loops only of the final 6 stitches.
Pull the yarn firmly to close the opening completely.
Secure the yarn and weave the remaining tail inside the bauble.
Hanging Loop
Cut approximately:
40 cm / 16 in of Color A — Yellow yarn
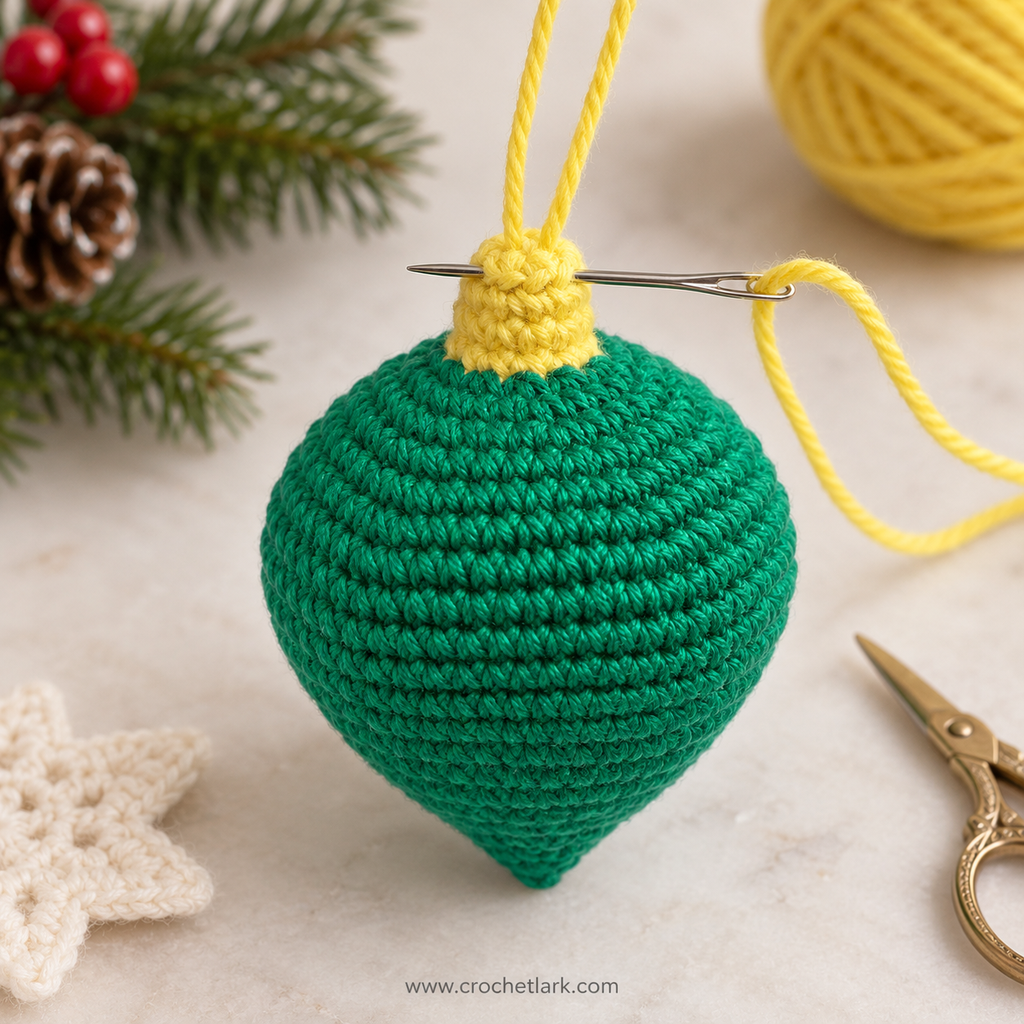
Thread the yellow yarn through a tapestry needle.
Insert the yarn through the crocheted top between Round 1 and Round 2.
Pull the yarn through until there is one strand extending from each side of the top.
Adjust the two strands until they are approximately equal in length.
Bring the strands together above the bauble to create the hanging loop.
Tie the strands together securely with a double knot at the top of the loop.
Assembly
No conventional assembly is required because the main ornament is crocheted as one continuous piece.
Once the bauble is finished:
- Check that the bottom opening is completely closed.
- Gently massage the stuffing into an even shape.
- Keep the widest section of the bauble rounded.
- Shape the lower portion so it tapers toward the small pointed base.
- Center the yellow top over the green body.
- Check that the hanging loop is firmly secured before hanging the ornament.
Finishing
Weave in any loose yarn ends and trim only after they are securely hidden inside the work.
Gently reshape the ornament with your hands. The finished bauble should have a rounded lantern-like upper section, a progressively narrowing lower body, and a small pointed tip.
The yellow crocheted top should sit directly above the green body, with the yellow yarn loop extending from its center.
Helpful Notes
For the cleanest result, use a stitch marker throughout the project. Because the pattern is worked in a spiral, it can be difficult to identify the beginning of a round without one.
Avoid overstuffing the final few rounds. Too much stuffing near the lower point can make the base look blunt rather than tapered.
If small gaps appear between your stitches, try using a slightly smaller crochet hook rather than dramatically tightening your tension.
The bauble can also be crocheted in traditional combinations such as red and gold, cream and burgundy, white and silver, or several coordinating colors for a complete ornament collection.
FAQ
Is this lantern Christmas bauble suitable for beginners?
The pattern is rated easy, but it is most suitable for someone who already understands a magic circle, single crochet, increases, decreases, and continuous rounds.
Is the bauble worked in joined rounds?
No. The ornament is worked in continuous spiral rounds. Do not join each round unless specifically instructed.
How large is the finished bauble?
Using the recommended materials, it measures approximately 8 cm / 3.2 in high by 6 cm / 2.3 in wide, excluding the hanging loop.
Do I need to match the gauge exactly?
No. Gauge is not essential for this decorative project. It is provided mainly as a reference if you want a finished size close to the sample.
Can I use a different yarn?
Yes. You can substitute another yarn, but changing the yarn weight can also change the appropriate hook size and the final size of the ornament.
Can I change the colors?
Absolutely. The green body and yellow top create the reference version, but the construction works with any color combination.
When should I add the stuffing?
The piece can be stuffed gradually as it develops. Make sure it is firmly stuffed by the end of Round 26, then continue adjusting and adding small amounts while completing the remaining decrease rounds.
How is the pointed bottom closed?
After Round 29 leaves 6 stitches, thread the yarn tail through the front loops of all 6 remaining stitches and pull firmly to close the opening.
How is the hanging loop attached?
A 40 cm / 16 in piece of yellow yarn is passed through the top between Rounds 1 and 2. The strands are evened out and secured with a double knot to create the loop.
Final Thoughts
This lantern shape Christmas bauble is a simple way to add handmade texture to your holiday decorating. The combination of a rounded body, tapered point, contrasting crochet top, and yarn hanging loop gives it a recognizable ornament shape without requiring complicated construction.
Make one as a quick tree decoration or crochet several in coordinating colors for a complete handmade Christmas collection.