
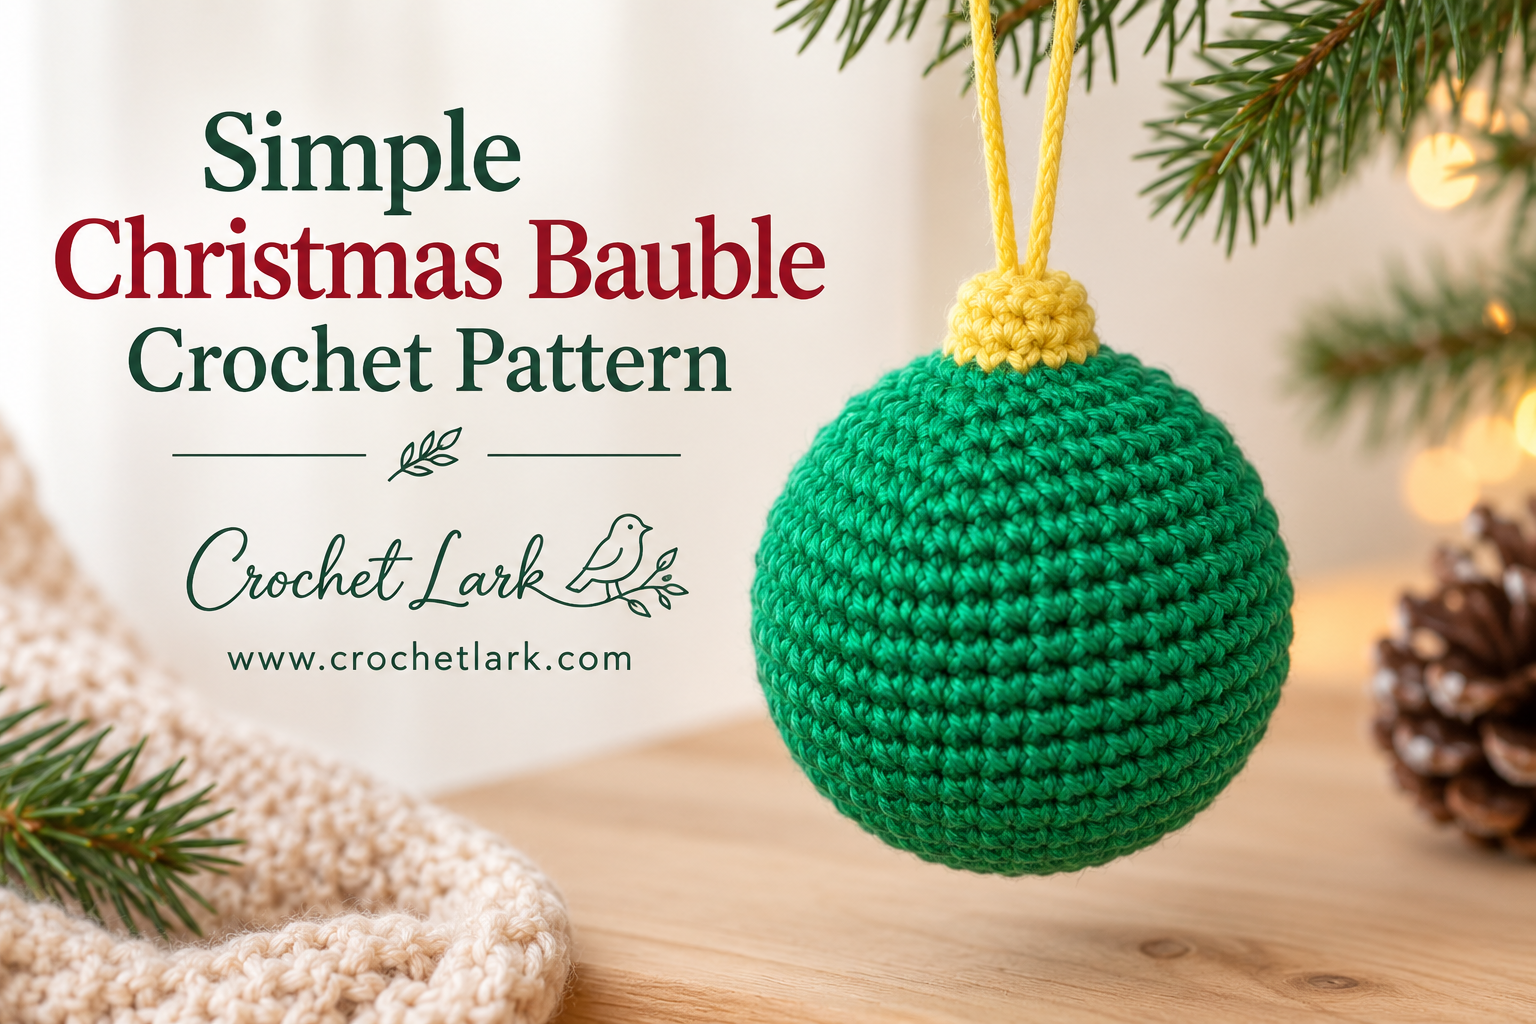
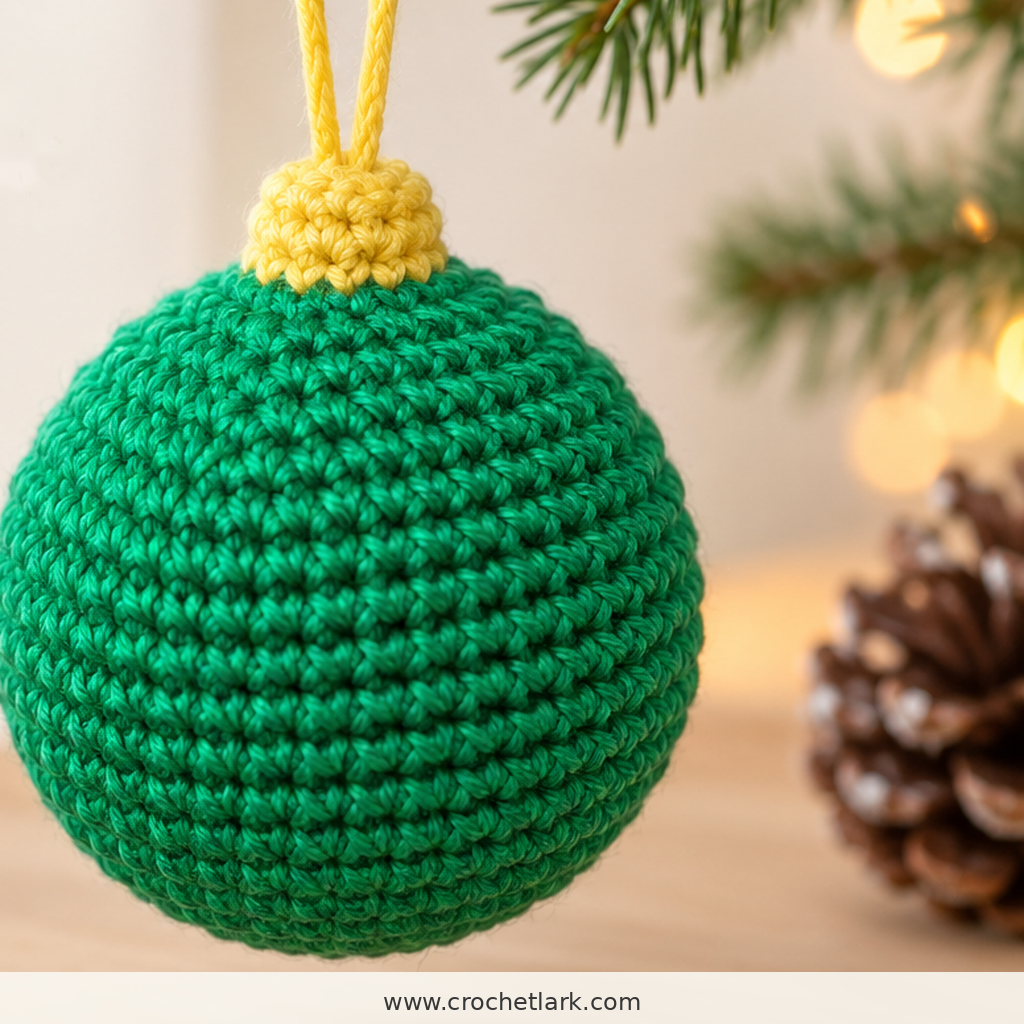
A handmade crochet bauble is an easy way to add a soft, traditional touch to your Christmas tree. This simple ornament has the familiar round bauble shape, a small contrasting cap at the top, and a yarn loop for hanging.
The project is worked mainly in single crochet using continuous spiral rounds. You begin with the yellow top, change to green for the body, shape the sphere with increases and decreases, then finish with stuffing and a separate hanging loop.
The verified pattern is rated easy, making it a manageable seasonal project for crocheters who already know basic amigurumi techniques.
Quick Answer
This crochet Christmas bauble is worked from the top downward as one continuous piece. The yellow cap is crocheted first, followed by the green spherical body. The ornament is stuffed before the final rounds close the bottom, and a separate yellow strand is threaded through the top to create the hanging loop.
Using DK yarn and a 2.5 mm crochet hook, the finished bauble measures approximately 6 cm / 2.3 inches high by 6 cm / 2.3 inches wide, excluding the hanging loop.
Why You’ll Love This Project
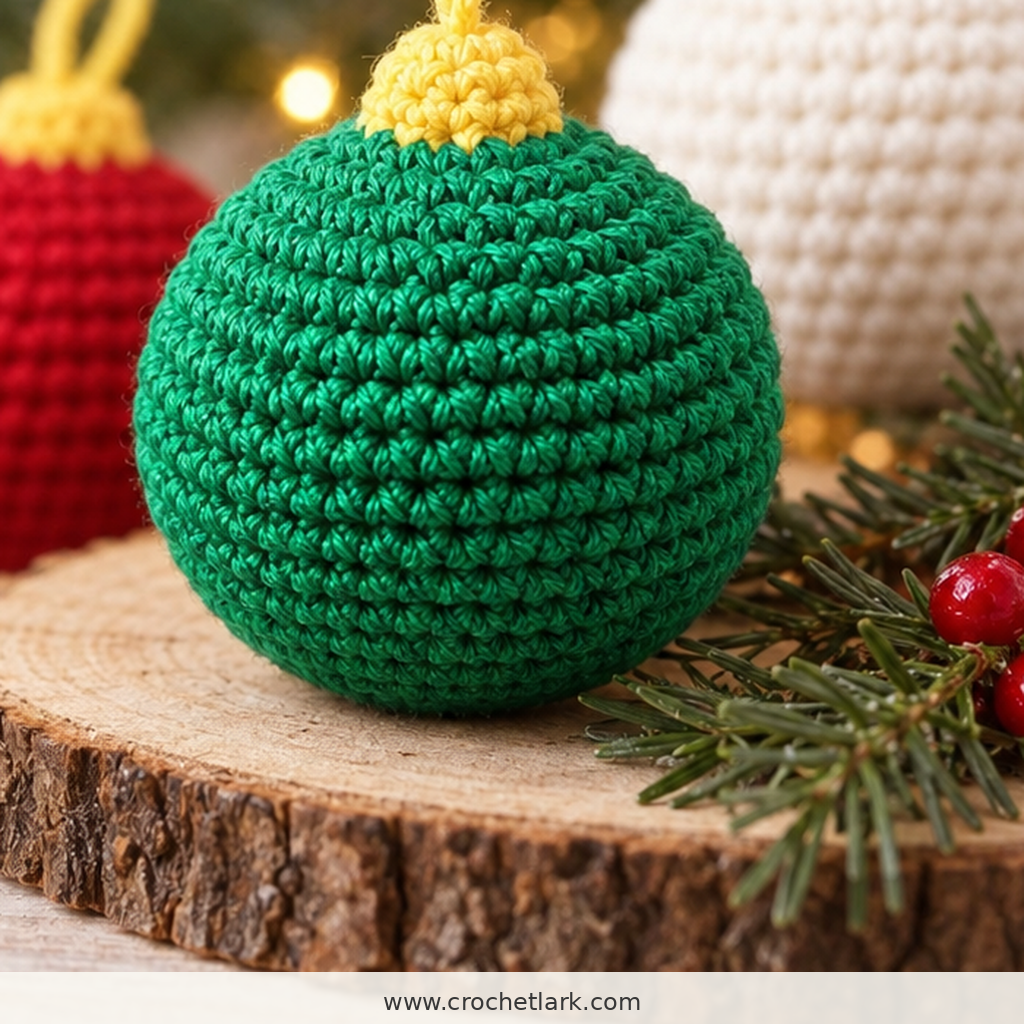
This small Christmas project uses basic single crochet shaping and only two yarn colors. The compact size makes it useful for decorating trees, wreaths, garlands, gift packages, or handmade Christmas displays.
The simple spherical construction is also easy to customize. Once you understand the shaping, you can repeat the ornament in different holiday colors without changing the pattern.
Materials
You will need:
- DK-weight yarn in yellow and green
- Yellow: approximately 1 g / 2.3 m / 2.5 yd
- Green: approximately 13 g / 30.2 m / 33 yd
- 2.5 mm crochet hook
- Polyester stuffing
- Tapestry needle
- Scissors
- Stitch marker
The reference ornament was made with Rico Ricorumi DK yarn.
Finished Size
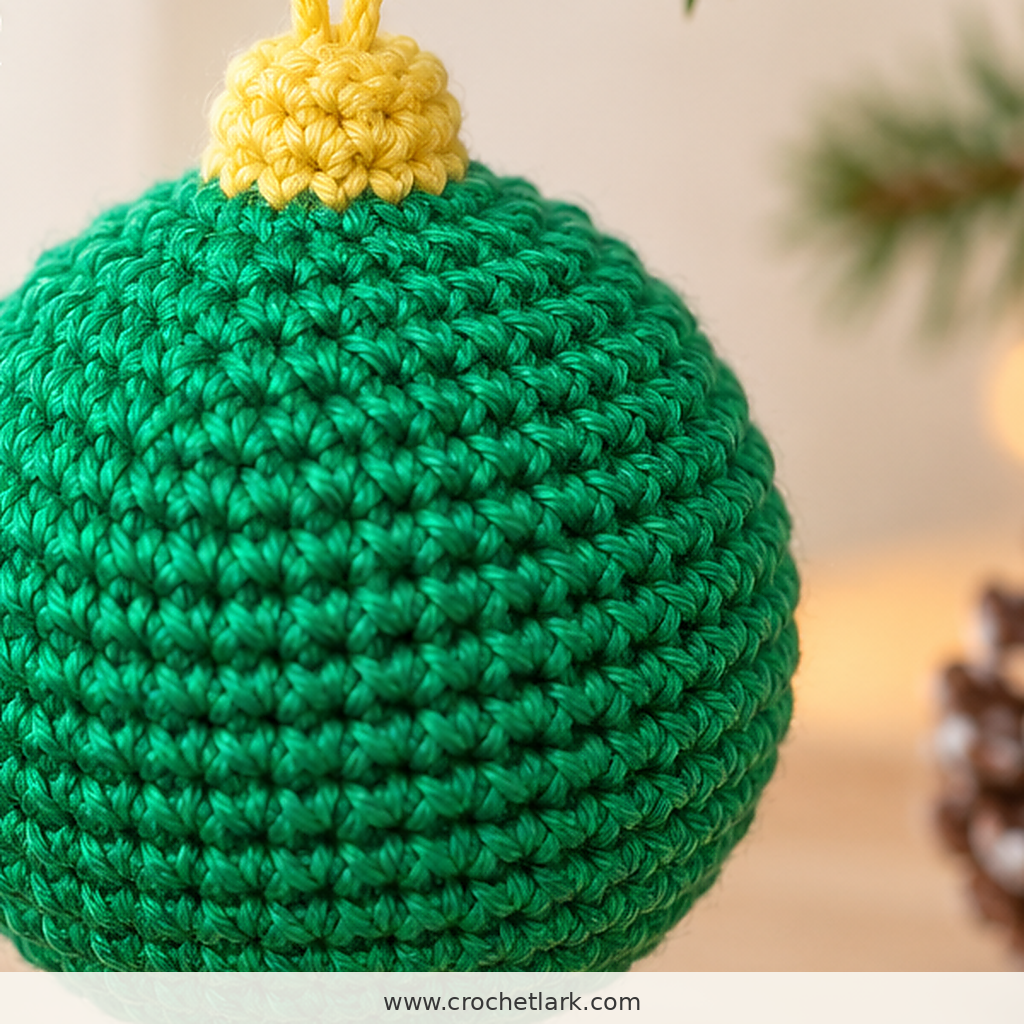
Using the stated DK yarn and a 2.5 mm hook, the finished ornament measures approximately:
6 cm / 2.3 inches high × 6 cm / 2.3 inches wide
The measurement does not include the hanging loop.
Changing yarn weight, hook size, or crochet tension will change the finished size.
Gauge
Gauge is not essential for completing this project, but the verified reference gauge is:
7 sc = 2.5 cm / 1 inch
7 rows = 2.5 cm / 1 inch
Abbreviations
This pattern uses US crochet terminology.
- R – round
- MC – magic circle
- st / sts – stitch / stitches
- ch – chain
- sl st – slip stitch
- sc – single crochet
- inc – increase; work 2 sc into the same stitch
- dec – single crochet decrease
- BLO – back loop only
- FLO – front loop only
- [ ] x N – repeat the instructions inside the brackets the stated number of times
- (N) – total number of stitches at the end of the round
Before You Begin
The bauble is worked in continuous spiral rounds. Do not join each round unless specifically instructed.
Place a stitch marker into the first stitch of every round and move it up as you crochet. This makes it much easier to keep track of the round beginning.
A smaller crochet hook than you might normally use with DK yarn helps produce a dense fabric so the stuffing does not show through the stitches.
The yellow cap and green body are crocheted continuously. There are no separate body pieces to sew together.
The source also recommends stuffing progressively as you work. The pattern specifically calls for firm stuffing once you reach the lower shaping rounds.
Crochet Instructions
Yellow Bauble Top
Using yellow yarn:
R1: Make a MC and work 6 sc into the circle. (6)
R2: Inc in every stitch around. Ch 1. (12)
R3: Working in the BLO, sc around. (12)
R4–R5: Sc around. (12) for 2 rounds.
Do not fasten off yet. The green bauble body continues directly from this section.
Green Bauble Body
Change to green yarn.
R6: Inc in every stitch around. (24)
R7: [3 sc, inc] × 6. (30)
R8: [4 sc, inc] × 6. (36)
R9: [5 sc, inc] × 6. (42)
R10: [6 sc, inc] × 6. (48)
R11: [7 sc, inc] × 6. (54)
Straight Body Rounds
R12–R19: Sc around. (54) for 8 rounds.
At this stage, the upper half and full circumference of the bauble are established.
Shape the Lower Half
R20: [7 sc, dec] × 6. (48)
R21: [6 sc, dec] × 6. (42)
R22: [5 sc, dec] × 6. (36)
R23: [4 sc, dec] × 6. (30)
R24: [3 sc, dec] × 6. (24)
Stuff the bauble firmly now. Distribute the stuffing evenly so the ornament keeps its rounded shape.
Continue adding small amounts of stuffing after each new decrease round as needed.
R25: [2 sc, dec] × 6. (18)
R26: [sc, dec] × 6. (12)
Finish stuffing before completing the final round.
R27: Dec × 6. (6)
Closing the Bauble
Cut the green yarn, leaving enough tail for closing.
Thread the yarn tail onto a tapestry needle.
Pass the needle through the front loops only of the final 6 stitches.
Pull the yarn firmly to close the remaining opening.
Secure the yarn and weave the tail inside the bauble so it is hidden.
Hanging Loop
Cut approximately 40 cm / 16 inches of yellow yarn.
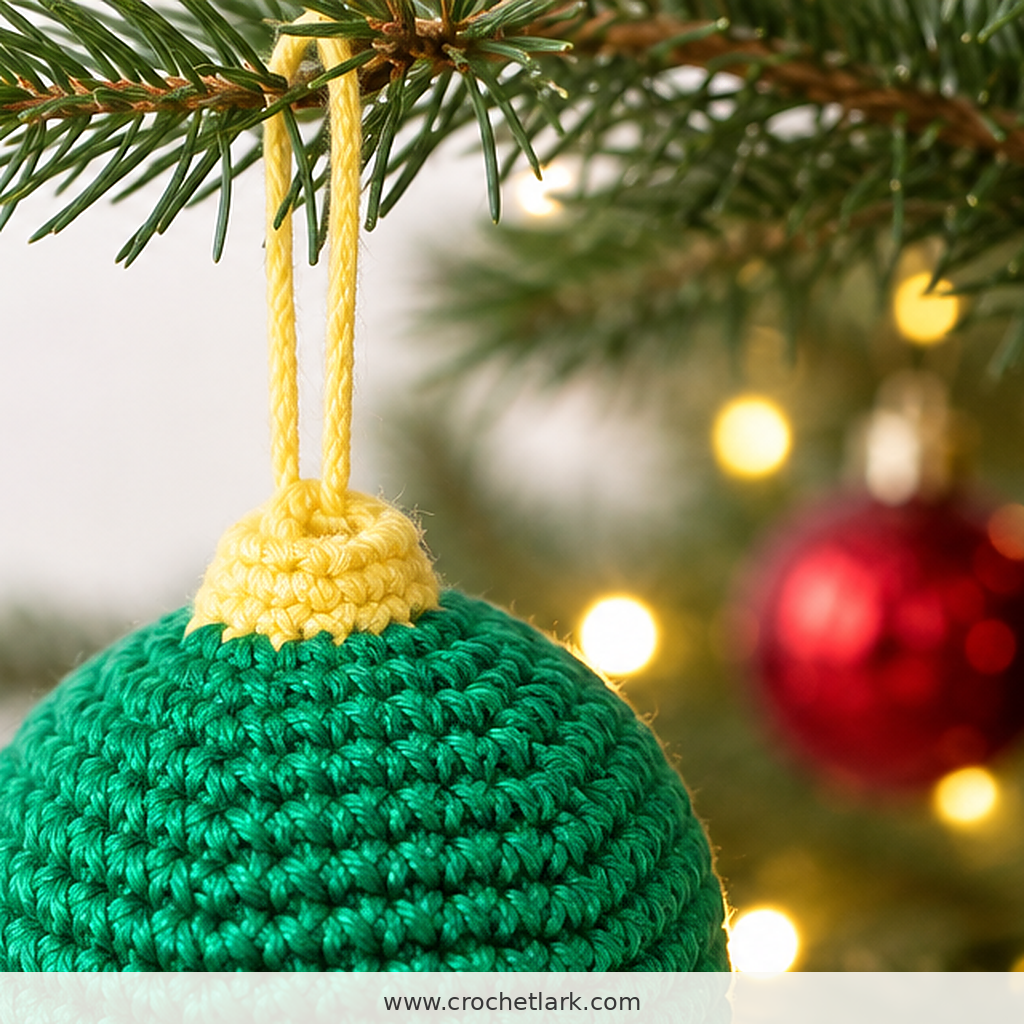
Thread the yellow strand onto a tapestry needle and pass it through the top of the ornament between R1 and R2.
Position the strand so an equal amount of yarn comes out on each side.
Bring the two sides together above the ornament and adjust the loop until the bauble hangs at the height you want.
Tie the ends together securely with a double knot.
The yellow hanging loop is now complete.
Assembly
This ornament requires very little assembly because the yellow top and green bauble body are worked as one continuous crocheted piece.
Once the sphere has been stuffed and the bottom opening has been closed, the only remaining assembly step is adding the yellow hanging strand through the top.
Check that the yarn strand is secure before hanging the ornament.
Finishing
Gently roll and shape the stuffed ornament between your hands to even out the stuffing.
Pay particular attention to the lower decrease rounds and the transition between the yellow cap and green body.
Weave in any remaining yarn ends.
Adjust the hanging loop so the bauble hangs straight.
Helpful Notes
Keep your single crochet stitches firm and consistent. Dense stitches produce a neater stuffed ornament and help prevent polyester filling from showing through the fabric.
Use the stitch counts at the end of each round as checkpoints. The body gradually increases from 12 stitches to 54 stitches, remains at 54 stitches for eight rounds, then decreases back down to 6 stitches.
Do not wait until the opening becomes extremely small before adding most of the stuffing. The source specifically instructs you to stuff firmly after R24 and continue adding stuffing through the remaining decrease rounds.
If your finished bauble looks slightly uneven, reshape it gently by hand after closing.
You can change the yarn colors without changing the construction. Traditional red, cream, gold, white, or mixed Christmas color combinations can all be used with the same pattern.
FAQ
Is this crochet Christmas bauble beginner-friendly?
The verified source rates the project as easy. It is best suited to someone comfortable with a magic circle, single crochet, increases, decreases, back-loop crochet, and continuous rounds.
Is the bauble worked in joined rounds?
No. The ornament is worked in continuous spiral rounds. Using a stitch marker at the beginning of each round is recommended.
Do I need to match the gauge?
Gauge is not required for the pattern to work. The reference gauge is provided mainly to help you achieve a finished ornament close to the stated 6 cm size.
When should I stuff the bauble?
You can add stuffing gradually as the project grows. The instructions specifically call for firm stuffing after R24, followed by additional stuffing as the final decrease rounds are completed. Finish stuffing before R27.
Can I use another yarn weight?
Yes, but the finished size will change. A different yarn weight may also require a different hook size. Keep the fabric tight enough that the stuffing does not show between the stitches.
Is the hanging loop crocheted?
No. The hanging loop is made from an approximately 40 cm / 16 inch strand of yellow yarn threaded through the ornament between R1 and R2 and tied with a double knot.
Can I make the ornament in different colors?
Yes. The color choices do not affect the stitch counts or construction. Keep the same round sequence and substitute colors that coordinate with your Christmas decorations.
Final Thoughts
This simple Christmas bauble crochet pattern combines classic ornament shaping with straightforward amigurumi construction. The small yellow cap, rounded green body, and matching hanging loop create a traditional decoration that looks right at home on a Christmas tree.
Because the construction stays the same from one bauble to the next, it is also a useful pattern for creating a coordinated collection in several festive colors.