
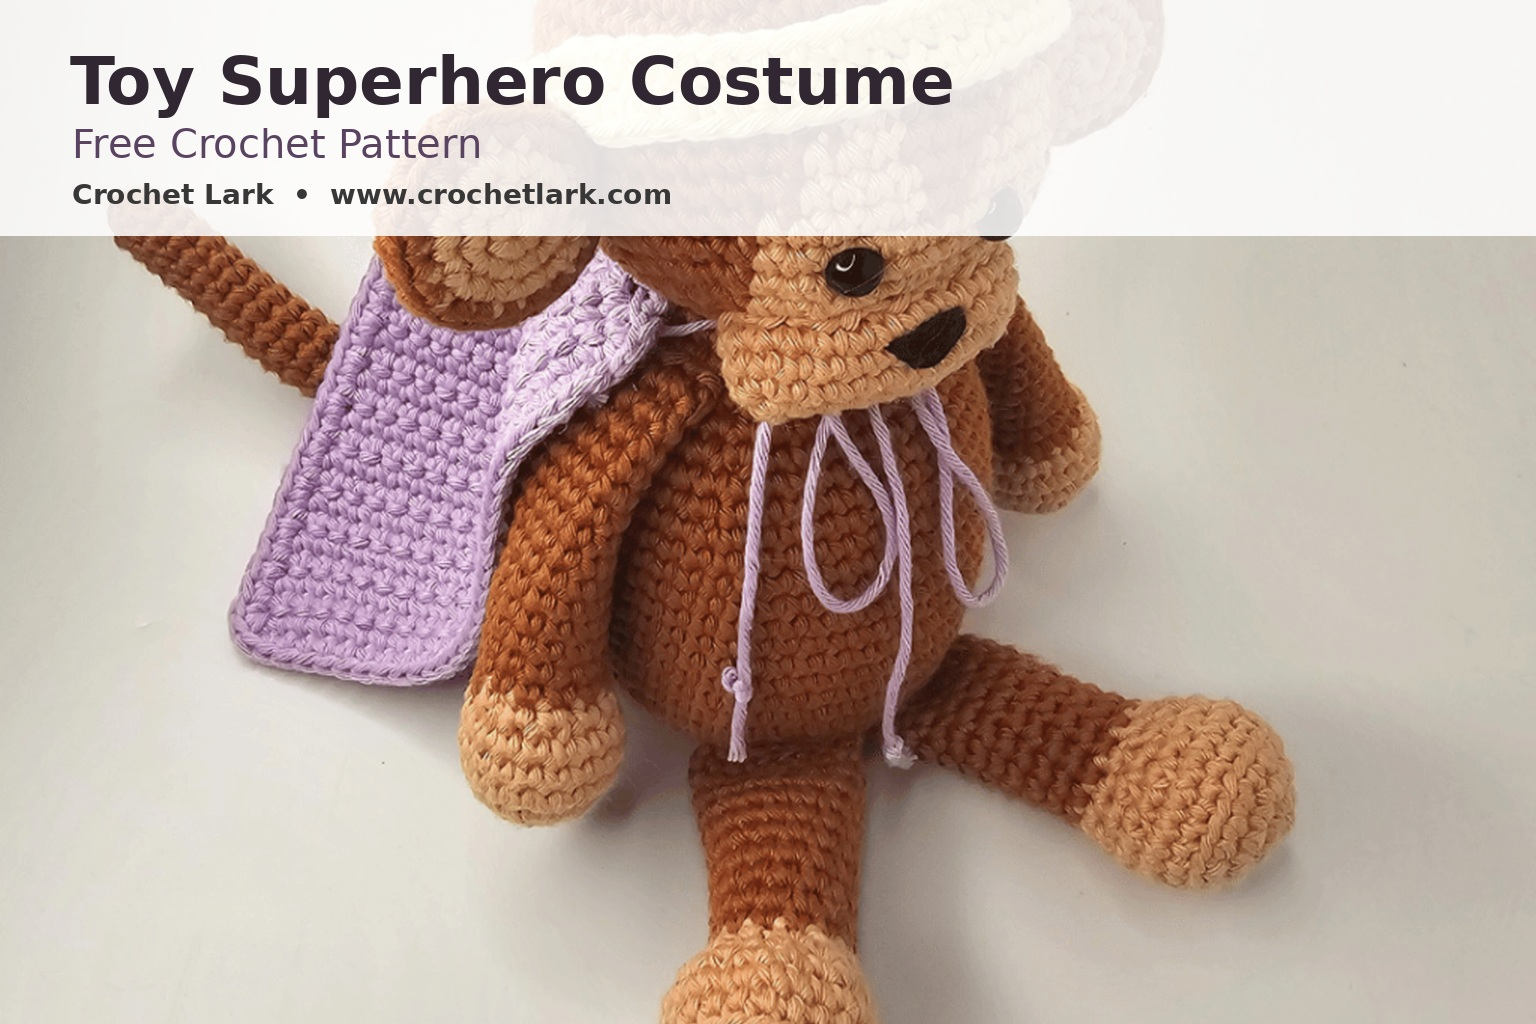
Turn a favorite amigurumi, doll or soft toy into a tiny superhero with this customizable crochet cape and headband.
Instead of relying on one fixed size, the pattern uses the toy’s own measurements. The cape is worked in simple single crochet rows, finished with tie openings and an edging, while the matching headband includes crocheted straps for an adjustable fit. The source specifies DK/light-worsted yarn, a 3.5 mm hook, and an easy skill level.
Quick Answer
Measure the toy’s back height, back width and head circumference first. Calculate the cape length as back height × 1.5 and cape width as back width × 1.25. Crochet a rectangular cape to those measurements, add tie openings and an edging, then make the separate headband and its two tie straps.
Materials
You will need DK/light-worsted yarn in two colors. The reference project uses approximately 25 g / 37.5 m / 41 yd for the cape and 3 g / 4.5 m / 5 yd for the headband. You’ll also need a 3.5 mm (E) crochet hook, tapestry needle, scissors, pins, stitch markers, measuring tape and the toy you are sizing the costume for. Ribbon can replace the yarn cape tie if preferred.
Gauge
Gauge is not essential because the costume is sized from measurements.
Reference gauge:
11 sc = 5 cm / 1.96 in
11 rows = 5 cm / 1.96 in
Abbreviations
R – Row/Round
st – Stitch
ch – Chain
sl st – Slip stitch
sc – Single crochet
inc – Increase
dec – Decrease
Brackets indicate a repeated stitch sequence; parentheses may indicate the final stitch count.
Complete Crochet Instructions
Step 1: Measure Your Toy
For the cape, measure:
Back width – across the toy’s back.
Back height – vertically down the back.
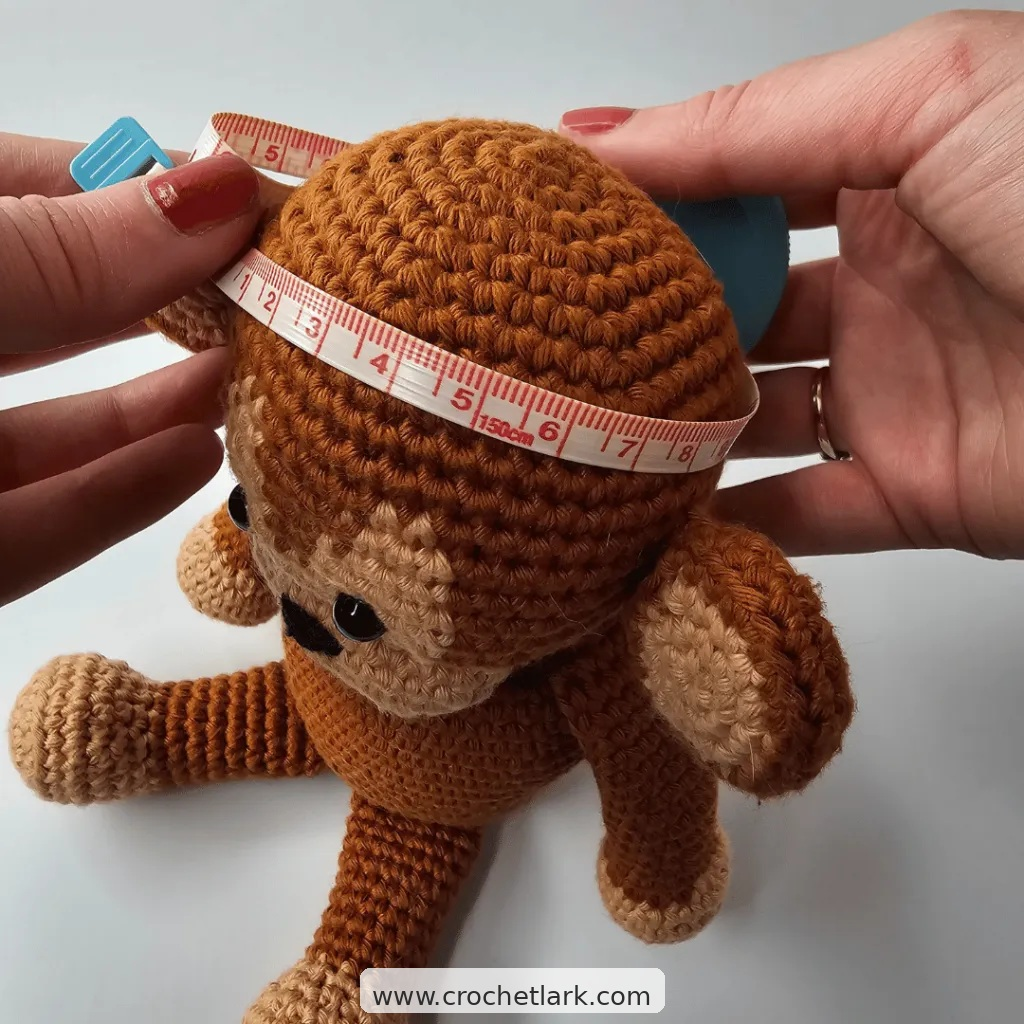
For the headband, measure the head circumference where you want the band to sit.
The reference toy measured 7.5 cm / 3 in across the back, 10 cm / 4 in in back height, and 23 cm / 9 in around the head.
Step 2: Calculate the Cape Size
Use:
Back height × 1.5 = cape length
Example:
10 cm × 1.5 = 15 cm
or:
4 in × 1.5 = 6 in
Then calculate:
Back width × 1.25 = cape width
Example:
7.5 cm × 1.25 = 9.38 cm
or:
3 in × 1.25 = 3.75 in.
Crochet the Cape
Using Colour A, chain until the foundation chain reaches your calculated cape length. Include the loop currently on the hook when measuring.
Row 1: Starting in the second chain from the hook, work 1 sc into each chain across. Ch 1 and turn.
Row 2: Sc in every stitch across. Ch 1 and turn.
Repeat Row 2 until the total width of your rows approximately matches the calculated cape width.
Record how many rows you made. Do not fasten off.
Create the Cape Tie Openings
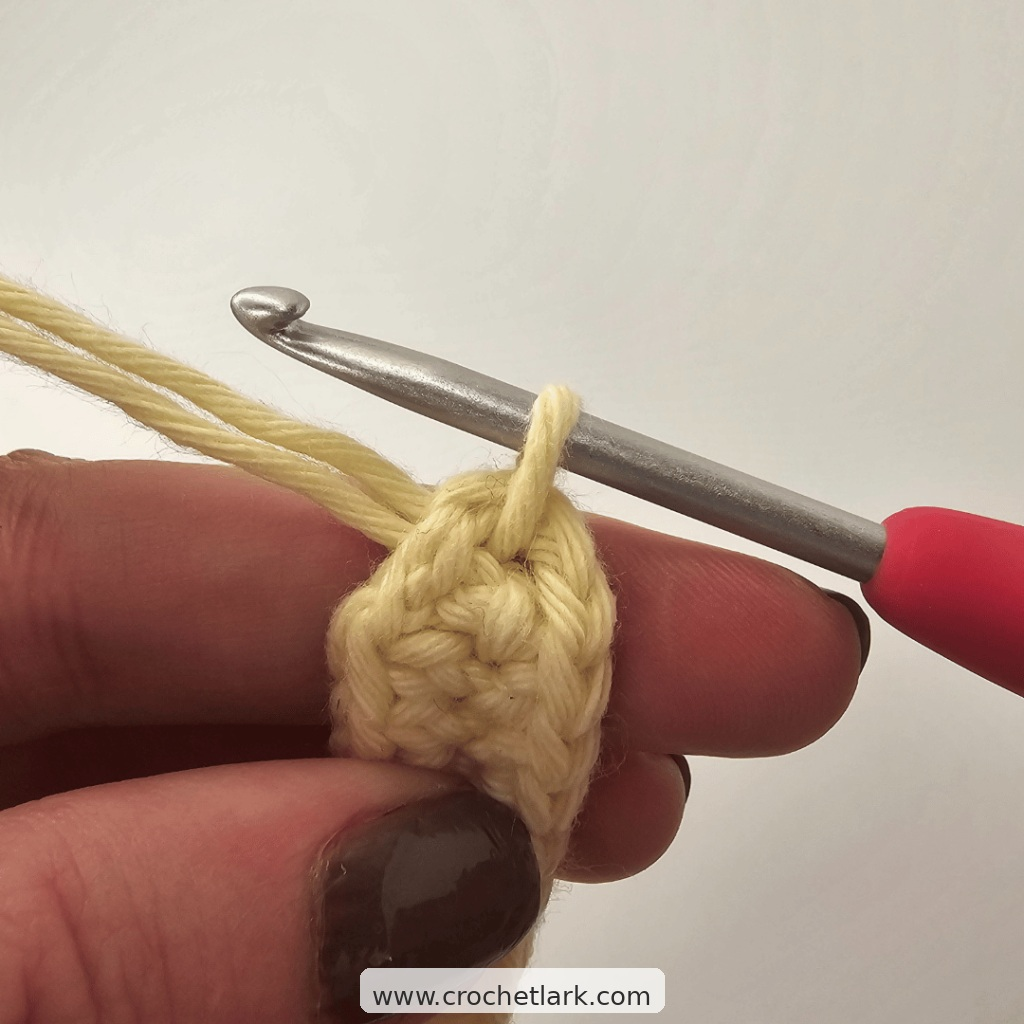
You’ll now work along the nearest short edge of the cape.
Calculate:
Total number of cape rows ÷ 3 = number of stitch markers
Round to the nearest whole number when necessary.
For example, a 21-row cape uses:
21 ÷ 3 = 7 stitch markers
Position those markers evenly across the short edge.
Starting from your hook, count how many rows lie between the hook and the next marker.
Chain one more than that number, then slip stitch into the marked space.
For example, if two rows separate the hook from the marker:
Ch 3, sl st into the marked space.
Continue the same process between each marker.
After reaching the final marker, count the remaining rows to the long edge. Chain one more than this number and sc into the next stitch along the adjacent long side.
Edge the Cape
Continue working single crochet around the remaining three edges.
At each corner, work:
2 sc into the corner stitch.
When you return to your starting position, join with a slip stitch into the first chain.
Cut the yarn and fasten off.
Weave in all loose ends with a tapestry needle.
Add the Cape Tie
Cut a separate piece of Colour A approximately 2–3 times the width of the cape.
Thread it through the openings across the cape’s top edge, weaving alternately in and out.
This strand becomes the adjustable cape tie.
You can substitute ribbon if desired.
Crochet the Superhero Headband
Important Source Calculation Note
There is a genuine inconsistency in the published source that should not be silently hidden: its written formula says head circumference ÷ 3, but both numerical examples immediately underneath use ÷ 2: 23 cm ÷ 2 = 11.5 cm and 9 in ÷ 2 = 4.5 in.
For this Crochet Lark adaptation, half the head circumference is used for the center-band chain, because that is the calculation demonstrated by both worked examples. Check the chain directly against your toy before continuing and adjust if necessary.
Crochet the Center Band
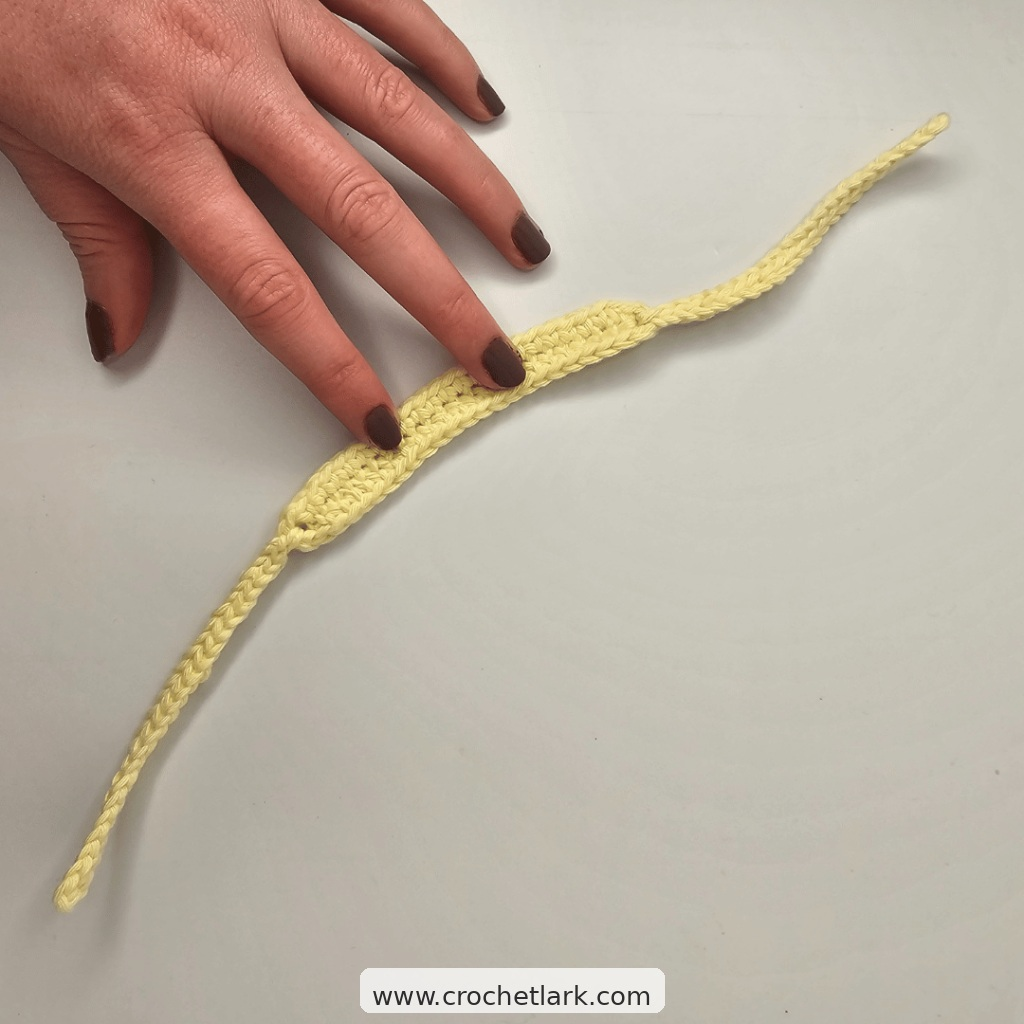
Using Colour B, chain until the foundation chain reaches the calculated center-band length. Include the loop on your hook when measuring.
Round 1: Beginning in the second chain from the hook, work 1 sc into every chain.
At the end, ch 3.
Rotate the work so you can crochet along the unused side of the foundation chain.
Work 1 sc into each chain along this side.
At the opposite end, ch 3 again.
Join with a sl st into the first sc.
Cut the yarn, fasten off and weave in the ends.
First Headband Tie
Join Colour B in the chain space at one end of the center band.
Chain until this strap reaches the same chosen center-band length.
Starting in the second chain from the hook, work sl st in every chain back toward the headband.
Sl st into the chain space where the tie began.
Cut yarn, fasten off and weave in the ends.
Second Headband Tie
Repeat the same instructions in the chain space at the opposite end of the headband.
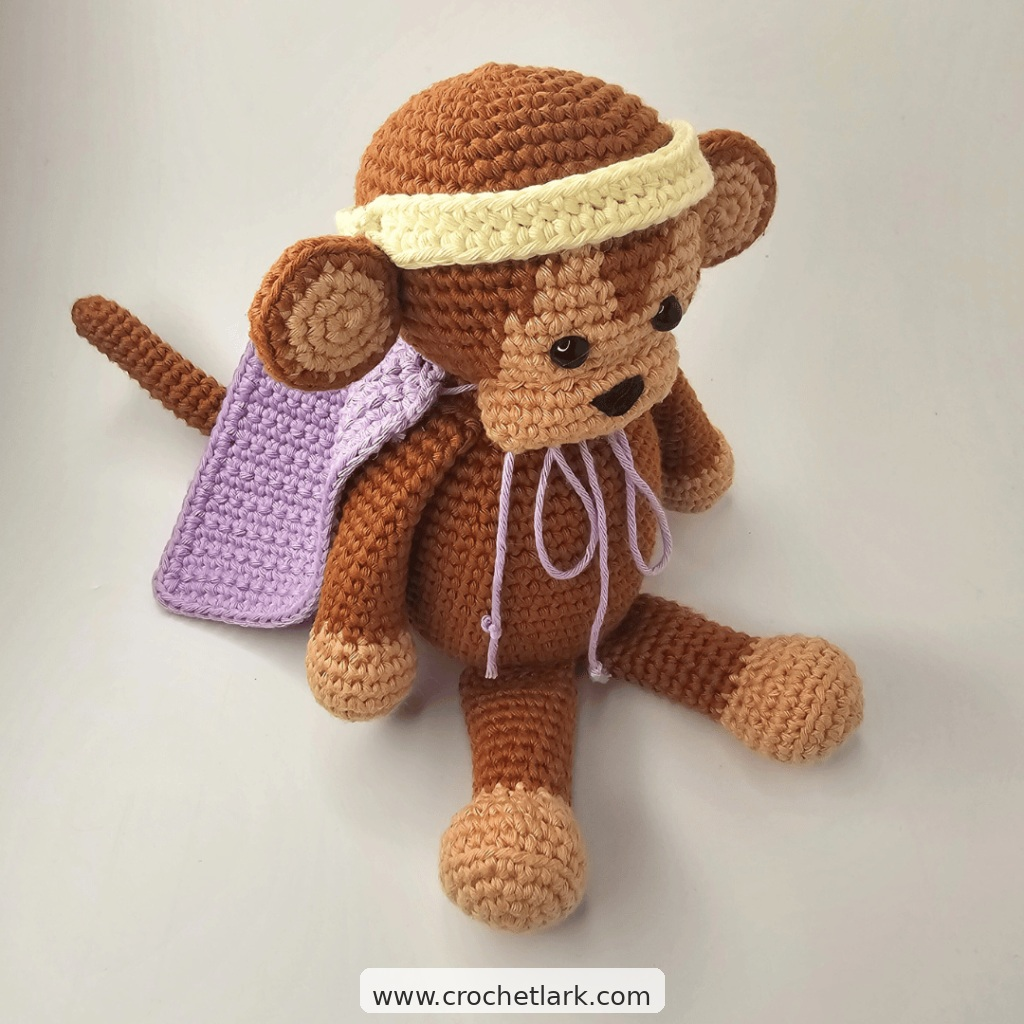
Assembly
Thread the cape tie through all of the openings along the cape’s upper edge.
Position the cape over the toy’s shoulders and tie the ends securely without pulling them tight.
Place the headband around the toy’s head and tie its two straps together at the back.
Helpful Notes
Because this pattern is measurement-based, the exact stitch and row counts will vary from toy to toy. Aim slightly larger rather than smaller if your measurements fall between rows or stitches.
Changing yarn weight will change the thickness and overall scale of the costume, and you may need to adjust the hook accordingly. Check the cape and headband against the actual toy as you work rather than relying only on calculated measurements.