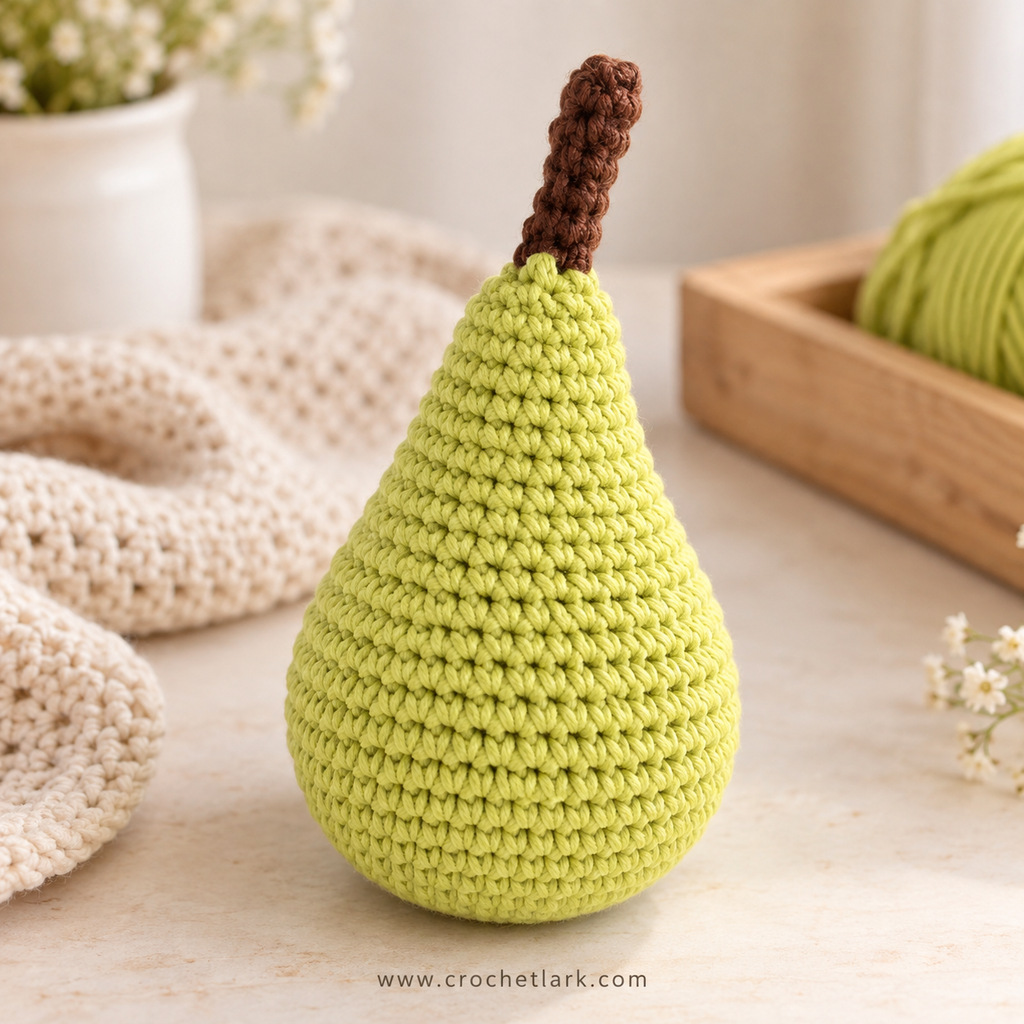
This free pear crochet pattern is a simple amigurumi project with a rounded base, gently tapered top, and small brown crochet stem. The finished pear works beautifully as part of a crochet fruit collection, handmade play food, nursery decor, or a small crochet gift.
The main pear is worked in continuous rounds using single crochet stitches, increases, and decreases. Once the body is stuffed and closed, the separate brown stem is sewn securely to the top.
Quick Answer
This crochet pear is made from the bottom upward with light green worsted-weight yarn and a 3.5 mm crochet hook. The body has 32 rounds, followed by a separate six-round brown stem. The pear is stuffed before the final round is closed, and the stem is sewn between Rounds 31 and 32.
[DOWNLOAD PDF BUTTON – Crochet Lark Printable Pear Pattern]
Why You’ll Love This Project
This little crochet pear uses straightforward amigurumi shaping and only two crocheted pieces.
It is a useful project for practicing:
- Magic circles
- Single crochet
- Increases
- Decreases
- Continuous rounds
- Amigurumi stuffing
- Simple sewing and assembly
The clean shape also makes it easy to coordinate with other handmade crochet fruits.
[IN-ARTICLE IMAGE 1]
Materials
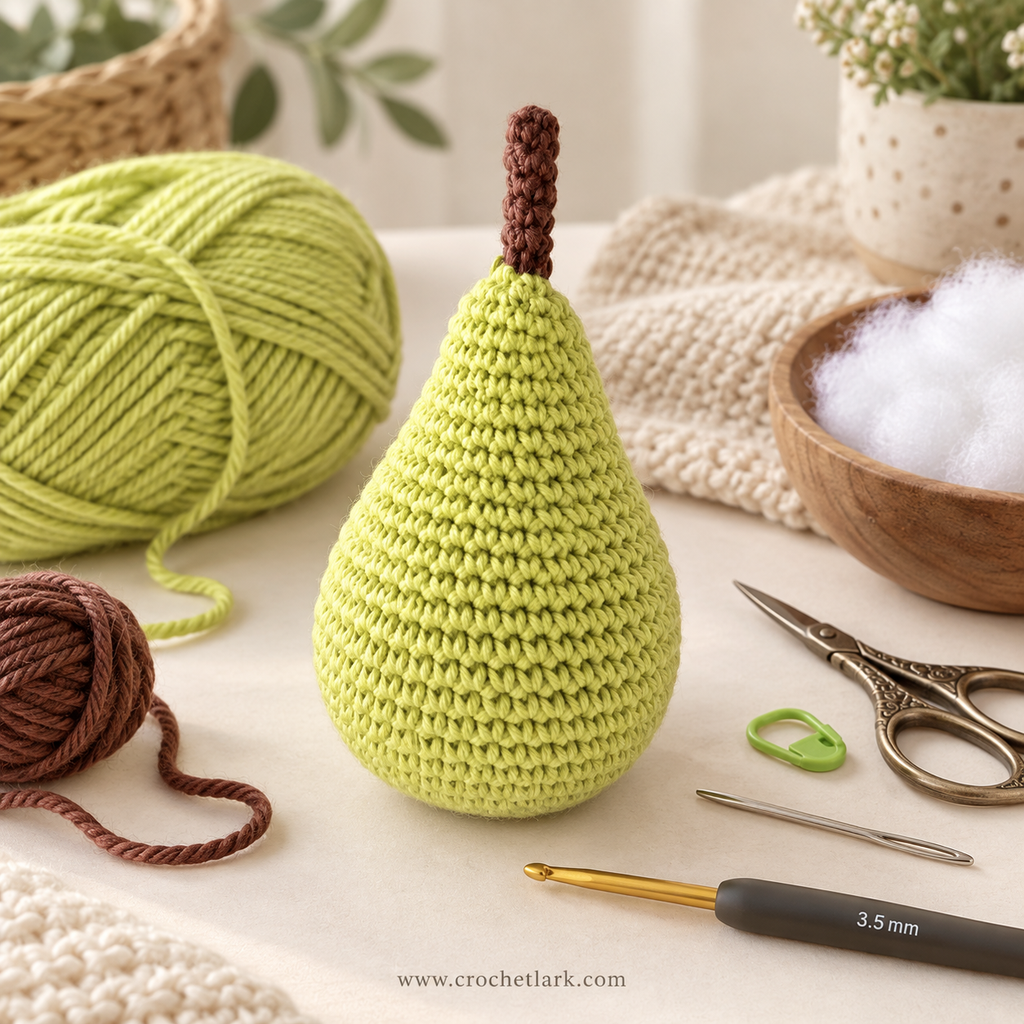
You will need:
- Aran or worsted-weight yarn
- Light green: approximately 24 g / 41 m / 45 yd
- Brown: approximately 1 g / 1.7 m / 1.9 yd
- 3.5 mm (E) crochet hook
- Polyester fiberfill stuffing
- Tapestry needle
- Scissors
- Pins
- Stitch marker
The source project uses Rico Design Creative Cotton Aran.
Finished Size
The source lists the finished pear as:
- 14.5 cm high
- 8 cm wide
It also gives an imperial measurement of 4.7 inches high × 3.1 inches wide.
There is a conversion inconsistency in the original measurements because 14.5 cm converts to approximately 5.7 inches rather than 4.7 inches. The measurements above are preserved as published rather than silently changing the technical information.
Your finished size may also vary depending on yarn choice, hook size, and crochet tension.
Gauge
Gauge is not critical for this amigurumi project.
Reference gauge:
- 11 single crochet stitches = 5 cm / 1.96 in
- 11 rows = 5 cm / 1.96 in
The most important goal is to create a firm crochet fabric that keeps the stuffing from showing through.
Abbreviations
This pattern uses US crochet terminology.
- R – round
- st – stitch
- sts – stitches
- ch – chain
- sl st – slip stitch
- mc – magic circle
- sc – single crochet
- inc – increase; work 2 sc in the same stitch
- dec – decrease
- FLO – front loop only
- [ ] x 6 – repeat the instructions inside the brackets 6 times
- ( ) – stitch count at the end of the round
Before You Begin
Work the pear in continuous spiral rounds unless otherwise stated.
Place a stitch marker in the first stitch of each round and move it upward as you work. This makes it easier to keep track of the beginning and end of each round.
Use firm, even tension throughout the project. Amigurumi is normally worked more tightly than standard crochet so that the stuffing stays hidden inside the finished piece.
Stuff the pear gradually as the opening becomes smaller. Add enough stuffing to give the pear a firm rounded shape without stretching the stitches excessively.
Invisible decreases can be used if preferred for a cleaner amigurumi finish.
Crochet Instructions
Pear Body
Use light green yarn.
The pear is worked from the base upward.
Rounds 1–8: Build the Base
Round 1:
Make a magic circle and work 6 sc into the ring.
(6 sts)
Round 2:
Inc in every stitch around.
(12 sts)
Round 3:
[1 sc, inc] x 6.
(18 sts)
Round 4:
[2 sc, inc] x 6.
(24 sts)
Round 5:
[3 sc, inc] x 6.
(30 sts)
Round 6:
[4 sc, inc] x 6.
(36 sts)
Round 7:
[5 sc, inc] x 6.
(42 sts)
Round 8:
[6 sc, inc] x 6.
(48 sts)
Rounds 9–16: Form the Rounded Lower Body
Rounds 9–16:
Sc in each stitch around for 8 rounds.
(48 sts per round)
The lower portion of the pear should now begin forming a smooth rounded shape.
Rounds 17–18: Begin Tapering
Round 17:
[6 sc, dec] x 6.
(42 sts)
Round 18:
[5 sc, dec] x 6.
(36 sts)
Rounds 19–20
Rounds 19–20:
Sc in each stitch around.
(36 sts per round)
Round 21
[4 sc, dec] x 6.
(30 sts)
Round 22
Sc in each stitch around.
(30 sts)
Round 23
[3 sc, dec] x 6.
(24 sts)
Rounds 24–26
Sc in each stitch around for 3 rounds.
(24 sts per round)
The pear should now have a clearly rounded lower section and a narrower upper section.
Round 27
[2 sc, dec] x 6.
(18 sts)
Rounds 28–30
Sc in each stitch around for 3 rounds.
(18 sts per round)
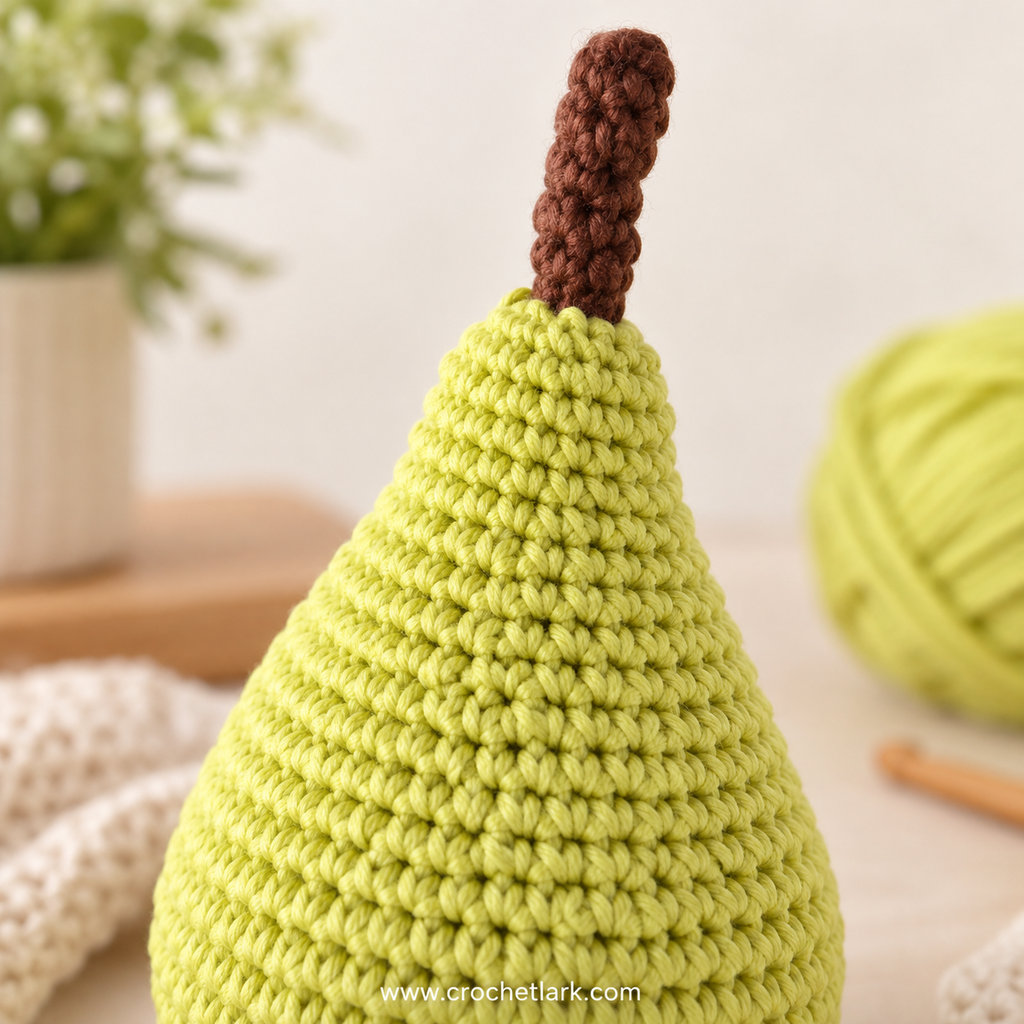
Begin checking the stuffing and overall shape.
Round 31
[1 sc, dec] x 6.
(12 sts)
Finish stuffing the pear firmly.
Pay particular attention to the lower portion so it stays rounded while keeping the upper section smoothly tapered.
Round 32
Dec around.
(6 sts)
Cut the yarn, leaving a tail.
Thread the yarn tail onto a tapestry needle.
Pass the needle through the front loops of the remaining 6 stitches.
Pull firmly to close the opening.
Secure the yarn and weave the remaining end inside the pear.
Stem
Use brown yarn.
The stem is worked separately and should not be stuffed.
Round 1
Make a magic circle and work 6 sc into the ring.
(6 sts)
Rounds 2–6
Sc in each stitch around for 5 rounds.
(6 sts per round)
Cut the yarn, leaving a long tail for sewing.
Fasten off.
The finished stem should be a narrow crochet tube with enough flexibility to sit naturally at the top of the pear.
Assembly
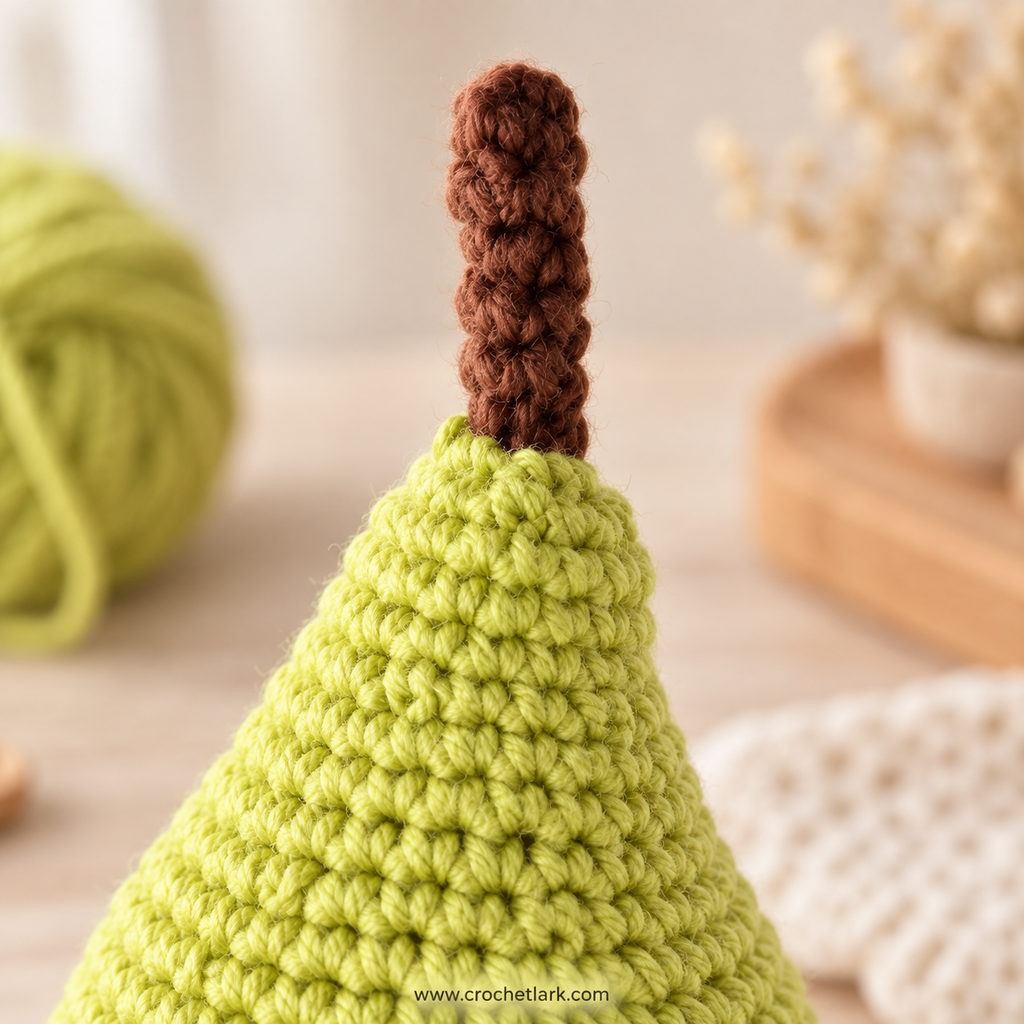
Place the brown stem at the narrow top of the finished pear.
Position it so that it sits upright and centered.
Using the long brown yarn tail, sew the base of the stem securely to the pear between Rounds 31 and 32.
Make several small sewing passes through both the stem and the pear body so the stem remains stable.
Check the placement from several angles before making the final securing stitches.
Fasten off securely and hide the remaining yarn tail inside the pear.
Finishing
Inspect the finished pear and gently reshape it with your hands.
The bottom should remain full and rounded while the upper half should gradually taper toward the brown stem.
If necessary, gently redistribute the stuffing by pressing and rolling the pear between your hands.
Check that:
- The base is rounded evenly.
- The pear does not lean excessively.
- The upper section tapers smoothly.
- The stem is secure.
- All yarn ends are hidden.
Your crochet pear is now finished.
Helpful Notes
Keep Your Tension Firm
Amigurumi works best with fairly tight stitches. If you can easily see stuffing between the stitches, try using slightly firmer tension.
Use a Stitch Marker
Because the pear is worked continuously rather than joined at the end of each round, a stitch marker makes it much easier to track your rounds accurately.
Stuff Gradually
Do not wait until the final round to add all the stuffing. Add fiberfill gradually while the opening is still large enough to work comfortably.
Shape as You Stuff
The pear should be noticeably wider toward the bottom and narrower near the top. Use your fingers to distribute the stuffing into the rounded lower section.
Avoid Overstuffing the Top
Too much fiberfill near the final rounds can make the top bulky instead of tapered.
Secure the Stem Carefully
The stem is small, so several neat sewing passes are better than one large stitch. This gives a cleaner finish and helps the stem remain upright.
FAQ
Is this free pear crochet pattern suitable for beginners?
It is best suited to someone familiar with basic amigurumi techniques. You should know how to make a magic circle, single crochet, increase, decrease, work in continuous rounds, stuff a project, and sew pieces together.
What yarn should I use for the crochet pear?
The original project uses Aran or worsted-weight cotton yarn. Rico Design Creative Cotton Aran was used for the source version.
A similar worsted-weight yarn can also be used, although changing the yarn may change the finished size and texture.
What crochet hook size do I need?
The pattern uses a 3.5 mm crochet hook.
Does gauge matter for this pattern?
Exact gauge is not essential because this is an amigurumi project.
The reference gauge is:
- 11 sc = 5 cm
- 11 rows = 5 cm
Focus primarily on creating a dense fabric that keeps the stuffing concealed.
How large is the finished crochet pear?
The source lists the finished pear as approximately 14.5 cm high × 8 cm wide.
The source also provides an imperial height of 4.7 inches, but this does not match the metric conversion. For accuracy, both original published values have been disclosed rather than adjusting one without verification.
Is the stem stuffed?
No. The brown crochet stem is left unstuffed.
Where should I attach the stem?
Sew the stem securely to the top of the pear between Rounds 31 and 32.
Can I make the pear in another color?
Yes. The original uses light green with a brown stem, but the same construction can be used with another pear-inspired color combination.
Changing colors does not affect the stitch counts or construction.
Can I use a larger yarn?
You can use a different yarn weight, but the finished pear will change in size.
Choose a hook that produces a dense amigurumi fabric and keep in mind that yarn requirements will also change.
Final Thoughts
This crochet pear combines simple amigurumi shaping with a clean, recognizable fruit design. The body is worked as one continuous piece, while the small brown stem adds the final detail with very little assembly.
It is an especially useful pattern for building a handmade crochet fruit collection or creating soft decorative and play-food projects.