
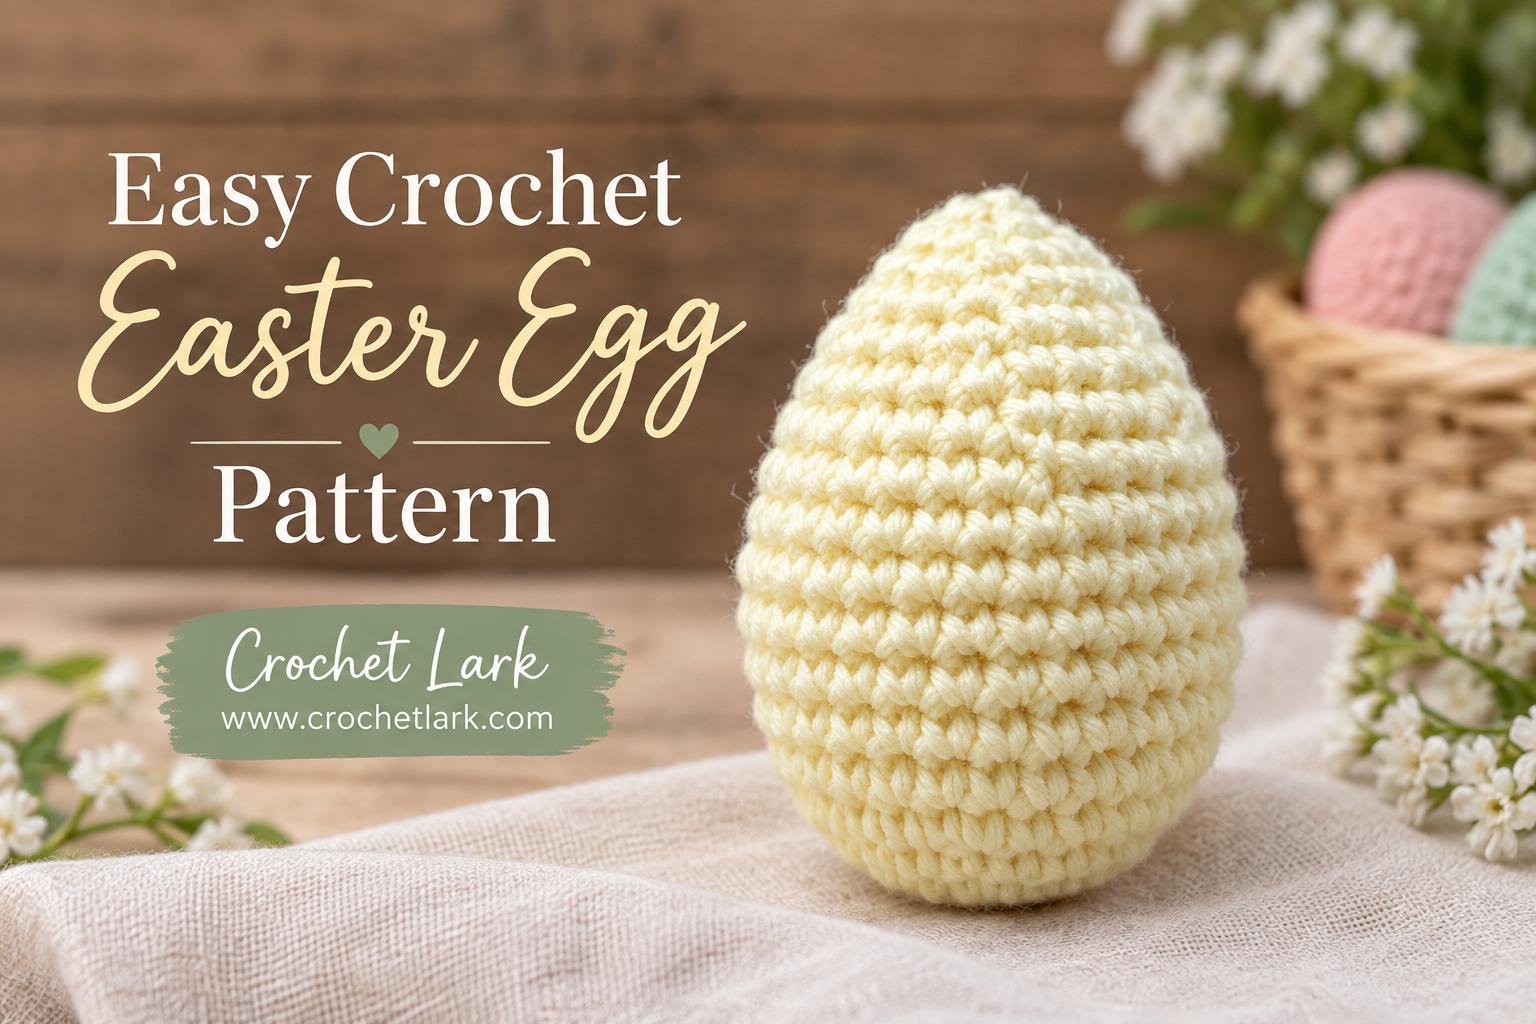
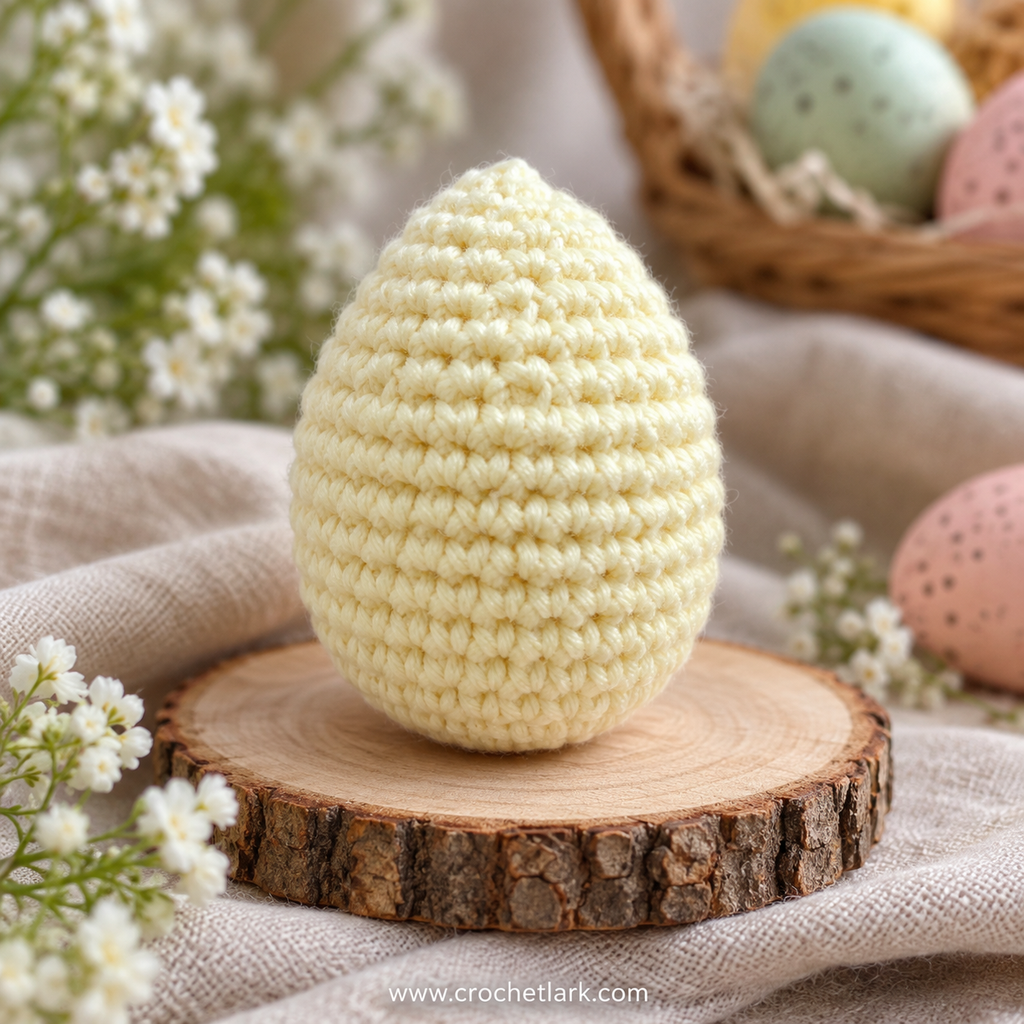
This easy crochet Easter egg is a quick spring project that uses simple amigurumi techniques and basic single crochet stitches. The smooth rounded base and gently tapered top create a classic egg shape that works beautifully for Easter baskets, table decor, or handmade seasonal gifts.
The pattern is worked continuously in the round, stuffed as you crochet, and finished with a neat gathered closure at the top. It is also a useful small project for leftover yarn.
Quick Answer
This crochet Easter egg is worked in continuous single crochet rounds from the bottom upward. You begin with 8 stitches in a magic circle, increase to 32 stitches for the widest section, work several even rounds, then decrease gradually to shape the top.
The finished egg measures approximately 7 cm high by 5 cm wide when made with the specified worsted-weight yarn and 3.5 mm crochet hook.
[OPTIONAL PDF DOWNLOAD BUTTON]
Why You’ll Love This Project
- Uses basic amigurumi stitches
- Works up quickly
- Great for leftover yarn
- No separate pieces to sew together
- Easy to make in different Easter colors
- Perfect for baskets, decor, and small handmade gifts
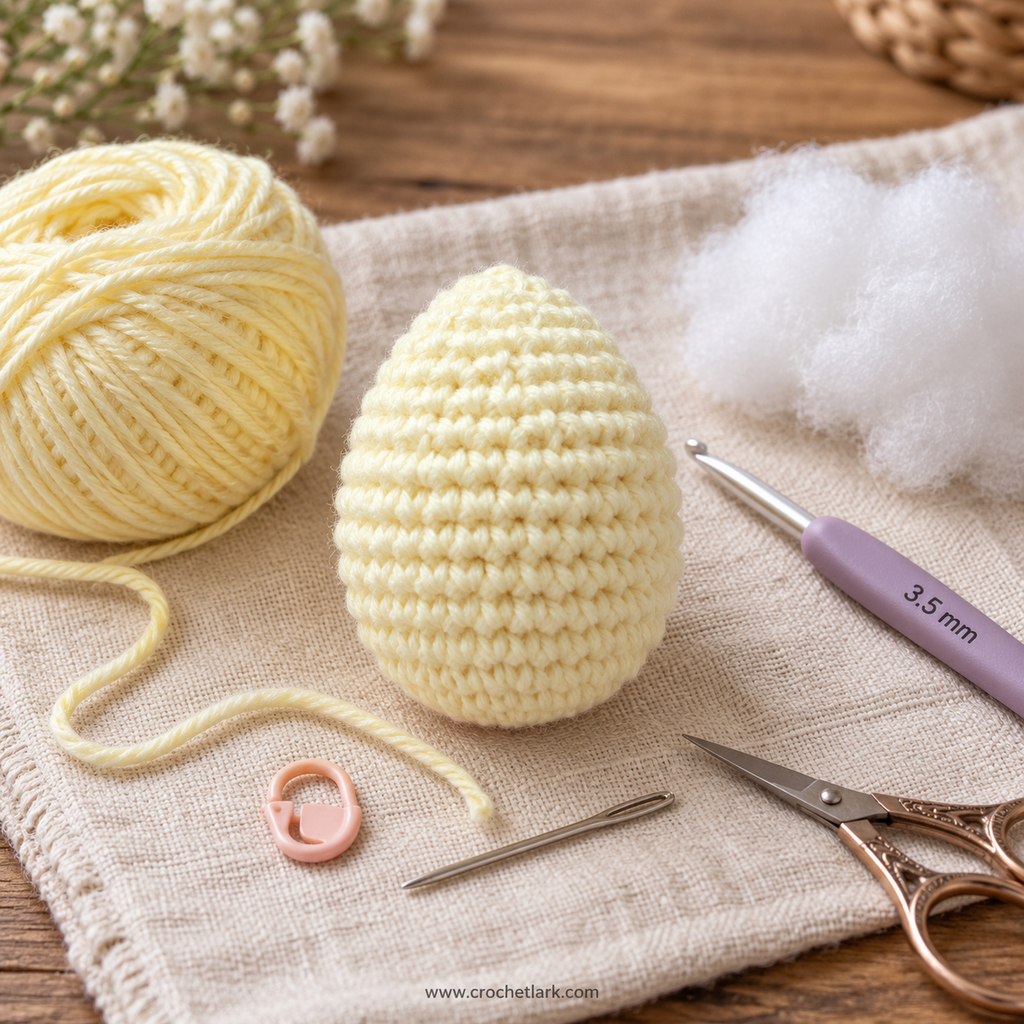
Materials
- Worsted-weight yarn
- 3.5 mm crochet hook
- Polyester fiberfill
- Tapestry needle
- Stitch marker
- Scissors
The original sample was made with Rico Design Creative Cotton Aran in a light yellow shade.
Yarn quantity: The source pattern does not specify an exact amount, so no yarn quantity is listed here.
Finished Size
Approximately:
- Height: 7 cm / 3 in
- Width: 5 cm / 1.96 in
These measurements apply when using the specified yarn weight and hook size.
Using a different yarn or hook may change the finished size.
Gauge
A formal gauge measurement is not specified in the source pattern.
For this amigurumi project, use a firm tension that creates a dense fabric with no large gaps between stitches. The stuffing should not be visible through the finished crochet fabric.
Abbreviations
US crochet terminology is used throughout.
- R – round
- st / sts – stitch / stitches
- mc – magic circle
- sc – single crochet
- inc – increase; work 2 sc in the same stitch
- dec – decrease
- [ ] x number – repeat the instructions inside the brackets the stated number of times
- ( ) – total stitch count at the end of the round
Before You Begin
Work the egg in continuous rounds. Do not join at the end of each round unless specifically instructed.
Place a stitch marker in the first stitch of each round and move it up as you work.
Keep your tension fairly firm so the stuffing remains hidden between the stitches.
Begin adding stuffing before the opening becomes too narrow. Continue shaping the egg gently with your fingers as you work.
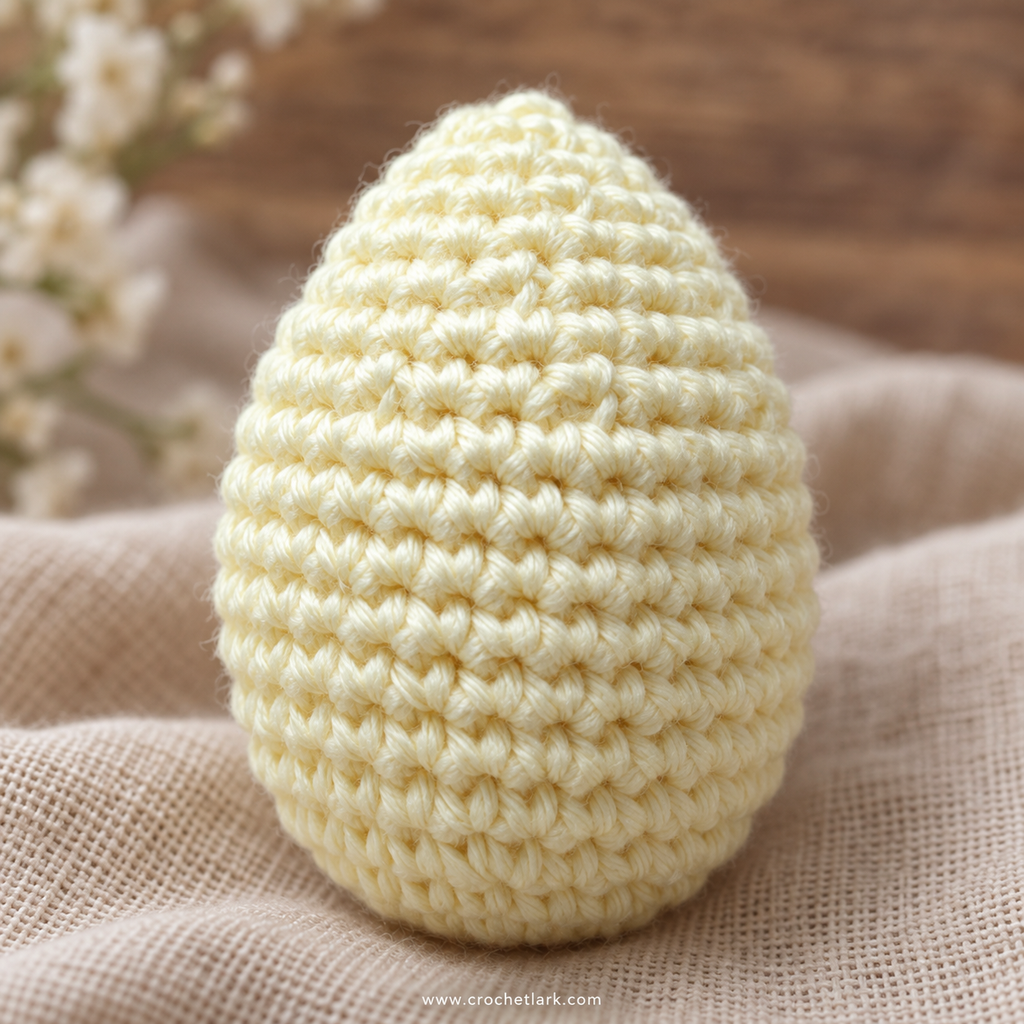
Crochet Instructions
Easter Egg
Round 1: Make a magic circle and work 8 sc into the circle. (8)
Round 2: Inc in each stitch around. (16)
Round 3: Repeat [1 sc, inc] 8 times. (24)
Round 4: Sc in each stitch around. (24)
Round 5: Repeat [2 sc, inc] 8 times. (32)
Rounds 6–12: Sc in each stitch around. (32)
You will work a total of 7 even rounds at 32 stitches.
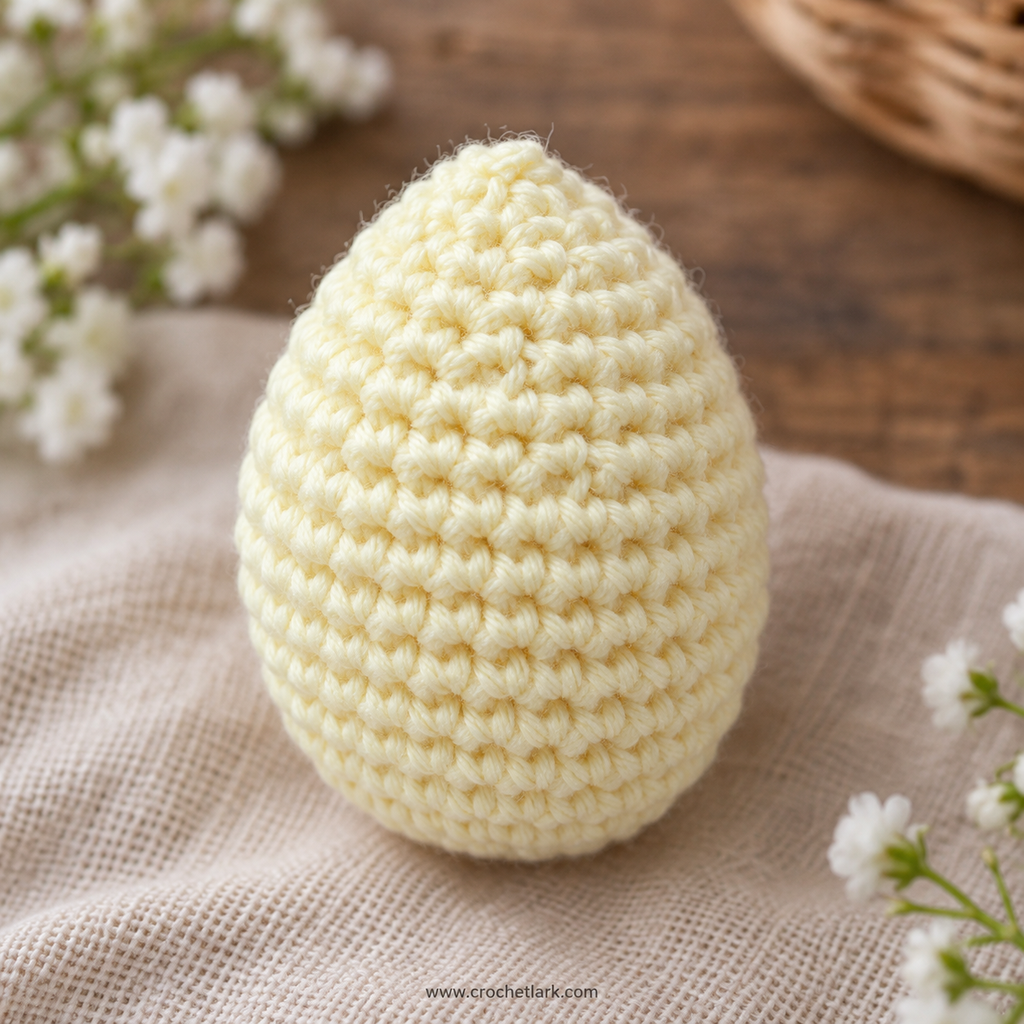
Round 13: Repeat [2 sc, dec] 8 times. (24)
Round 14: Sc in each stitch around. (24)
Round 15: Repeat [2 sc, dec] 6 times. (18)
Round 16: Sc in each stitch around. (18)
Round 17: Repeat [1 sc, dec] 6 times. (12)
Round 18: Sc in each stitch around. (12)
At this point, finish stuffing the egg.
Add enough fiberfill to create a smooth, firm shape, but avoid overstuffing so much that the stitches stretch apart.
Round 19: Dec around 6 times. (6)
Fasten off, leaving a yarn tail long enough to close the remaining opening.
Assembly
There are no separate crochet pieces to assemble. The entire Easter egg is made as one continuous piece.
Thread the remaining yarn tail onto a tapestry needle.
Pass the needle through the front loops only of the final 6 stitches.
Pull the yarn firmly to draw the opening closed.
Secure the yarn, then weave the remaining tail inside the egg.
Finishing
Gently shape the finished egg with your hands.
Roll it lightly between your palms if needed to smooth the stuffing and improve the rounded lower section.
Adjust the upper section so it tapers gradually toward the top rather than forming a sharp point.
Check that the closing yarn is secure before trimming or hiding the final tail.
Helpful Notes
Use a stitch marker throughout because the egg is worked in continuous rounds.
Stuff gradually rather than waiting until the very end. This makes it easier to distribute the fiberfill evenly.
If your stuffing is visible through the fabric, try working with slightly tighter tension.
A smaller crochet hook can also help create the dense fabric typically used for amigurumi.
You can make several eggs in different pastel colors while keeping the same pattern.
Changing the yarn weight or hook size will alter the final dimensions.
FAQ
Is this crochet Easter egg suitable for beginners?
Yes. The project is rated as easy and uses common amigurumi techniques including a magic circle, single crochet, increases, decreases, and continuous rounds.
What yarn is best for this crochet egg?
The original sample uses worsted-weight cotton yarn. A similar worsted-weight yarn should work well as long as it produces a firm, dense fabric.
How large is the finished Easter egg?
Using the specified yarn and 3.5 mm crochet hook, the finished egg is approximately 7 cm high and 5 cm wide.
Is gauge important for this pattern?
A formal gauge is not specified. What matters most is creating fabric tight enough that the stuffing does not show through.
When should I stuff the crochet egg?
Begin stuffing before the opening becomes too narrow. Finish adding the stuffing after Round 18 and before completing the final decrease round.
Can I use different yarn colors?
Yes. Pastel yellow, pink, blue, green, lavender, cream, and other spring shades all work well.
Can I use a different yarn weight?
Yes, but the finished size will change. You may also need to adjust your hook size so the crochet fabric remains dense enough for stuffing.
Final Thoughts
This easy crochet Easter egg is a simple seasonal project that can be made quickly and repeated in different colors. Because the entire egg is crocheted as one piece, there is very little finishing work once the final round is complete.
Make a few matching eggs for a spring centerpiece, add them to Easter baskets, or use leftover yarn to create a colorful handmade collection for the season.