
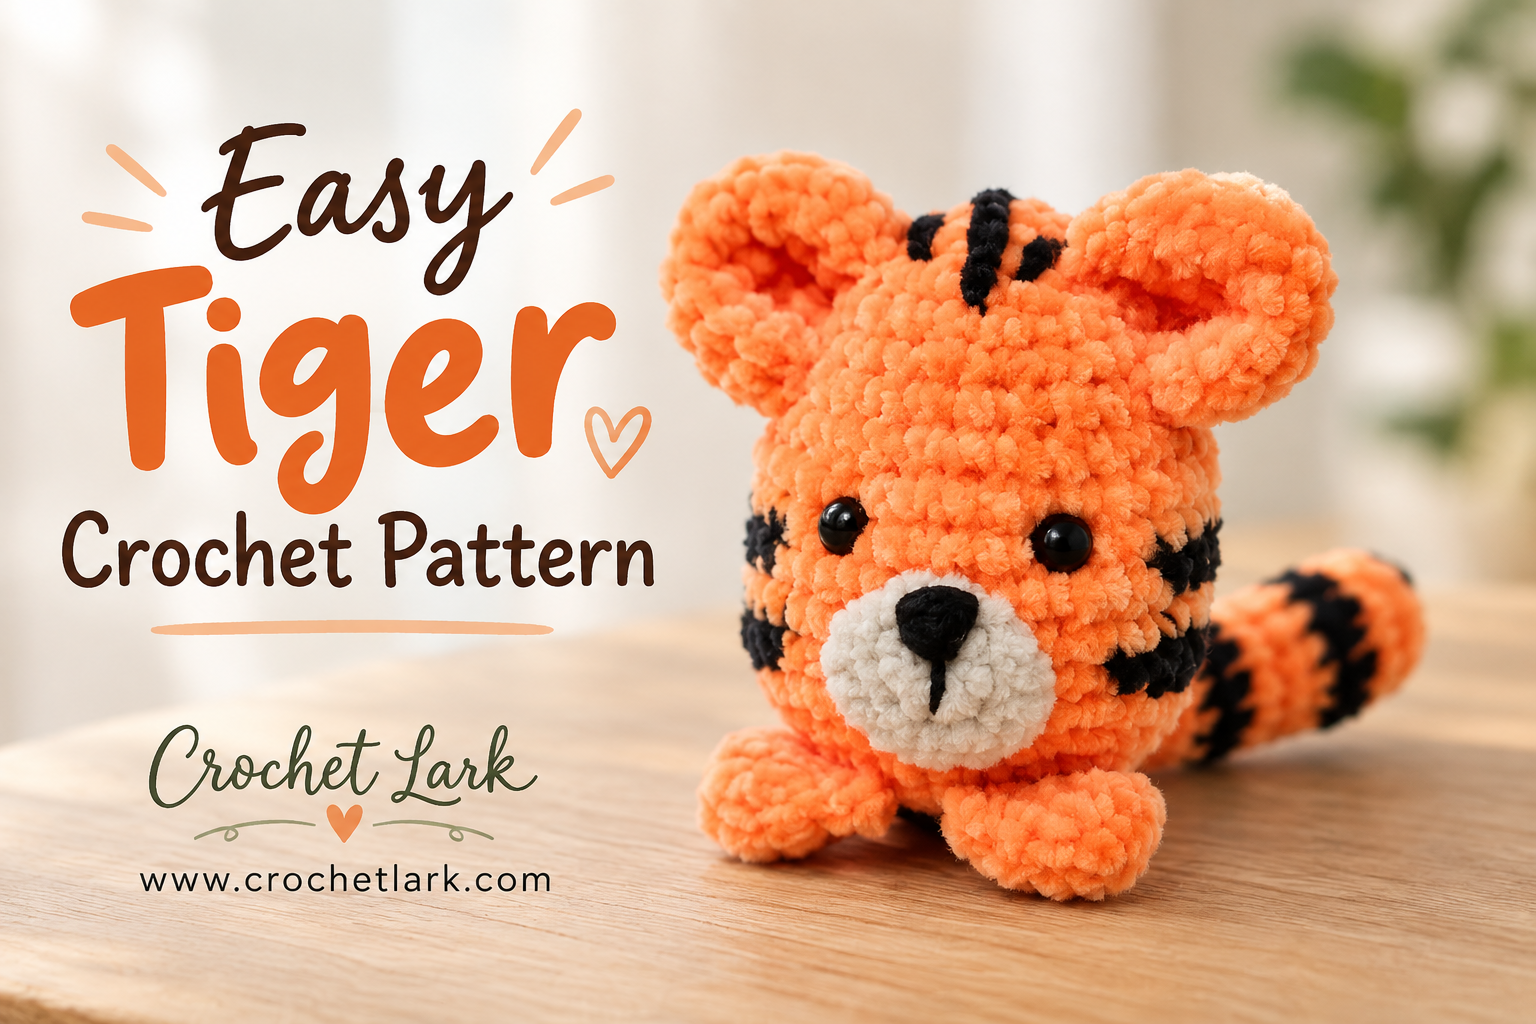
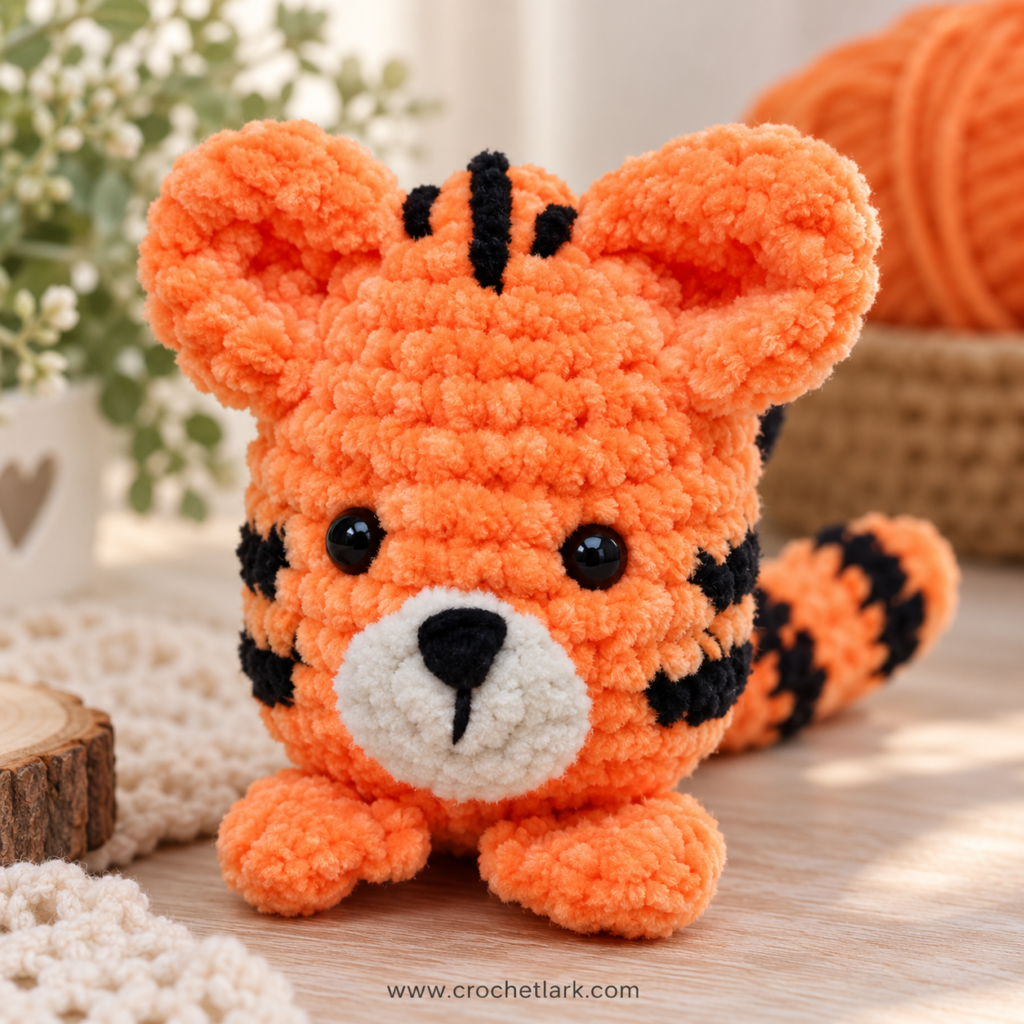
This little crochet tiger packs plenty of personality into a palm-sized amigurumi project. Soft orange chenille yarn creates the fuzzy body, while black stripes, a white muzzle, rounded ears, and a striped tail give the finished tiger its recognizable look.
The construction is especially practical because the feet and tail are joined as the body is crocheted. Only the ears and muzzle need traditional sewing at the end, making this a great project when you want an animal amigurumi without a long assembly session.
Quick Answer
This free tiger crochet pattern creates a small egg-shaped amigurumi tiger using basic single crochet, increases, decreases, simple color changes, and a few embroidered details. With the specified materials, the finished tiger measures approximately 5 cm wide × 7 cm high.
[PDF DOWNLOAD BUTTON]
Why You’ll Love This Project
- Small, quick amigurumi project
- Minimal sewing required
- Uses straightforward crochet shaping
- Cute striped design with a fluffy chenille texture
- Excellent for gifts, crochet collections, or craft-market stock
Materials
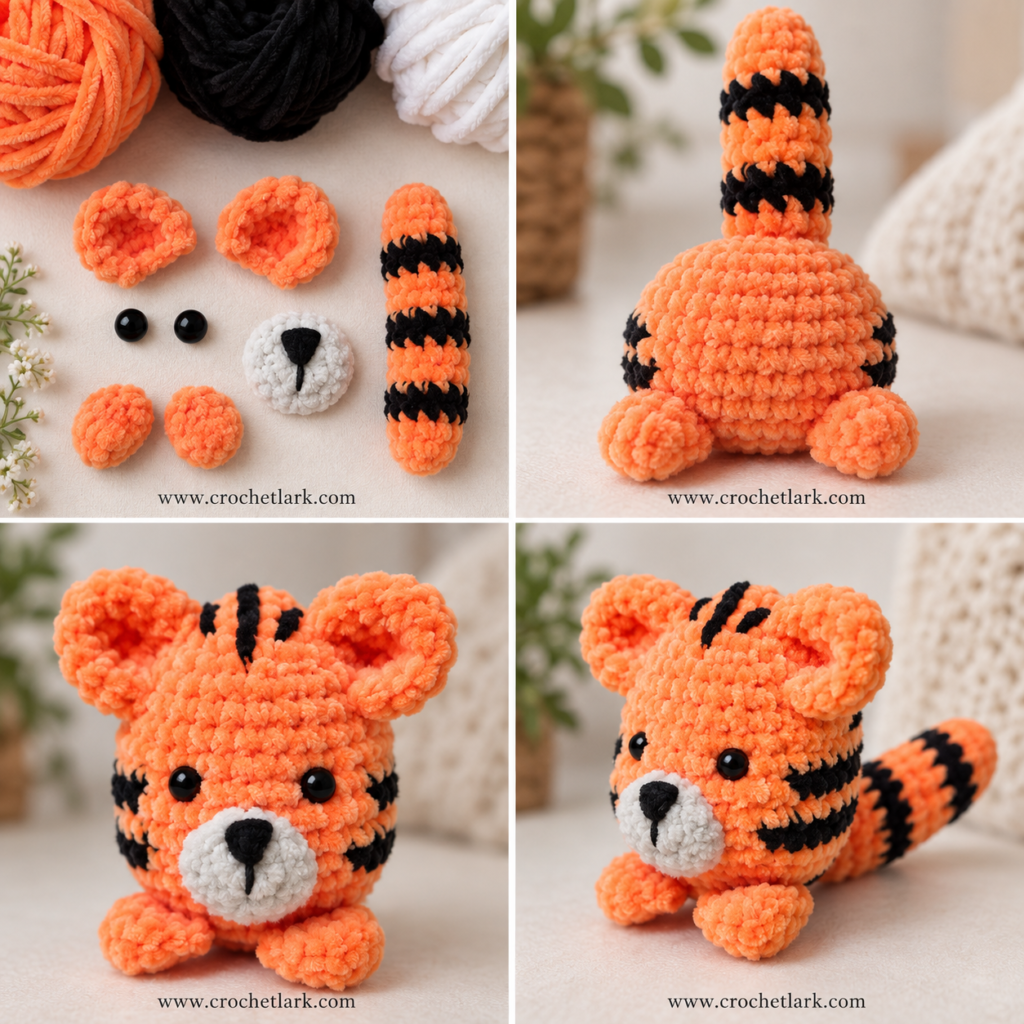
You will need DK chenille yarn in Orange (7 g / 18.2 m / 19.9 yd), Black (2 g / 5 m / 5.5 yd), and White (2 g / 5 m / 5.5 yd), plus a 2.5 mm crochet hook, stuffing, yarn needle, scissors, pins, stitch marker, 6 mm safety eyes, and black embroidery thread.
Finished Size
Approximately:
5 cm / 1.96 inches wide × 7 cm / 2.76 inches high
The finished size may change if you substitute a different yarn weight or hook.
Gauge
Gauge is not critical for this amigurumi project.
Reference gauge:
6 sc × 6 rows = 2.5 cm / 1 inch
Your stitches should be tight enough that the stuffing does not show through the crochet fabric.
Abbreviations
This pattern uses US crochet terminology.
- R – Round
- MR – Magic ring
- st / sts – Stitch / stitches
- sc – Single crochet
- inc – Increase; work 2 sc in the same stitch
- dec – Decrease
- sl st – Slip stitch
- FLO – Front loop only
- FO – Fasten off
- A – Orange
- B – Black
- C – White
- [ ] × N – Repeat the instructions inside the brackets N times
Before You Begin
Work the pieces in continuous rounds unless otherwise indicated. Place a stitch marker in the first stitch of every round.
Complete the feet and tail before starting the body, since these pieces are joined directly while the body is being crocheted.
When attaching a component, insert the hook through its stitch and the matching body stitch, then complete the single crochet through both layers.
Stuff firmly but gradually so the tiger keeps its rounded shape.
For cleaner stripes, change color during the final yarn-over of the stitch immediately before the new color begins.
Safety note: plastic safety eyes are not suitable for children under age three. Embroidered eyes are a safer alternative.
Crochet Instructions
Feet — Make 2
Use Color A – Orange. Do not stuff.
R1: MR, 5 sc. (5)
R2: Inc × 5. (10)
R3: Sc around. (10)
R4: Flatten the opening and join both layers with 5 sc. (5)
Fasten off and hide the yarn tail inside the foot.
Make the second foot the same way.
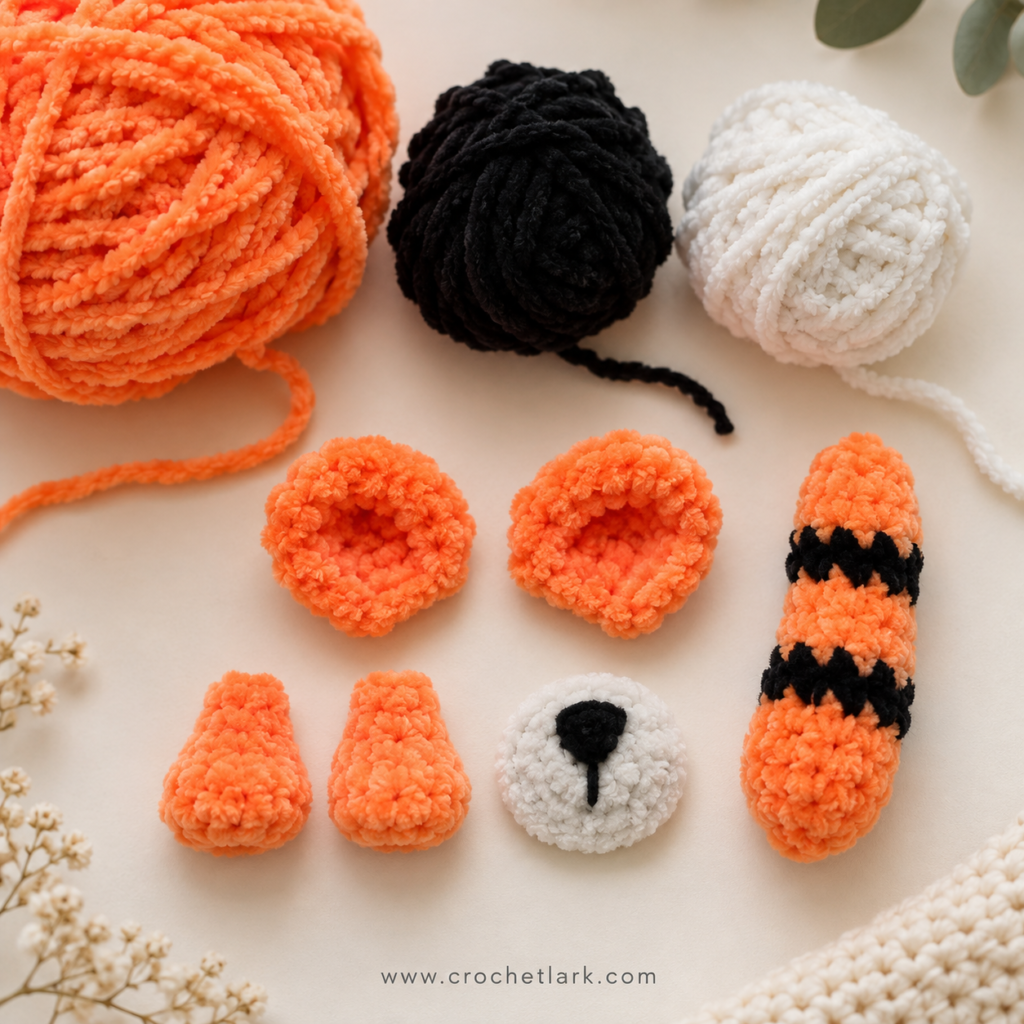
Tail
Begin with Color A – Orange.
R1: MR, 6 sc. (6)
R2: Inc × 6. (12)
R3–R4: Sc around. (12)
Change to Color B – Black.
R5: Sc around. (12)
Change to Color A.
R6–R8: Sc around. (12)
Begin adding stuffing.
Change to Color B.
R9: Sc around. (12)
Change back to Color A.
R10: Sc around. (12)
R11: [2 sc, dec] × 3. (9)
Finish stuffing the tail.
R12: [Sc, dec] × 3. (6)
R13: Flatten and join both layers with 3 sc. (3)
Fasten off and weave in the end.
Ears — Make 2
Use Color A – Orange. Do not stuff.
R1: MR, 6 sc. (6)
R2: Inc × 6. (12)
R3: [2 sc, inc] × 4. (16)
R4–R5: Sc around. (16)
Fasten off, leaving a long tail for sewing.
Repeat for the second ear.
Muzzle
Use Color C – White. Keep this piece flat.
R1: MR, 8 sc. (8)
R2: Inc × 4, sl st in the next stitch. (9 stitches worked)
Leave the final 3 stitches from R1 unworked.
Fasten off, leaving a long tail for sewing.
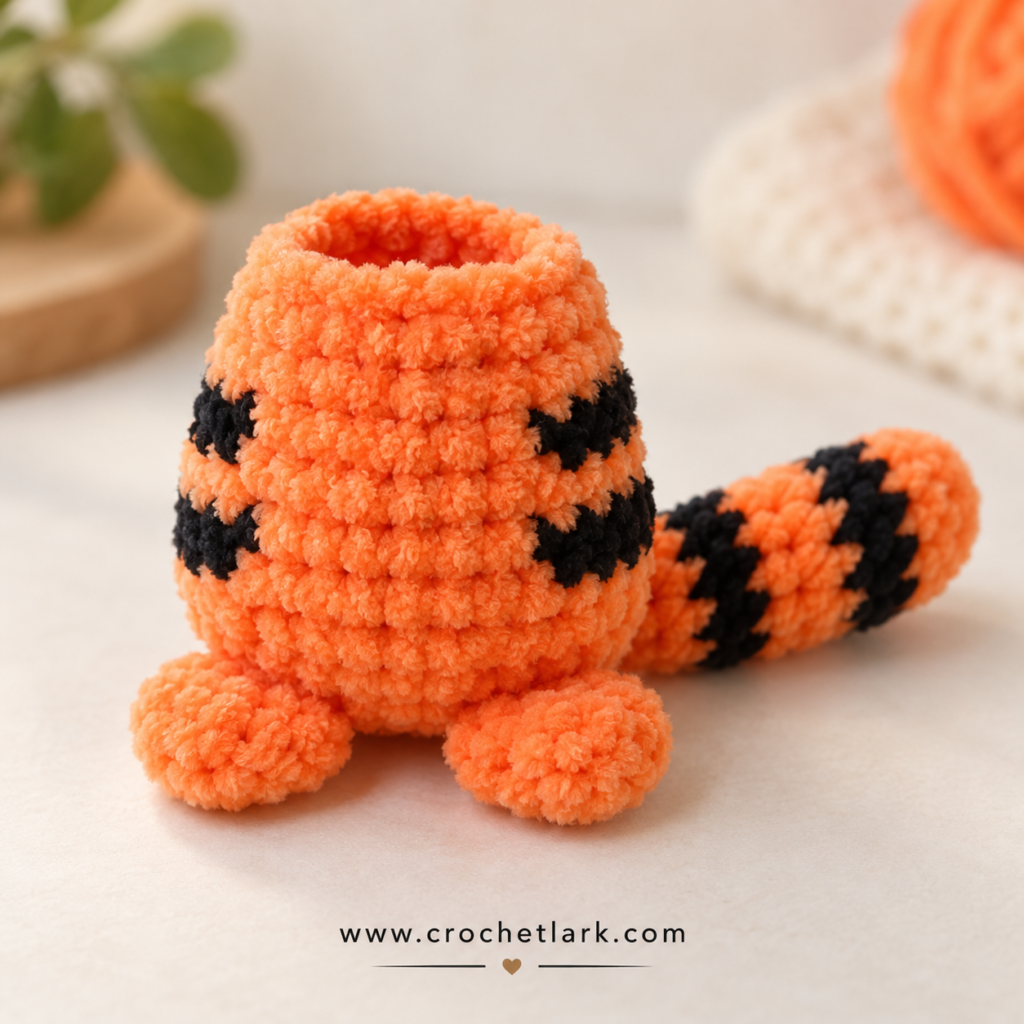
Body
Use Color A – Orange.
R1: MR, 8 sc. (8)
R2: Inc × 8. (16)
R3: [Sc, inc] × 8. (24)
Attach the Feet
R4: 1 sc, attach first foot with 5 sc, 1 sc, attach second foot with 5 sc, 12 sc. (24)
R5: [2 sc, inc] × 8. (32)
Attach the Tail
R6: 23 sc, attach tail with 3 sc, 6 sc. (32)
Add the Body Stripes
The letters below indicate the yarn color used for each group of stitches.
R7: 28 A, 4 B. (32)
R8: 4 B, 8 A, 8 B, 12 A. (32)
R9: 30 A, 2 B. (32)
R10: 3 B, 9 A, 5 B, 15 A. (32)
R11: Sc around in A. (32)
R12: Sc around in A. (32)
R13: [2 sc, dec] × 8. (24)
R14: Sc around. (24)
Add the Eyes
Insert the safety eyes between R11 and R12, positioned above the feet.
Leave 5 stitches between the eyes.
Begin stuffing the body.
R15: [2 sc, dec] × 6. (18)
R16: Sc around. (18)
R17: [Sc, dec] × 6. (12)
R18: Sc around. (12)
Finish stuffing firmly.
R19: Dec × 6. (6)
Fasten off, leaving a short tail. Thread the tail through the front loops of the remaining stitches, pull the opening closed, and hide the yarn end inside the body.
Assembly
Attach the Muzzle
Position the white muzzle in the center of the face across approximately R6–R10.
Place the narrower section toward the eyes.
Use the long white yarn tail to sew the muzzle securely to the body.
Embroider the Nose and Mouth
Thread a yarn needle with black embroidery thread.
Create a small triangular or rounded nose in the center of the white muzzle, then add a short vertical line and the mouth underneath.
Secure the thread and hide the ends inside the tiger.
Sew on the Ears
Position the ears on opposite sides of the upper head across approximately R14–R17.
Leave roughly:
- 4 stitches between the upper front edges
- 7 stitches between the lower front edges
Curve the ears gently before sewing so they retain their rounded shape.
Add the Head Stripes
Use Color B – Black and a yarn needle.
Embroider three stripes across the top of the head, keeping the center stripe longer than the two side stripes.
Finishing
Check the finished tiger from every angle before trimming or hiding the final yarn tails.
Gently redistribute the stuffing if needed so the body remains rounded. Shape the ears with your fingers and make sure the muzzle sits centrally below the eyes.
Check that the feet sit evenly and that the striped tail extends naturally from the back of the body.
Helpful Notes
Chenille yarn can hide individual stitches, so use a stitch marker consistently and count at the end of each shaping round.
Do not overstuff the ears or muzzle; these pieces are designed to remain flat.
When changing colors for the stripes, carry the unused yarn only when it stays hidden neatly inside the work. Otherwise, fasten it securely and rejoin it where needed.
If you use a different yarn weight, keep the hook small enough to create a firm amigurumi fabric. The finished tiger will become larger or smaller depending on the yarn-and-hook combination.
Because the feet and tail are already attached during crocheting, most of the final assembly is limited to the ears, muzzle, and embroidered facial details.
FAQ
Is this tiger crochet pattern suitable for beginners?
It is best for an adventurous beginner who already knows how to work a magic ring, single crochet, increases, decreases, and continuous rounds. The color changes and crocheting pieces directly into the body add a small amount of extra difficulty.
Is this a completely no-sew crochet tiger?
Not completely. The feet and tail are attached while crocheting the body, but the ears and muzzle are sewn on afterward.
Can I use regular acrylic yarn?
Yes. Cotton or acrylic can also work for this design. Your finished tiger will have a different texture and possibly a different size.
Can I make the tiger larger?
Yes. Using thicker yarn with an appropriately sized hook will produce a larger amigurumi without changing the stitch counts.
Can I embroider the eyes instead of using safety eyes?
Yes. Embroidered eyes are a useful alternative, especially when making the tiger for a young child.
Why is my stuffing showing between the stitches?
The crochet fabric is probably too loose. Try a smaller hook or slightly firmer tension so the stitches form a dense amigurumi fabric.
Final Thoughts
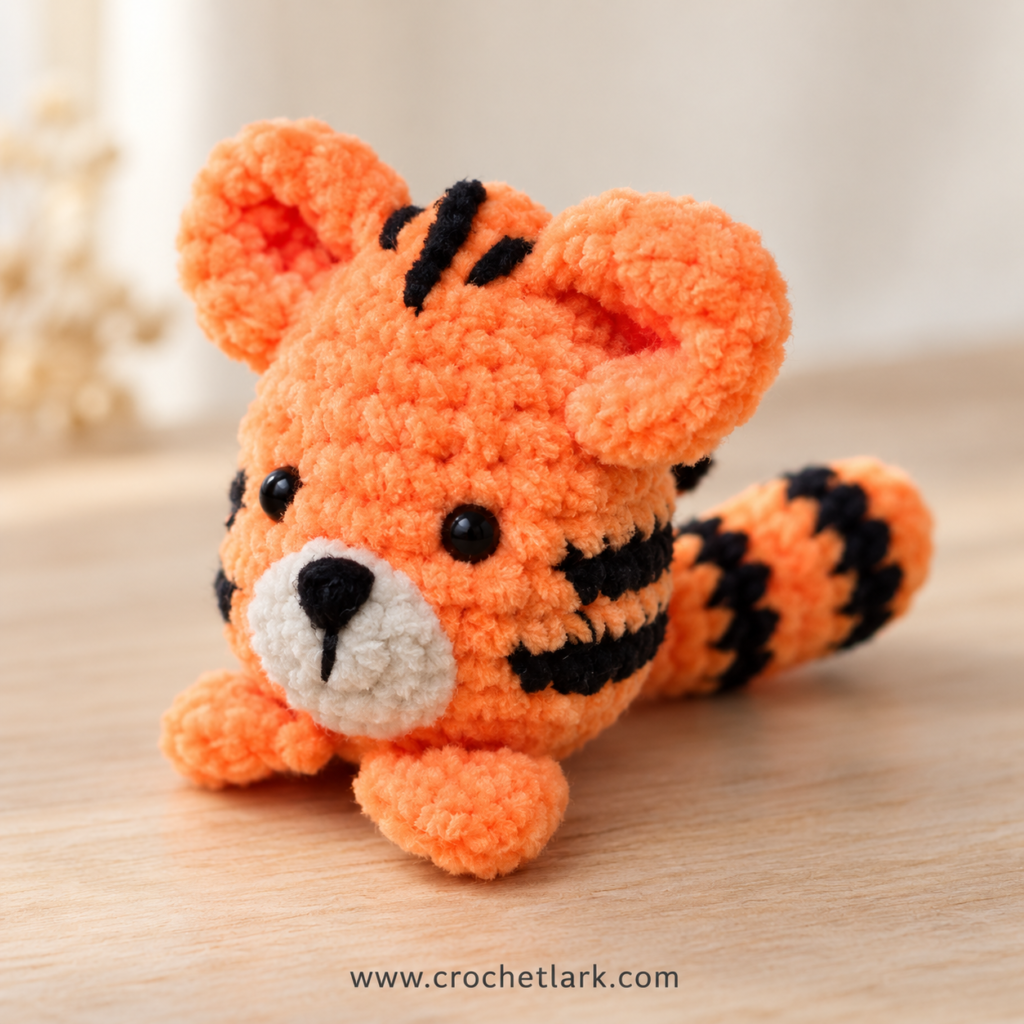
This mini crochet tiger is a fun way to combine simple amigurumi shaping with bold color changes and expressive finishing details. The integrated feet and tail keep construction efficient, while the ears, muzzle, and embroidered stripes give the little tiger plenty of character.
Once you have made one, the compact construction also makes it easy to experiment with different yarn textures and tiger color combinations.