
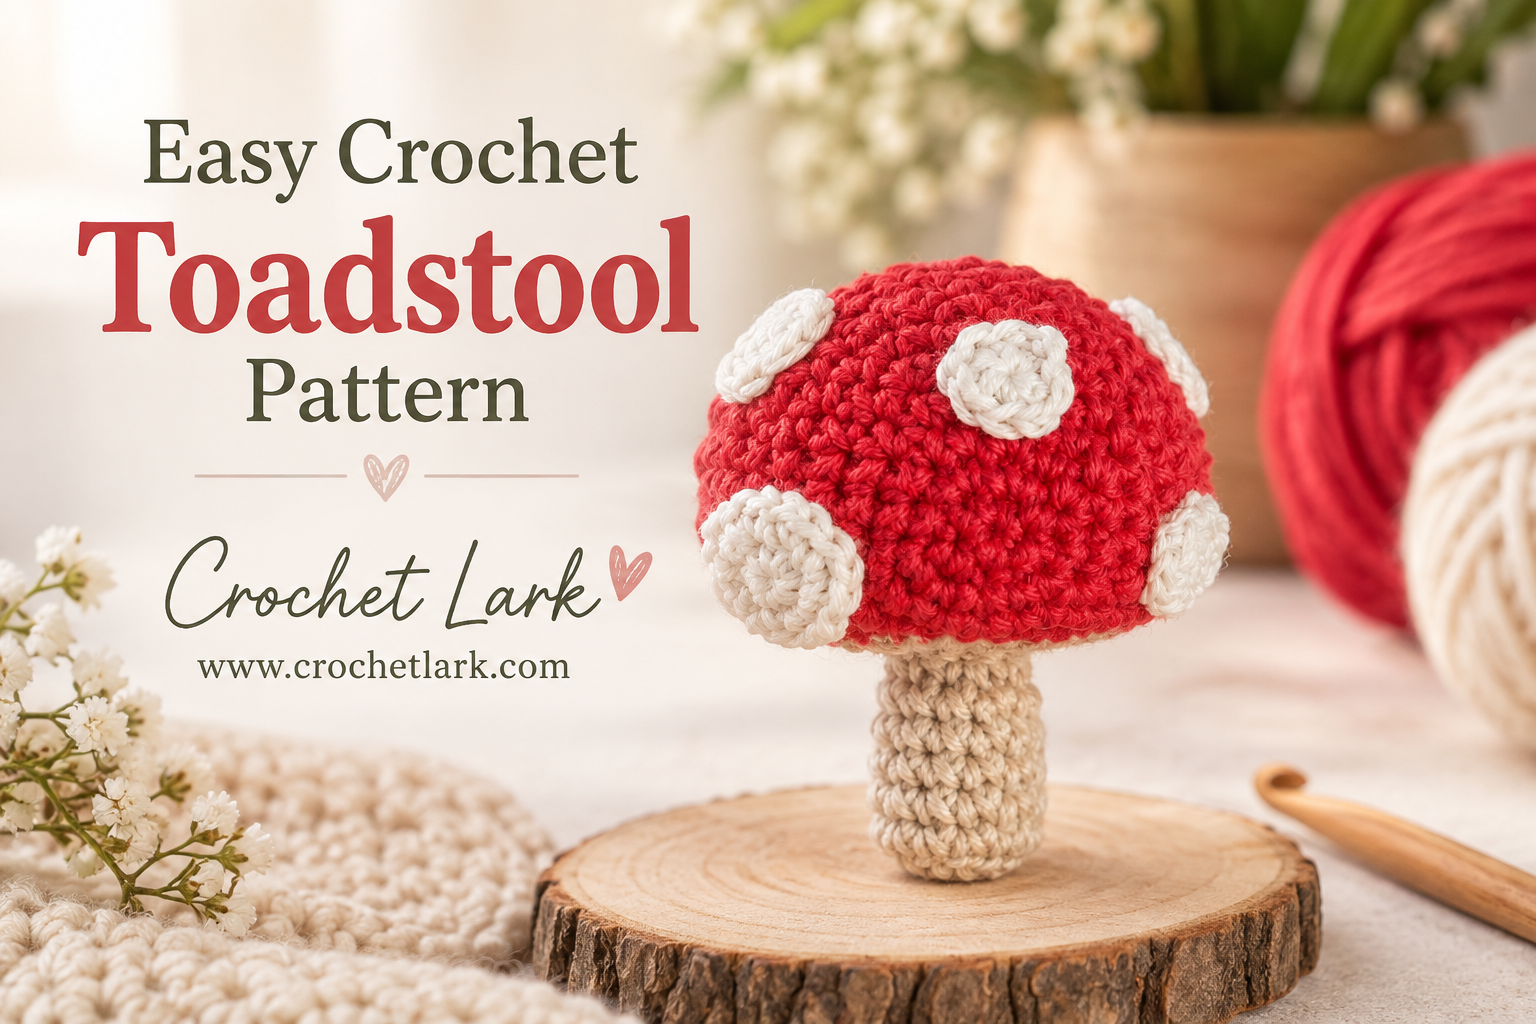
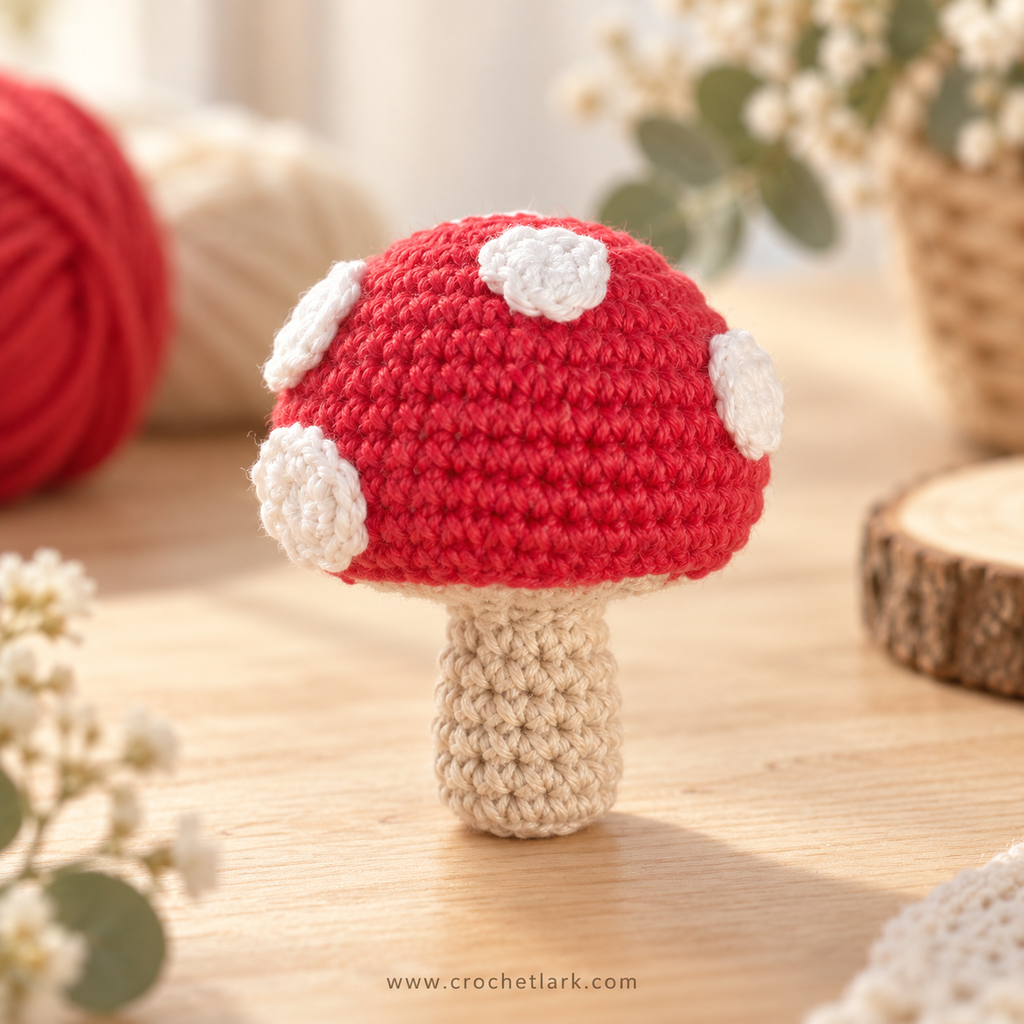
This little crochet toadstool is a quick woodland-inspired project with a bright red cap, a soft beige stem, and five white crochet spots.
The main mushroom is worked continuously from the top of the cap down into the stem, which keeps assembly simple. Once the body is finished, the white spots are crocheted separately and sewn onto the cap.
Made with DK yarn and a small crochet hook, the finished toadstool measures approximately 6 cm tall. The source pattern rates it as an easy project and recommends it for confident beginners who are comfortable crocheting in the round.
Quick Answer
This crochet toadstool pattern creates a small stuffed mushroom approximately 6 cm tall. You will need red, beige, and white DK yarn, a 2.5 mm crochet hook, stuffing, a stitch marker, a tapestry needle, and scissors. The mushroom body is crocheted as one continuous piece, while five white spots are added separately.
Why You’ll Love This Project
This is a satisfying small project that does not require complicated construction or lots of sewing.
The mushroom body is worked as one piece, and only the decorative spots need to be attached afterward. It also uses very small amounts of yarn, making it useful for leftover DK yarn.
The compact finished size works well for woodland displays, seasonal decorations, crochet collections, or simply as a cute handmade mini project.
Materials
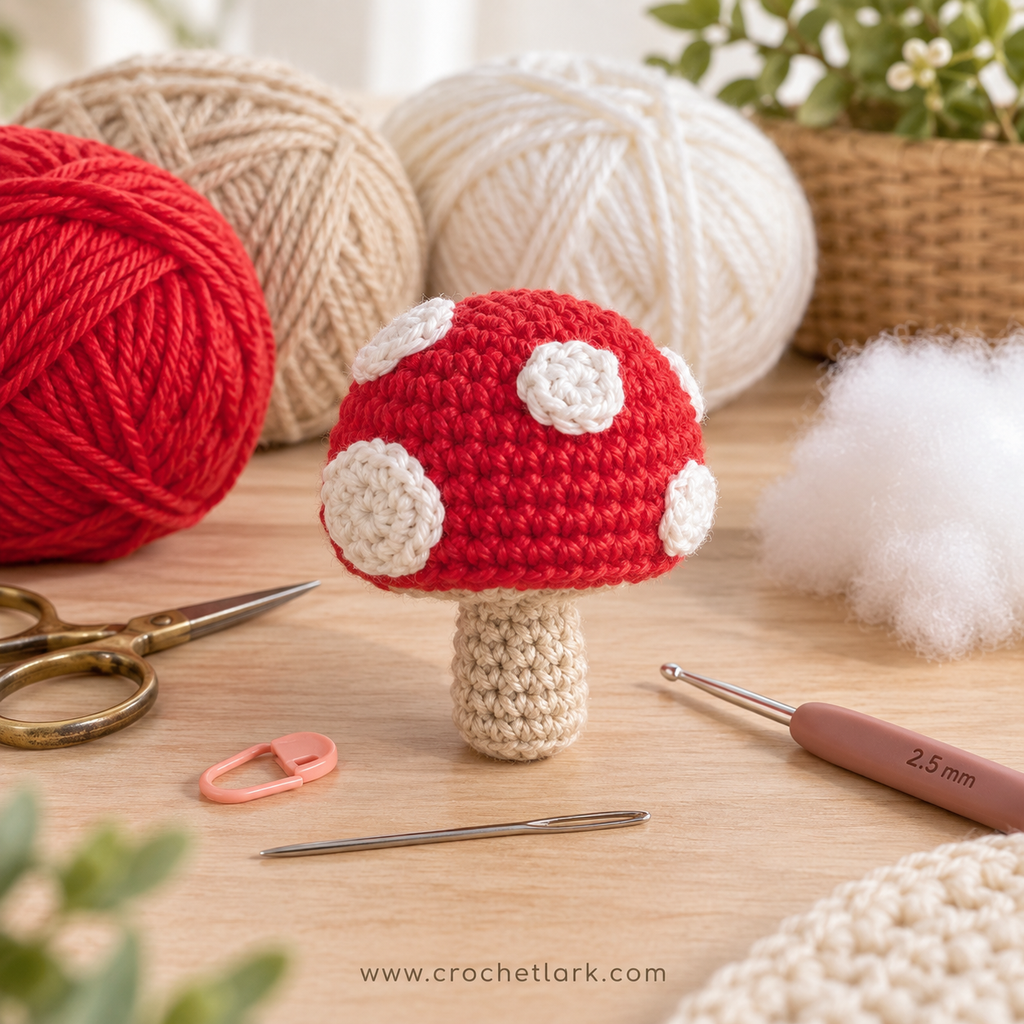
You will need:
- 8 g red DK yarn
- 3 g beige DK yarn
- 3 g white DK yarn
- 2.5 mm (C/2) crochet hook
- Polyfill stuffing
- Stitch marker
- Tapestry needle
- Scissors
The original project uses Rico Ricorumi DK, although another DK yarn can be substituted. Different yarn weights or hook sizes will change the finished dimensions.
Finished Size
Approximately:
6 cm / 2.4 inches tall
This measurement is based on the stated DK yarn and pattern specifications.
Gauge
Gauge is not essential for this project.
The designer’s reference gauge is approximately:
6 single crochet stitches × 6 rows = 2.5 cm / 1 inch square.
Abbreviations
This pattern uses US crochet terminology.
- R – Round
- mc – Magic circle
- ch – Chain
- sc – Single crochet
- inc – Increase: work 2 sc into the same stitch
- dec – Decrease
- sl st – Slip stitch
- st / sts – Stitch / stitches
- BLO – Back loop only
- FLO – Front loop only
- [ ] × number – Repeat the instructions inside the brackets
- ( ) – Stitch count at the end of the round
Before You Begin
The main toadstool is worked in continuous rounds. Do not join rounds unless specifically instructed.
Place a stitch marker into the first stitch of each round and move it upward as you work.
Keep your tension fairly firm. Amigurumi stitches should be tight enough that the stuffing does not show through the fabric.
The main pattern specifications list a 2.5 mm hook. The source FAQ later mentions a 3.5 mm hook when discussing finished size, creating an inconsistency. For this Crochet Lark version, use the 2.5 mm hook stated in the actual materials list and pattern specifications.
The original instructions specifically tell you when to stuff the stem but do not give an exact round for stuffing the cap. Add stuffing to the cap while the opening is still comfortably accessible.
Crochet Instructions
Toadstool Cap and Body
Begin with red yarn.
Round 1
Work 6 sc into a magic circle.
(6 sts)
Round 2
Work 2 sc into each stitch around.
(12 sts)
Round 3
Repeat [1 sc, inc] around 6 times.
(18 sts)
Round 4
Repeat [2 sc, inc] around 6 times.
(24 sts)
Round 5
Repeat [3 sc, inc] around 6 times.
(30 sts)
Round 6
Repeat [9 sc, inc] 3 times.
(33 sts)
Round 7
Repeat [5 sc, inc, 5 sc] 3 times.
(36 sts)
Round 8
Repeat [11 sc, inc] 3 times.
(39 sts)
Round 9
Repeat [6 sc, inc, 6 sc] 3 times.
(42 sts)
Round 10
Sc in every stitch around.
(42 sts)
Round 11
Repeat [6 sc, inc] 6 times.
(48 sts)
Round 12
Sc in every stitch around.
(48 sts)
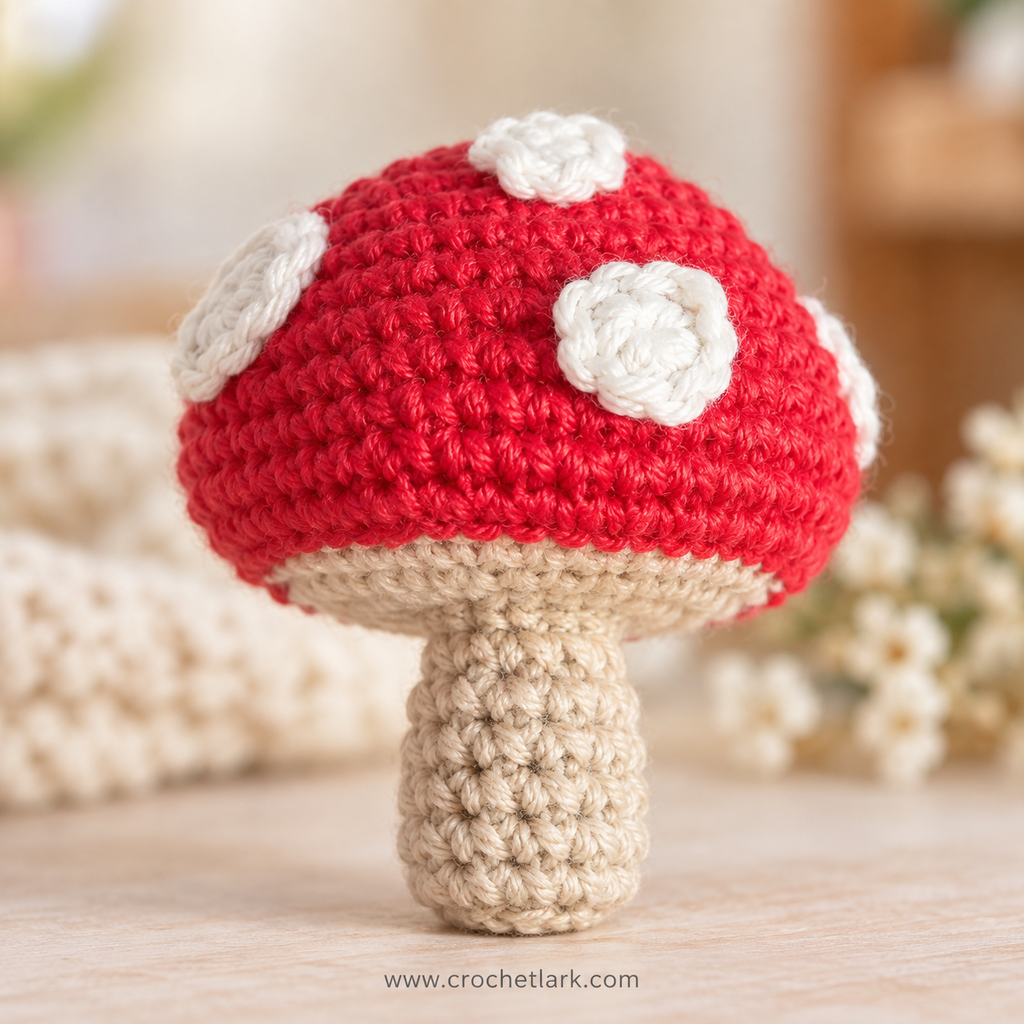
Toadstool Underside
Change to beige yarn.
Round 13
Working in the back loops only, repeat:
[4 sc, dec] × 8
(40 sts)
Round 14
Repeat:
[3 sc, dec] × 8
(32 sts)
Round 15
Repeat:
[2 sc, dec] × 8
(24 sts)
Round 16
Repeat:
[1 sc, dec] × 8
(16 sts)
Round 17
Work 8 decreases around.
(8 sts)
Before the opening becomes too small, firmly stuff and shape the mushroom cap.
Do not overfill it so much that the stitches stretch apart.
Stem
Continue with beige yarn.
Round 18
Working in the front loops only, sc in every stitch around.
(8 sts)
Round 19
Repeat:
[1 sc, inc] × 4
(12 sts)
Rounds 20–24
Sc in every stitch around for 5 rounds.
(12 sts per round)
Stuff the stem firmly.
Round 25
Working in the back loops only, work:
dec × 6
(6 sts)
Cut the yarn, leaving a tail.
Thread the tail onto your tapestry needle. Pass it through the front loops of the final 6 stitches, pull firmly to close the opening, and secure the yarn inside the stem. The body sequence and stitch counts follow the source pattern.
White Toadstool Spots
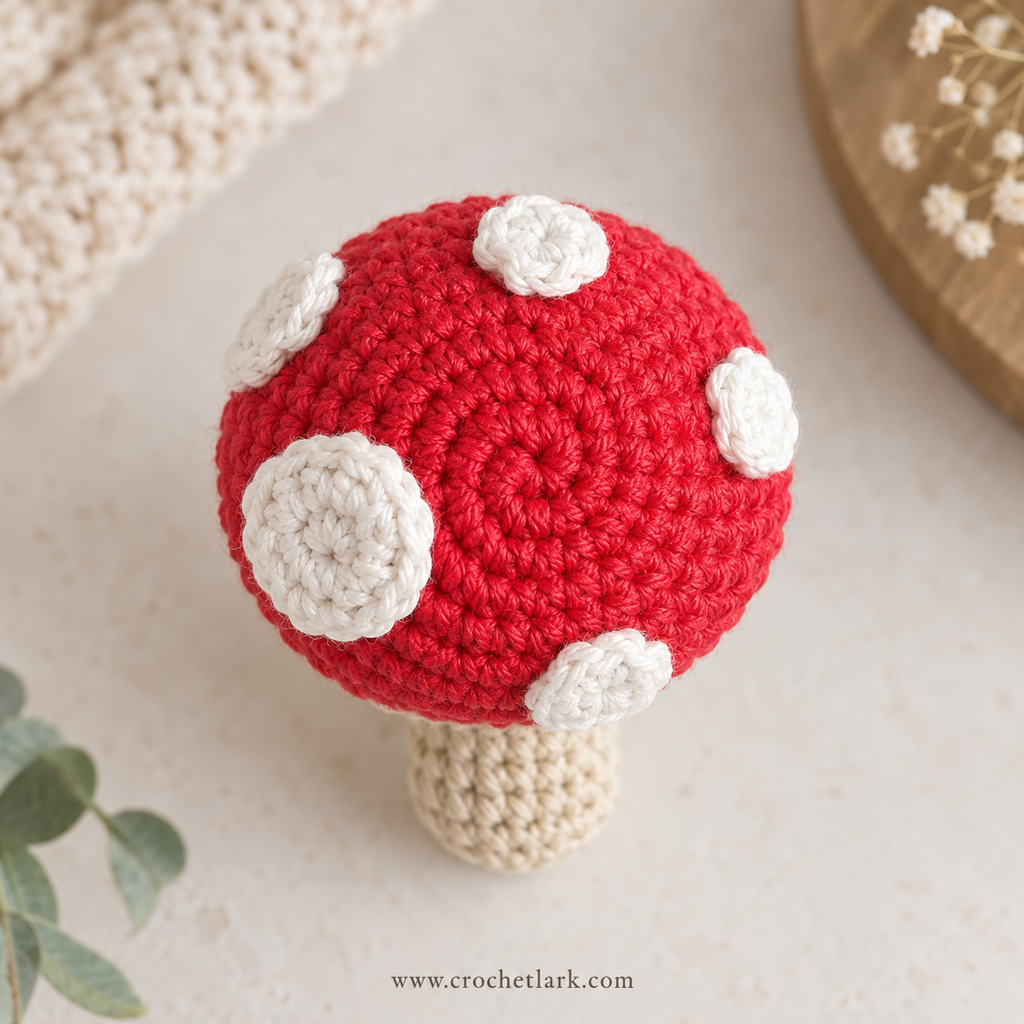
The mushroom uses five white spots:
- 1 large spot
- 1 medium spot
- 3 small spots
Use white yarn for all spots.
Slip stitches and chains used for joining or preparing the next round are not included in the listed stitch totals.
Large Spot
Round 1
Work 8 sc into a magic circle.
Join to the first sc with a sl st.
Ch 1.
(8 sts)
Round 2
Inc in every stitch around.
Join with a sl st.
(16 sts)
Cut the yarn, leaving a long tail for sewing.
Fasten off.
Medium Spot
Round 1
Work 6 sc into a magic circle.
Join to the first sc with a sl st.
Ch 1.
(6 sts)
Round 2
Inc in every stitch around.
Join with a sl st.
(12 sts)
Cut the yarn, leaving a long sewing tail.
Fasten off.
Small Spots – Make 3
For each small spot:
Round 1
Work 8 sc into a magic circle.
Join to the first sc with a sl st.
(8 sts)
Cut the yarn, leaving a long tail for sewing.
Fasten off.
Repeat until you have three small spots.
Assembly
Before sewing, check that you have:
- 1 completed stuffed toadstool
- 1 large white spot
- 1 medium white spot
- 3 small white spots
Arrange the five white circles across the red mushroom cap.
Use the reference photographs as a general placement guide rather than trying to create perfect symmetry. The different sizes should give the cap a naturally scattered appearance.
Pinning the spots temporarily before sewing can help you check the spacing.
Thread one spot’s yarn tail onto your tapestry needle.
Sew carefully around the outer edge of the spot, attaching it securely to the red cap without pulling so tightly that the spot becomes distorted.
Repeat for the remaining four spots.
Secure and weave all yarn tails inside the mushroom.
Finishing
Gently shape the mushroom with your fingers.
Redistribute the stuffing if necessary so that:
- The cap remains rounded.
- The underside stays relatively flat.
- The stem feels firm.
- The mushroom sits evenly.
- The white spots lie neatly against the cap.
Trim any remaining yarn ends once they are securely hidden.
Your mini crochet toadstool is complete.
[DOWNLOAD PDF BUTTON – Crochet Toadstool Pattern]
Helpful Notes
Use a stitch marker. Because the body is worked in continuous rounds, marking the beginning of each round makes it much easier to keep your stitch counts correct.
Keep the fabric firm. A smaller hook creates the compact fabric needed for amigurumi and helps prevent stuffing from showing through.
Count regularly. Several rounds use increases or decreases placed at specific intervals. Checking your stitch count after each round helps preserve the intended cap shape.
Do not overstuff. The mushroom should feel firm, but excessive stuffing can stretch the stitches and distort the shape.
Pin the spots first. Arrange all five circles before sewing any of them permanently into position.
Yarn substitutions are possible. You can use another yarn weight, but this will change the finished size and may require a different hook.
FAQ
Is this crochet toadstool pattern beginner-friendly?
Yes, although it is best suited to a confident beginner who already understands the magic circle, single crochet, increases, decreases, and crocheting in continuous rounds.
How large is the finished crochet mushroom?
The finished toadstool is approximately 6 cm tall when made with the specified DK yarn and pattern setup.
What size crochet hook should I use?
Use a 2.5 mm crochet hook. This is the hook size given in the main pattern specifications and materials list.
How many white spots does the mushroom have?
There are five spots total:
- One large
- One medium
- Three small
Are the cap and stem crocheted separately?
No. The red cap transitions into the beige underside and stem as one continuous main piece.
Only the white spots are made separately.
Do I need to check gauge?
Exact gauge is not essential for this amigurumi project. The important goal is to produce a tight crochet fabric that holds the stuffing securely.
Can I use acrylic yarn instead of cotton?
You can substitute another DK yarn. Cotton gives crisp stitch definition, but another fiber can work provided you maintain firm tension. The final shape and dimensions may vary.
Can I make a larger crochet toadstool?
Yes. Using thicker yarn with an appropriately sized hook will generally produce a larger mushroom while keeping the same stitch structure.
Final Thoughts
This crochet toadstool pattern is a small project with plenty of handmade character. The continuous construction keeps sewing to a minimum, while the five white spots create the recognizable classic mushroom appearance.
It is also a practical way to use small amounts of red, beige, and white yarn, whether you’re creating a single woodland decoration or planning a larger collection of crochet mushrooms.