
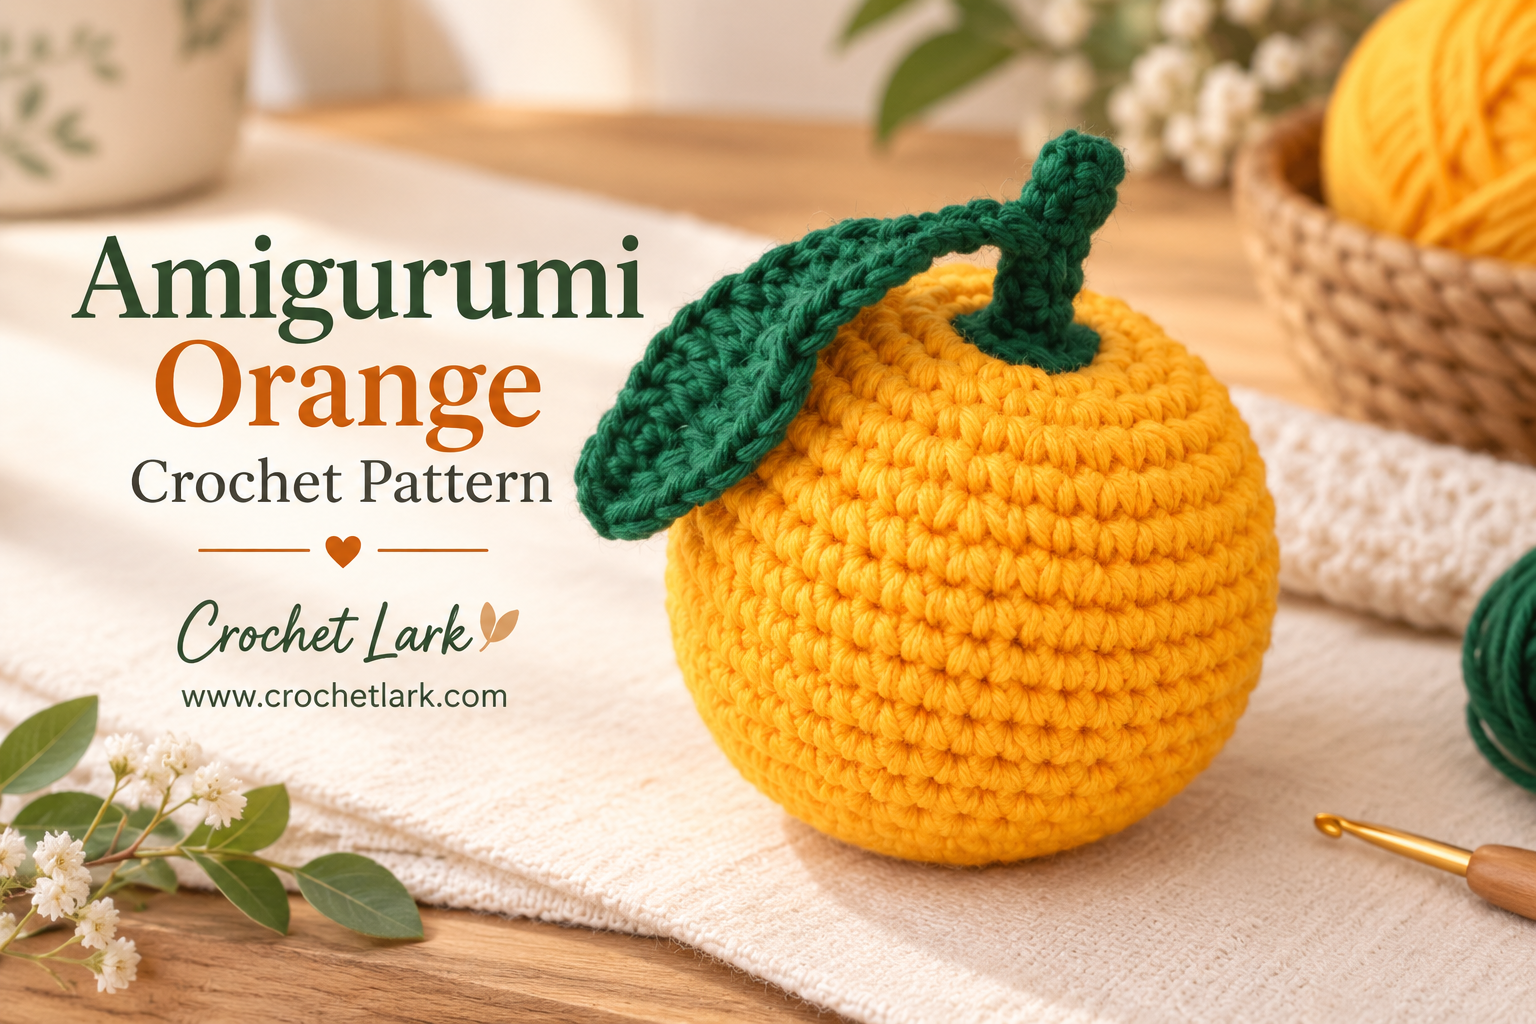
This amigurumi orange is a cheerful little crochet fruit with a rounded orange body, raised green stem, and a separate crocheted leaf. The simple shape makes it a fun addition to a crochet fruit collection, pretend kitchen set, or handmade market display.
The body is worked from top to bottom in continuous rounds and finished with a shaping technique that pulls the center of the orange inward. The stem and leaf are crocheted separately and sewn securely into place.
Quick Answer
This crochet orange uses worsted or aran-weight yarn and a 3.5 mm crochet hook. The body is worked in continuous single crochet rounds, firmly stuffed, then shaped with the long finishing tail. The finished sample measures approximately 8.5 cm (3.35 in) high and 7 cm (2.7 in) wide.
[OPTIONAL PDF DOWNLOAD BUTTON — Download the Printable Amigurumi Orange Pattern]
Why You’ll Love This Project
- Uses mostly basic amigurumi stitches
- Requires only small amounts of orange and green yarn
- Includes an effective shaping technique for a realistic fruit shape
- Uses just three crocheted pieces
- Works well for crochet play food, displays, gifts, and fruit collections
Materials
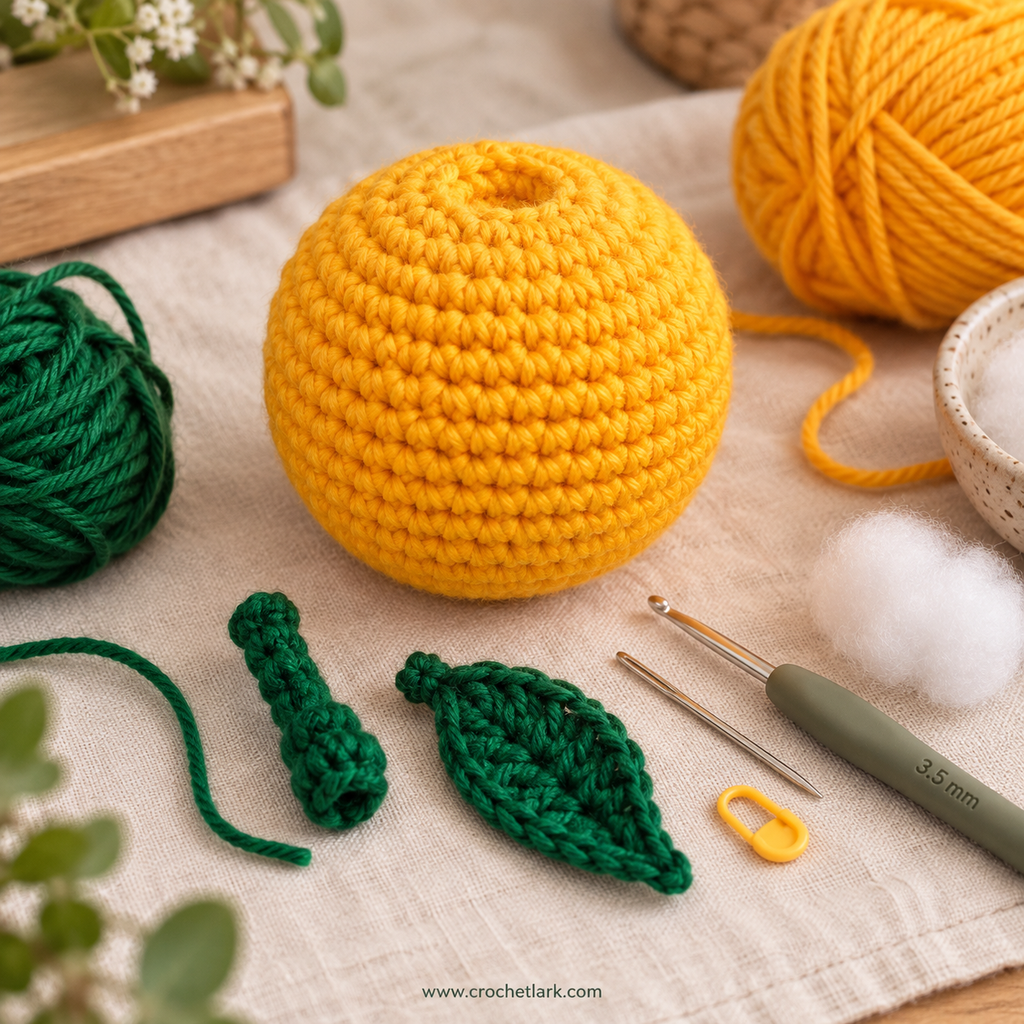
You will need:
- Aran or worsted-weight yarn
- Orange: 19 g / 32.3 m / 35.3 yd
- Green: 2 g / 3.4 m / 3.7 yd
- 3.5 mm (E) crochet hook
- Polyester stuffing
- Tapestry needle
- Scissors
- Pins
- Stitch marker
The original sample was made with Rico Design Creative Cotton Aran.
Finished Size
Using the listed yarn and a 3.5 mm hook, the finished orange measures approximately:
- Height: 8.5 cm / 3.35 in
- Width: 7 cm / 2.7 in
Your finished size can vary depending on yarn, hook, and personal tension.
Gauge
Gauge is not essential for this project.
The reference gauge for the original sample is:
- 11 sc = 5 cm / 1.96 in
- 11 rows = 5 cm / 1.96 in
Abbreviations
This pattern uses US crochet terminology.
- R / Rnd – Row or round
- st / sts – Stitch / stitches
- ch – Chain
- sl st – Slip stitch
- mc – Magic circle
- sc – Single crochet
- inc – Increase
- dec – Decrease
- hdc – Half double crochet
- dc – Double crochet
- FLO – Front loop only
- [ ] x n – Repeat the instructions inside the brackets the stated number of times
- (n) – Total stitch count at the end of the round
Before You Begin
All pieces are worked in continuous rounds unless the instructions say otherwise. Place a stitch marker in the first stitch of each round and move it upward as you work.
Use a hook that creates a firm amigurumi fabric so the stuffing does not show through the stitches. Invisible decreases are recommended for the cleanest finish.
Stuff the orange firmly as you work. The first few rounds at the top will later be pushed inward and secured with the long yarn tail to create the orange’s characteristic recessed center.
Crochet Instructions
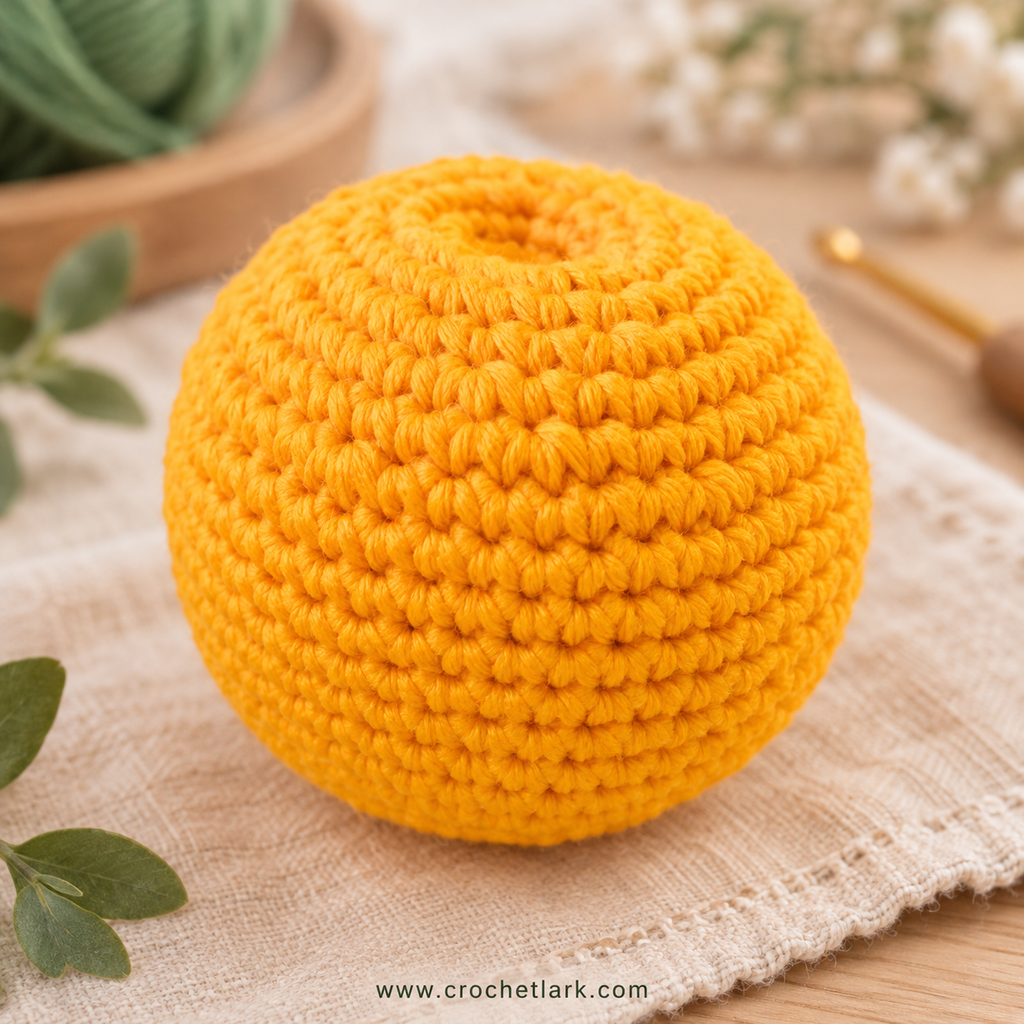
Orange Body
Using orange yarn, work from the top of the fruit toward the bottom.
Rnd 1: Make a magic circle and work 6 sc into the circle. (6)
Rnd 2: [Inc, 1 sc] x 3. (9)
Rnd 3: Sc around. (9)
Rnd 4: [Inc, 2 sc] x 3. (12)
Rnd 5: [Inc, 1 sc] x 6. (18)
Rnd 6: [2 sc, inc] x 6. (24)
Rnd 7: 2 sc, [inc, 3 sc] x 5, inc, 1 sc. (30)
Rnd 8: [Inc, 4 sc] x 6. (36)
Rnd 9: 2 sc, [inc, 5 sc] x 5, inc, 3 sc. (42)
Rnd 10: [6 sc, inc] x 6. (48)
Rnds 11–18: Sc around for 8 rounds. (48)
Rnd 19: 3 sc, [dec, 6 sc] x 5, dec, 3 sc. (42)
Rnd 20: [Dec, 5 sc] x 6. (36)
Rnd 21: 4 sc, [dec, 4 sc] x 5, dec. (30)
Rnd 22: [3 sc, dec] x 6. (24)
At this point, gently push the starting rounds inward so the top begins to form a shallow recess.
Stuff the orange firmly. Do not worry if the top moves outward slightly while stuffing because it will be permanently shaped after the body is closed.
Rnd 23: 1 sc, [dec, 2 sc] x 5, dec, 1 sc. (18)
Rnd 24: [Dec, 1 sc] x 6. (12)
Finish stuffing the orange.
Rnd 25: Dec x 6. (6)
Cut the yarn, leaving approximately 60 cm / 24 in for closing and shaping.
Thread the tail onto a tapestry needle. Pass the needle through the front loops only of the final 6 stitches, then pull firmly to close the opening.
Shape the Orange
The remaining yarn tail is used to secure the recessed top permanently.
- Insert the needle into a stitch between Rnds 24 and 25 at the bottom of the orange.
- Gently squeeze the top and bottom toward each other.
- Push the needle through the center of the stuffed fruit and bring it out through a stitch between Rnds 2 and 3.
- Insert the needle back into the orange between Rnds 1 and 2.
- Bring the needle through the body again and out between Rnds 24 and 25 at the bottom.
- Pull the yarn firmly until the center of the top curves inward.
- Repeat the same shaping process on the opposite side of the fruit.
- When the yarn tail is back at the bottom, tie a secure double knot.
- Thread the remaining tail into the orange and hide it inside the stuffing.
A small pucker at the bottom can occur during this process and is consistent with the original shaping method.
Orange Stem
Using green yarn.
Do not stuff.
Rnd 1: Make a magic circle with 5 sc. (5)
Rnds 2–4: Sc around for 3 rounds. (5)
Rnd 5: Dec, 3 sc. (4)
Rnd 6: Sc around. (4)
Rnd 7: Working in the front loops only: sc, ch 2, sc, ch 2, sc, ch 2, sc, ch 2, then sl st into the first sc. (4 sc)
The chains and joining slip stitch are not included in the stitch total.
Cut the yarn, leaving a long tail for sewing, and fasten off.
Orange Leaf
Using green yarn.
Do not stuff.
Foundation: Ch 13.
The leaf is crocheted around both sides of the foundation chain.
Rnd 1
Starting in the second chain from the hook:
- Sc in the next 2 sts
- Hdc in the next 2 sts
- Dc in the next 4 sts
- Hdc in the next 2 sts
- Sc in the next 2 sts
Continue around the opposite side of the foundation chain and repeat:
- Sc in the next 2 sts
- Hdc in the next 2 sts
- Dc in the next 4 sts
- Hdc in the next 2 sts
- Sc in the next 2 sts
Join to the first sc with a sl st. (24)
The joining slip stitch is not included in the stitch total.
Rnd 2
Ch 5.
Starting in the second chain from the hook, sl st in each of the next 4 chains.
Sl st again into the first sc from Rnd 1. (10 according to the verified source pattern.)
Cut the yarn, leaving a long tail for sewing, and fasten off.
Pattern note: The source specifically gives the final count for this row as 10 and states that all stitches are included in the total. This count has been preserved exactly rather than altered.
Assembly
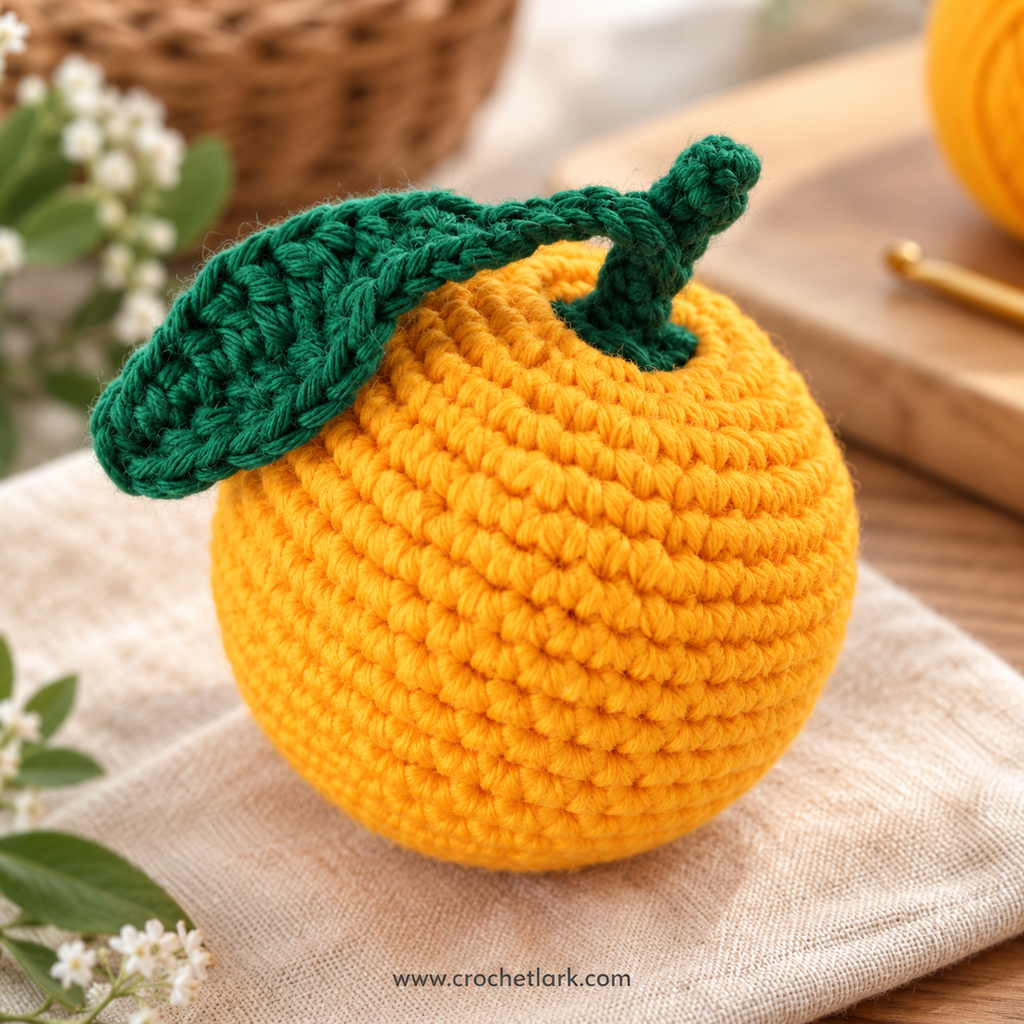
Attach the Stem
Place the stem over the recessed center at the top of the orange.
Sew between Rnds 6 and 7 of the stem and attach this section between Rnds 1 and 2 of the orange body.
Secure the yarn firmly and hide the tail inside the fruit.
Prepare the Leaf
Weave in the short starting tail on the leaf.
Thread the longer sewing tail through the back of the leaf until it reaches the top of the small leaf stem. This tail will be used to attach the leaf to the main stem.
Attach the Leaf
Position the narrow stem section of the leaf against the main orange stem.
Sew the leaf stem onto the main stem between Rnds 3 and 4.
Arrange the leaf so it sits relatively flat with its front side facing upward.
Secure the sewing yarn and hide the remaining tail.
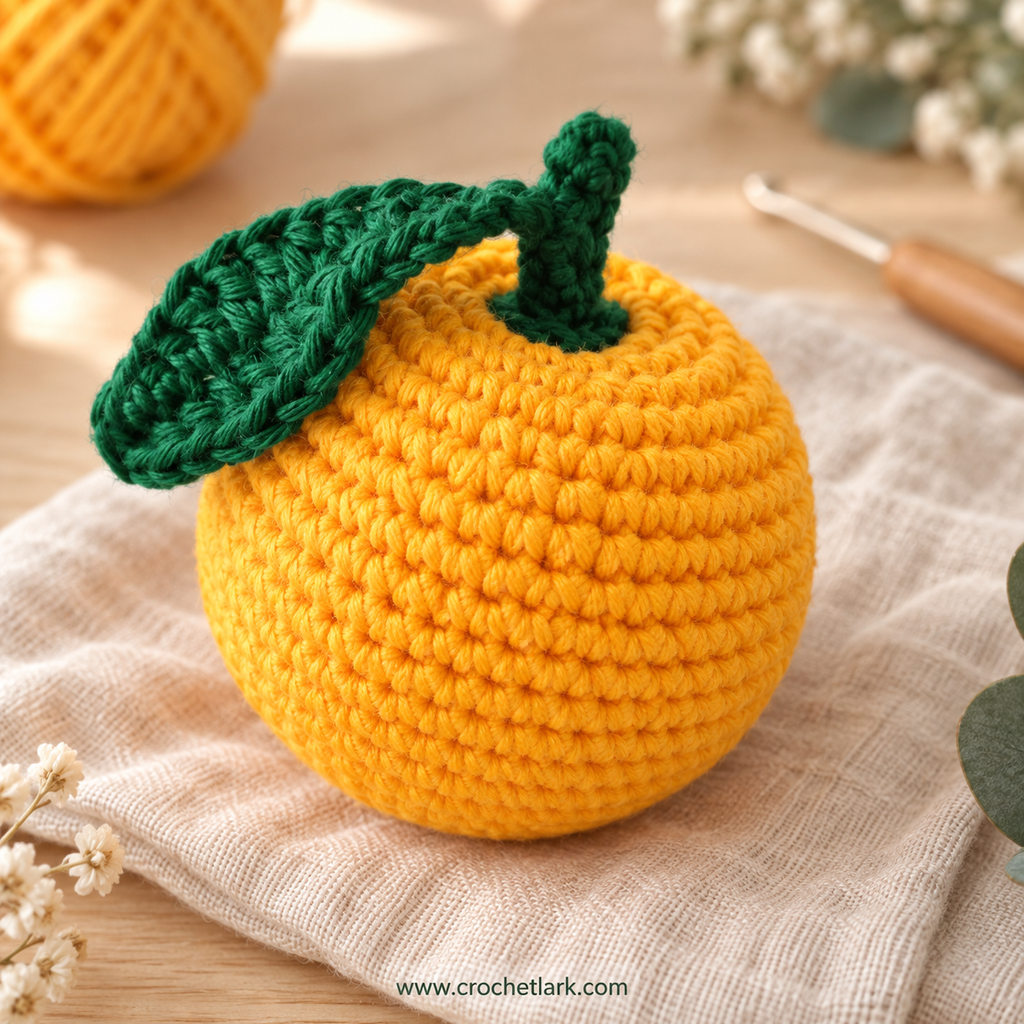
Finishing
Gently roll and shape the stuffed orange between your hands until the body looks evenly rounded.
Check that:
- The top indentation remains securely pulled inward
- The stem is firmly attached
- The leaf sits neatly against the stem
- No stuffing is visible between the stitches
- All yarn ends are securely hidden
Your crochet orange is now complete.
Helpful Notes
For the cleanest amigurumi fabric, use a hook slightly smaller than you might normally use with your chosen yarn.
Stuff firmly, but avoid adding so much stuffing that the stitches stretch apart.
When shaping the top, pull the yarn gradually. The goal is a natural indentation rather than an extremely deep hole.
Invisible decreases help keep the reduction rounds smoother and less noticeable.
If you substitute a different yarn weight, expect the finished dimensions to change.
FAQ
What yarn is best for this crochet orange?
The verified sample uses aran or worsted-weight cotton yarn. Other yarn fibers and weights can also be used, but changing the yarn may affect the required hook size and finished dimensions.
Do I need to match the gauge exactly?
No. Gauge is not required for this project. The reference gauge is supplied mainly as a guide to the tension used for the original sample.
Does the stem need stuffing?
No. The stem is crocheted without stuffing.
Does the leaf need stuffing?
No. The leaf is worked flat and remains unstuffed.
Why do I need the long yarn tail on the orange body?
The long tail is used to close the final opening and then pass through the stuffed fruit to pull the center of the top inward. This creates and secures the characteristic orange shape.
Can I make the orange larger?
Yes. Using a heavier yarn with a suitable hook will generally produce a larger finished fruit. Keep in mind that different yarn and tension will change the measurements.
Final Thoughts
This amigurumi orange combines straightforward crochet rounds with a clever finishing technique that gives the fruit its recognizable shape. The green stem and leaf add just enough detail without making the assembly complicated.
It is a useful small project for crochet fruit collections, pretend food sets, handmade gifts, and scrap-yarn projects.