
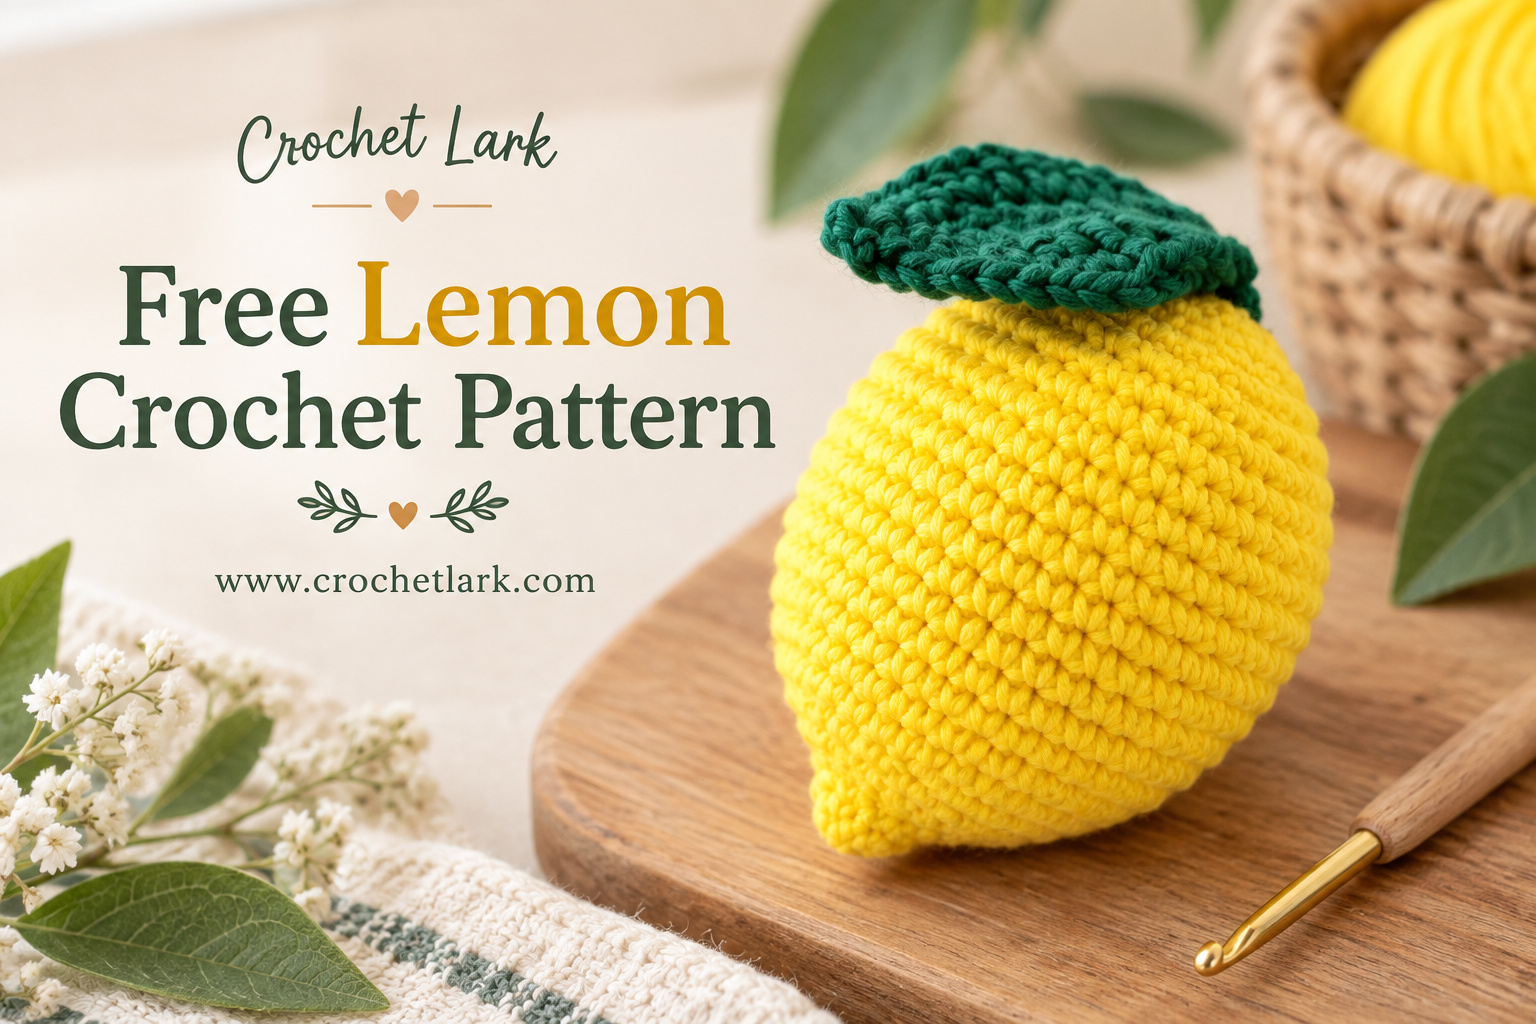
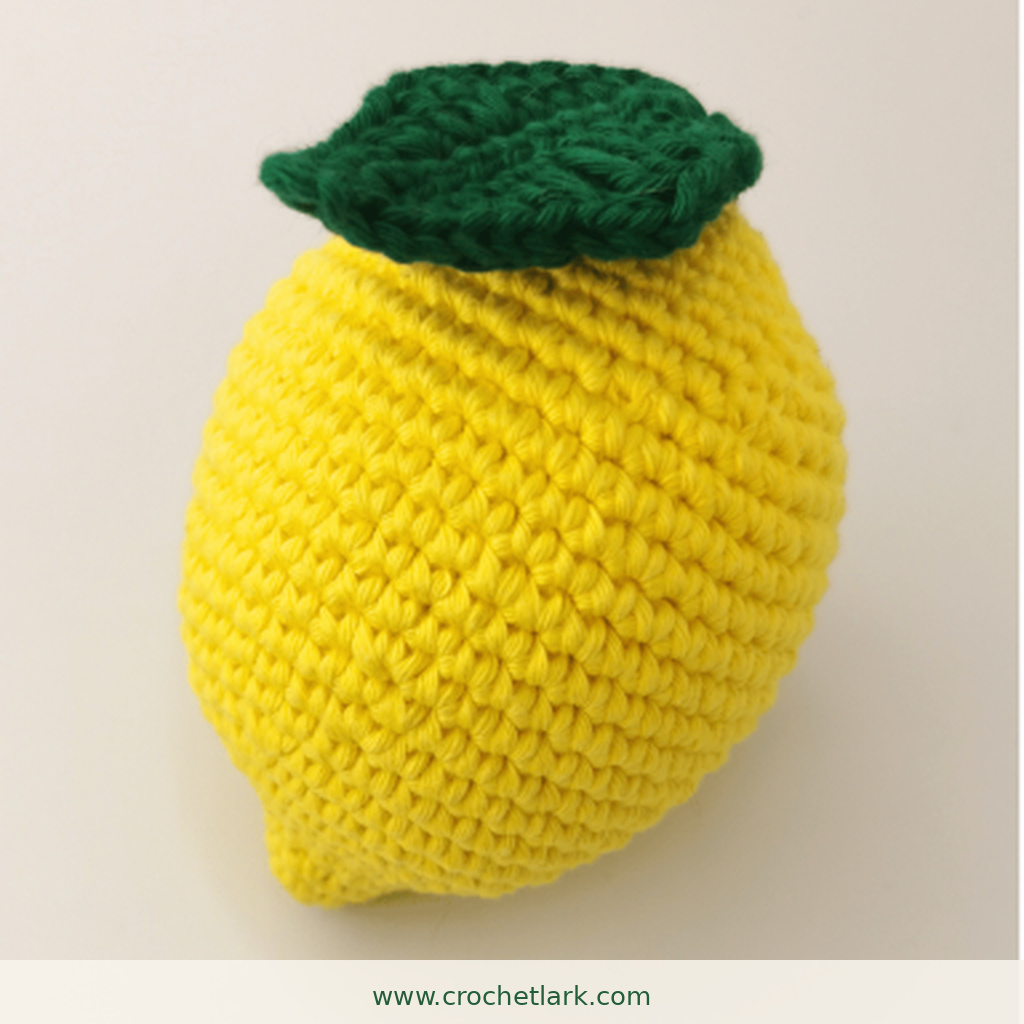
This cheerful crochet lemon is a simple amigurumi project made with bright yellow yarn, a small green stem, and a shaped crochet leaf. Its rounded center and gently pointed ends give it the recognizable shape of a real lemon.
The project is worked mainly in single crochet using continuous rounds. Once the lemon body is stuffed and closed, the small green stem and leaf are sewn securely to the top.
With the referenced yarn and hook, the finished lemon measures approximately 10.5 cm (4.13 in) tall and 8 cm (3.14 in) wide.
[DOWNLOAD PRINTABLE PDF]
Quick Answer
To crochet this lemon, begin with a magic circle and increase gradually until the body reaches its widest point. Work several even rounds, decrease toward the opposite end, and stuff firmly before closing.
Finish the project by crocheting a small green stem base and separate leaf, then sew both pieces to the top of the lemon.
Why You’ll Love This Project
This crochet lemon uses a small amount of yarn and mostly basic amigurumi stitches. It is a fun choice for beginners who want to practice increases, decreases, stuffing, and simple assembly.
The finished lemon works well for crochet fruit collections, play food, kitchen-inspired decor, market displays, or small handmade gifts.
Materials
- Aran or worsted-weight yarn:
- Yellow: approximately 22 g / 37.4 m / 40.9 yd
- Green: approximately 3 g / 5.1 m / 5.5 yd
- 3.5 mm (E) crochet hook
- Polyester stuffing
- Yarn needle
- Scissors
- Pins
- Stitch marker
The reference project used Rico Design Creative Cotton Aran.
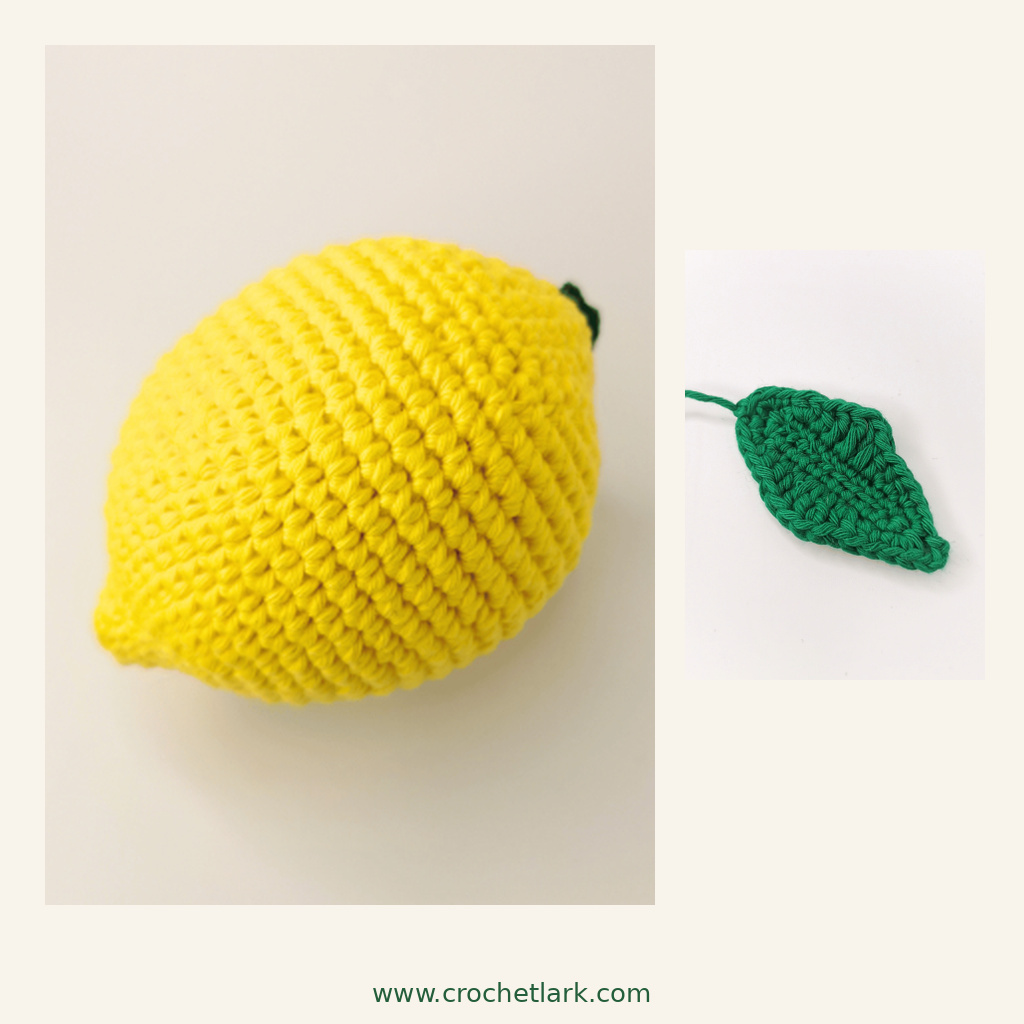
Finished Size
Approximately:
- Height: 10.5 cm / 4.13 in
- Width: 8 cm / 3.14 in
Finished dimensions may vary depending on yarn, hook size, stuffing, and crochet tension.
Gauge
Gauge is not essential for this amigurumi project.
Reference gauge:
- 11 single crochet stitches = 5 cm / 1.96 in
- 11 rows = 5 cm / 1.96 in
Abbreviations
US crochet terminology is used throughout.
- R – round
- st / sts – stitch / stitches
- ch – chain
- sl st – slip stitch
- mc – magic circle
- sc – single crochet
- inc – increase; work 2 sc in the same stitch
- dec – decrease
- hdc – half double crochet
- dc – double crochet
- [ ] x N – repeat the instructions inside the brackets the stated number of times
- (N) – total stitch count at the end of the round
Before You Begin
The lemon body is worked in continuous rounds unless stated otherwise. Do not join each round.
Place a stitch marker in the first stitch and move it upward after every round.
Keep your stitches fairly tight so the stuffing does not show between them. An invisible decrease can be used for cleaner shaping.
Crochet Instructions
Lemon Body
Use yellow yarn.
R1: Make a magic circle and work 6 sc into the ring. (6)
R2: [inc, sc] x 3. (9)
R3: [inc, 2 sc] x 3. (12)
R4: [inc, 2 sc] x 4. (16)
R5: [inc, 3 sc] x 4. (20)
R6: [inc, 4 sc] x 4. (24)
R7: [inc, 5 sc] x 4. (28)
R8: [inc, 6 sc] x 4. (32)
R9: [inc, 7 sc] x 4. (36)
R10: Sc in each st around. (36)
R11: [8 sc, inc] x 4. (40)
R12: Sc in each st around. (40)
R13: [9 sc, inc] x 4. (44)
R14-R20: Sc in each st around for 7 rounds. (44)
R21: [9 sc, dec] x 4. (40)
R22: [6 sc, dec] x 5. (35)
R23: [5 sc, dec] x 5. (30)
R24: [4 sc, dec] x 5. (25)
R25: [3 sc, dec] x 5. (20)
Begin stuffing the lemon firmly, adding the stuffing gradually.
R26: Sc in each st around. (20)
R27: [3 sc, dec] x 4. (16)
R28: [2 sc, dec] x 4. (12)
Finish stuffing the lemon before the opening becomes too small.
R29: [sc, dec] x 4. (8)
Cut the yarn, leaving a short tail.
Thread the tail onto a yarn needle and pass it through the front loops only of the remaining 8 stitches. Pull firmly to close the opening.
Secure the yarn and hide the end inside the lemon.
Stem Base
Use green yarn.
Do not stuff.
R1: Make a magic circle and work 5 sc into the ring. Join with a sl st in the first sc. (5)
The joining slip stitch does not count as a stitch.
Cut the yarn, leaving a long tail for sewing.
Fasten off and weave in the starting yarn tail.
Lemon Leaf
Use green yarn.
Do not stuff.
Start: Ch 11, turn.
The leaf is worked around both sides of the foundation chain.
R1: Beginning in the second ch from the hook, sc in the next 9 ch, work 2 sc in the last ch, rotate the work and continue along the opposite side of the foundation chain, sc in the next 9 ch, then sl st to the first sc. (20)
The joining slip stitch does not count toward the stitch total.
R2: Ch 1, sc in next 2 sts, 2 hdc in next st, dc in next st, 2 dc in next st, dc in next st, 2 hdc in next st, hdc in next st, sc in next st, 2 sc in next st, ch 3, 2 sc in next st, sc in next st, hdc in next st, 2 hdc in next st, dc in next st, 2 dc in next st, dc in next st, 2 hdc in next st, sc in next 2 sts, sl st to the first sc of R2. (28)
The chains and joining slip stitch are not included in the 28-stitch total.
Cut the yarn, leaving a long tail for sewing.
Fasten off and weave in the starting tail.
Assembly
Attach the Stem
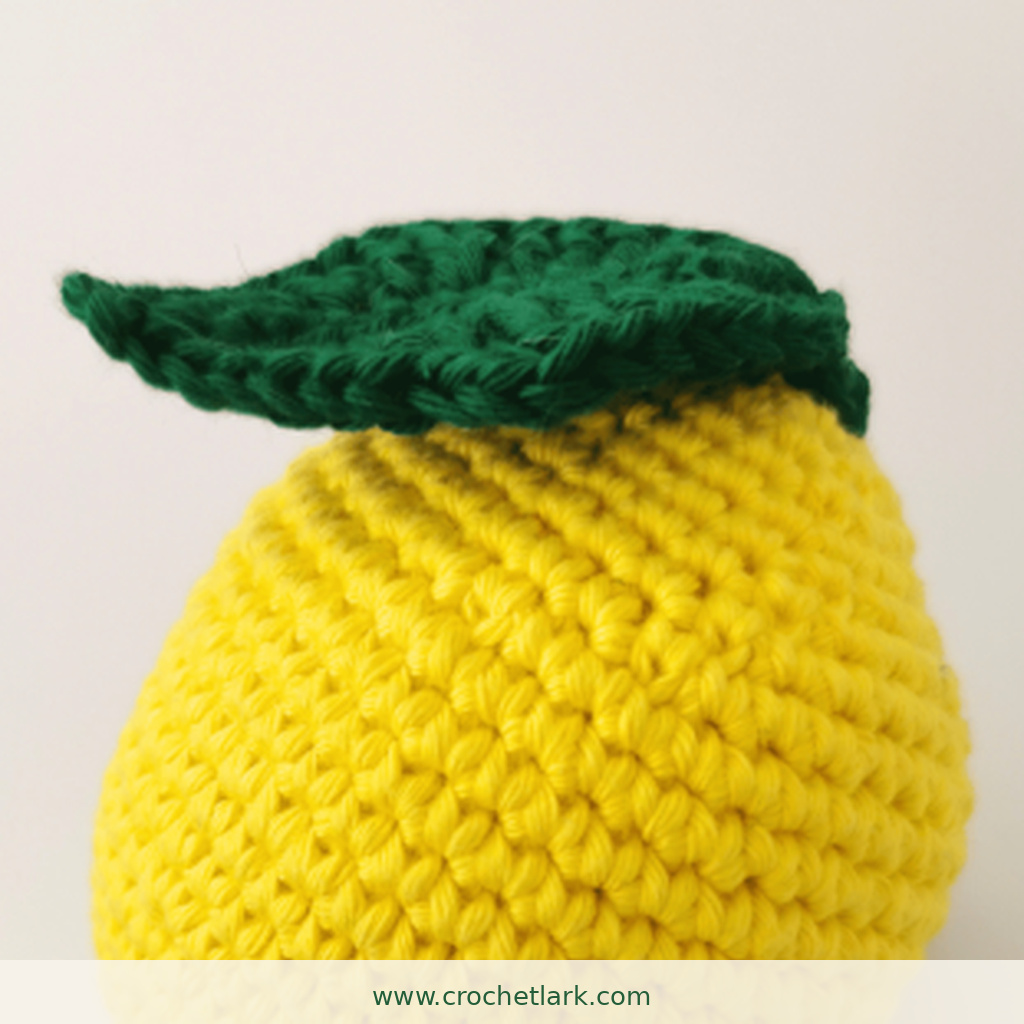
Position the green stem base over the closed top of the lemon at Round 29.
Use the remaining green yarn tail to sew it securely in place.
The stem has five stitches while the lemon opening has eight stitches, so the stitches will not align one-for-one. Distribute the stem evenly over the top instead.
A slightly off-center position can give the finished lemon a more natural appearance.
Attach the Leaf
Position the leaf beside the stem.
Using the leaf’s long yarn tail, sew it through two side stitches of the stem base.
Secure the leaf firmly.
Take the remaining yarn tail through the lemon body and hide the end inside.
Finishing
Gently shape the stuffed lemon with your hands.
Keep the middle rounded and full while maintaining the slightly pointed shape at both ends.
Check that the leaf and stem are securely attached, then trim or hide any remaining yarn ends.
Helpful Notes
Keep the stitches tight enough that the stuffing does not show through the crochet fabric.
Stuff gradually while decreasing instead of waiting until the final round. This makes it easier to maintain the lemon’s shape.
Avoid overstuffing the pointed ends because too much filling can make them rounder than intended.
If you use a different yarn weight or hook size, the finished dimensions will change.
Choose a hook size that creates a dense fabric suitable for amigurumi.
FAQ
Is this crochet lemon suitable for beginners?
Yes. The pattern mainly uses single crochet, increases, decreases, and basic sewing. The leaf introduces half double crochet and double crochet stitches.
Is the lemon worked in continuous rounds?
Yes. The lemon body is worked continuously without joining each round.
Use a stitch marker to keep track of the beginning of each round.
Do I need to match the gauge exactly?
No. Gauge is not essential for this project.
The listed gauge is provided as a reference for achieving a finished lemon close to the stated size.
When should I stuff the lemon?
Begin stuffing after Round 25.
Continue adding stuffing while working the final decrease rounds and finish stuffing before completing Round 29.
Can I use different yarn?
Yes, but changing the yarn weight or hook size will affect the final dimensions.
Use a hook that produces tight stitches with minimal gaps.
Can I make the leaf separately?
Yes. The leaf is crocheted as a separate piece and sewn to the green stem base after the lemon body is complete.
Final Thoughts
This free lemon crochet pattern is a quick way to make a bright piece of handmade crochet fruit while practicing classic amigurumi techniques.
The simple yellow body is easy to shape, while the small green stem and leaf add the finishing details that make the lemon instantly recognizable.