
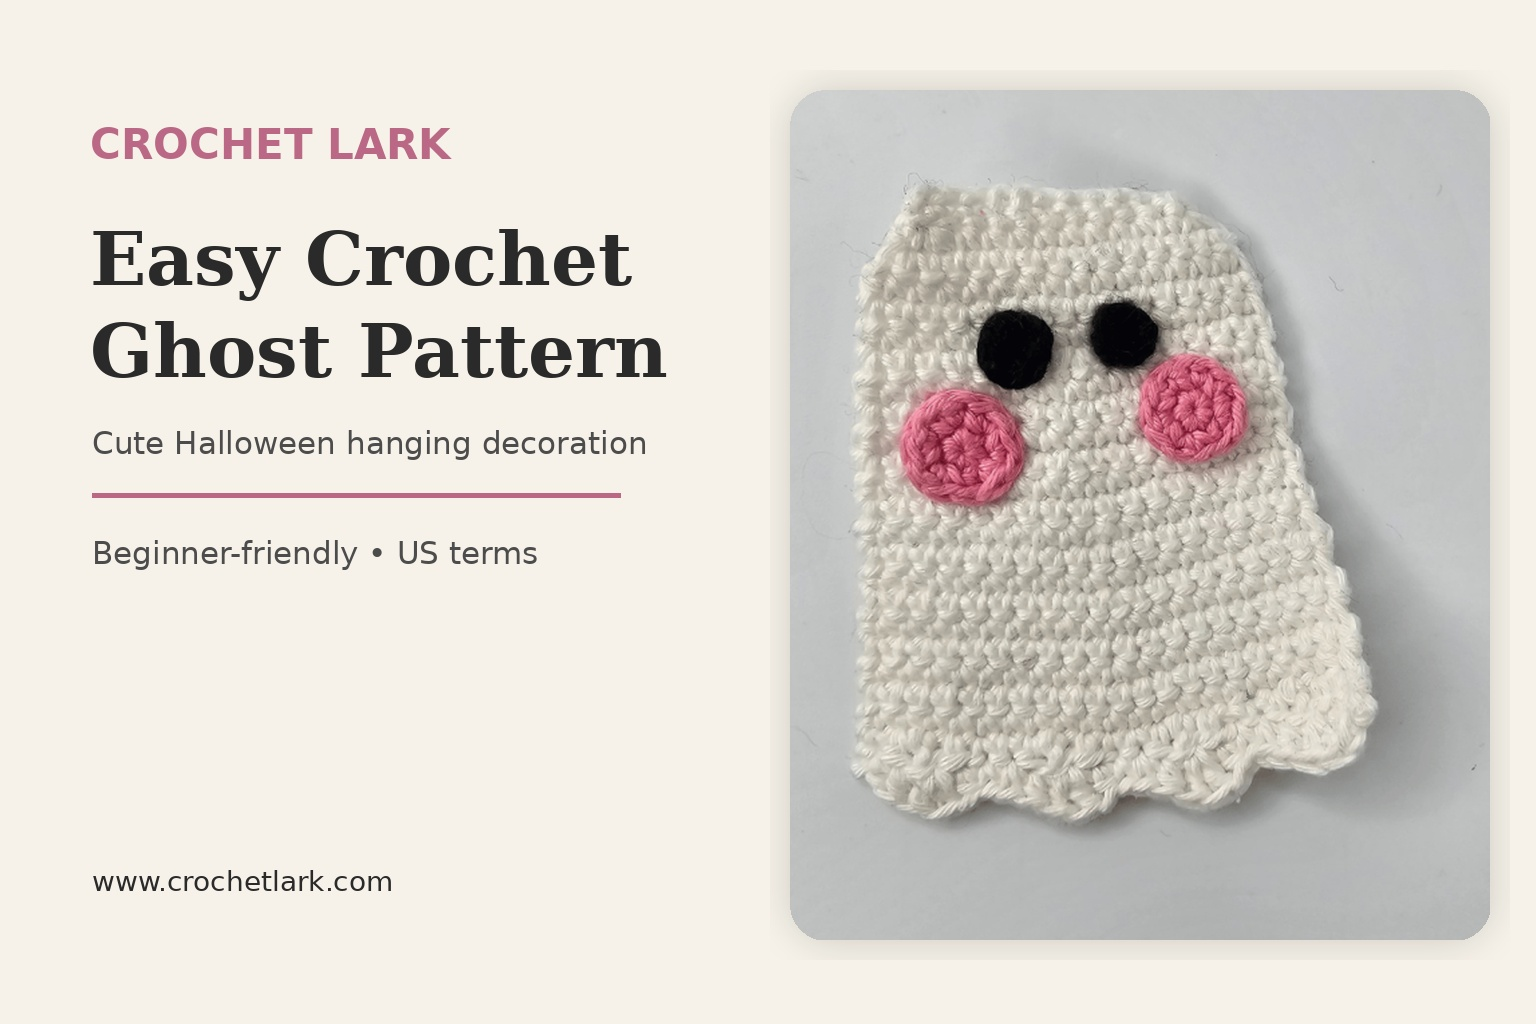
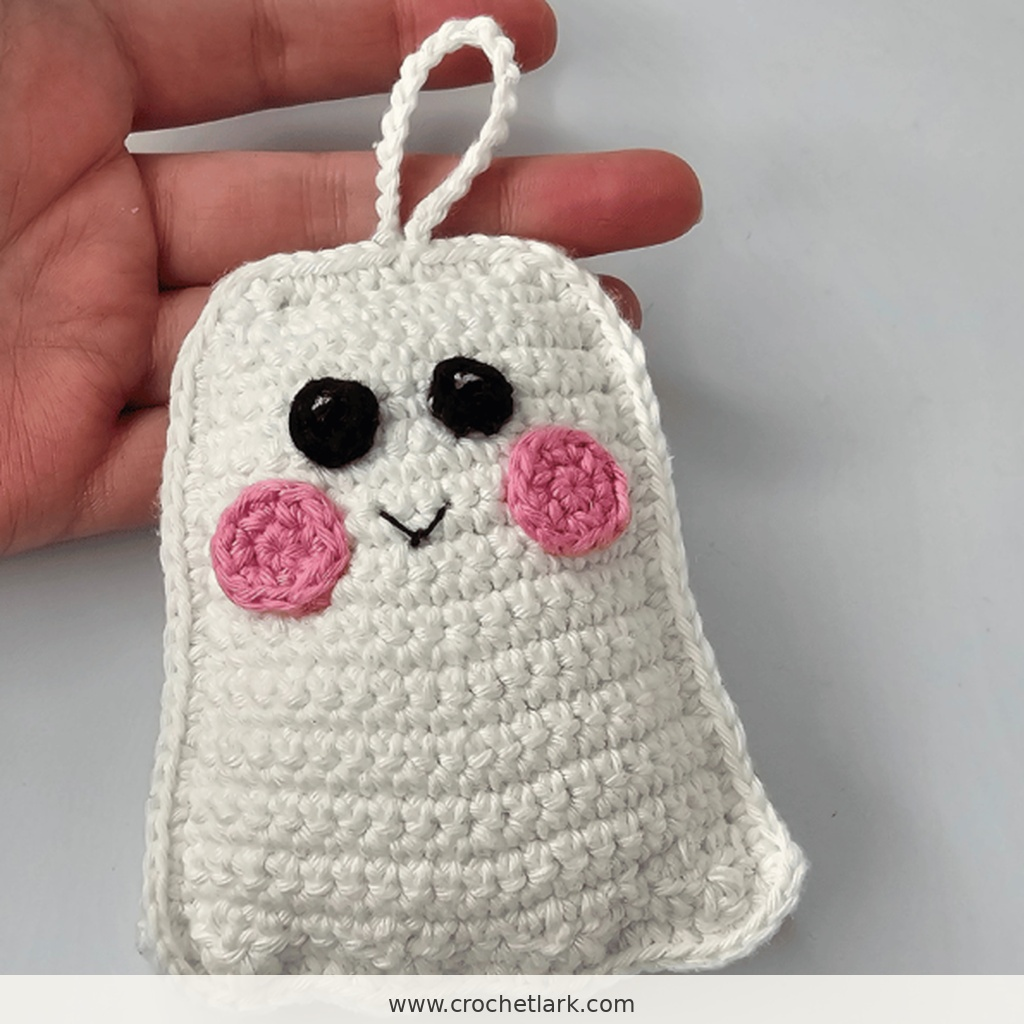
This easy crochet ghost pattern makes a small stuffed Halloween decoration with a soft white body, scalloped lower edge, black crochet eyes, and rosy pink cheeks.
The construction is approachable because the ghost begins as two flat pieces worked back and forth in rows. After adding the face, the panels are crocheted together, lightly stuffed, and finished with a chain loop for hanging.
The published pattern uses DK/light worsted yarn and a 2.5 mm hook, with the finished ghost measuring about 9.5 cm tall by 8 cm wide before the hanging loop.
Quick Answer
This crochet ghost is made from two identical flat body panels, two pink cheeks, and two small black eyes. Four crochet scallops form the wavy bottom edge. The body panels are joined with single crochet, stuffed during assembly, and a ch-20 loop is formed at the top for hanging.
Why You’ll Love This Project
- Uses mostly simple single crochet stitches.
- The main body is worked flat rather than as complicated amigurumi shaping.
- Requires only small amounts of pink and black yarn.
- The crocheted facial pieces avoid the need for plastic safety eyes.
- The hanging loop makes it useful as Halloween decor, an ornament, or a small seasonal gift.
Materials
You will need:
- DK / light worsted weight yarn
- Color A – White: 19 g / 44 m / 48 yd
- Color B – Pink: 1 g / 2.3 m / 2.5 yd
- Color C – Black: 1 g / 2.3 m / 2.5 yd
- 2.5 mm crochet hook — the original pattern identifies this as US C
- Stuffing
- Yarn needle
- Scissors
- Pins
- Stitch marker
- Optional black embroidery thread for the mouth
- Optional white embroidery thread for eye highlights
Finished Size
Using the stated yarn and hook, the finished ghost measures approximately:
9.5 cm / 3.8 in high, excluding the hanging loop
8 cm / 3.1 in wide
Gauge
Gauge is not essential for this project.
Reference gauge:
- 13 sc = 5 cm / 1.97 in
- 13 rows = 5 cm / 1.97 in
Abbreviations
This pattern uses US crochet terminology.
- R# – row or round number
- st – stitch
- ch – chain
- sl st – slip stitch
- mc – magic circle
- sc – single crochet
- hdc – half double crochet
- dc – double crochet
- inc – increase; work 2 sc in the indicated stitch
- [ ] x n – repeat the instructions inside the brackets the stated number of times
- ( ) – stitch total at the end of the row or round
The source uses inc in the written pattern without separately defining it in its abbreviation list; here it is clarified as the standard single-crochet increase required by the published stitch totals.
Before You Begin
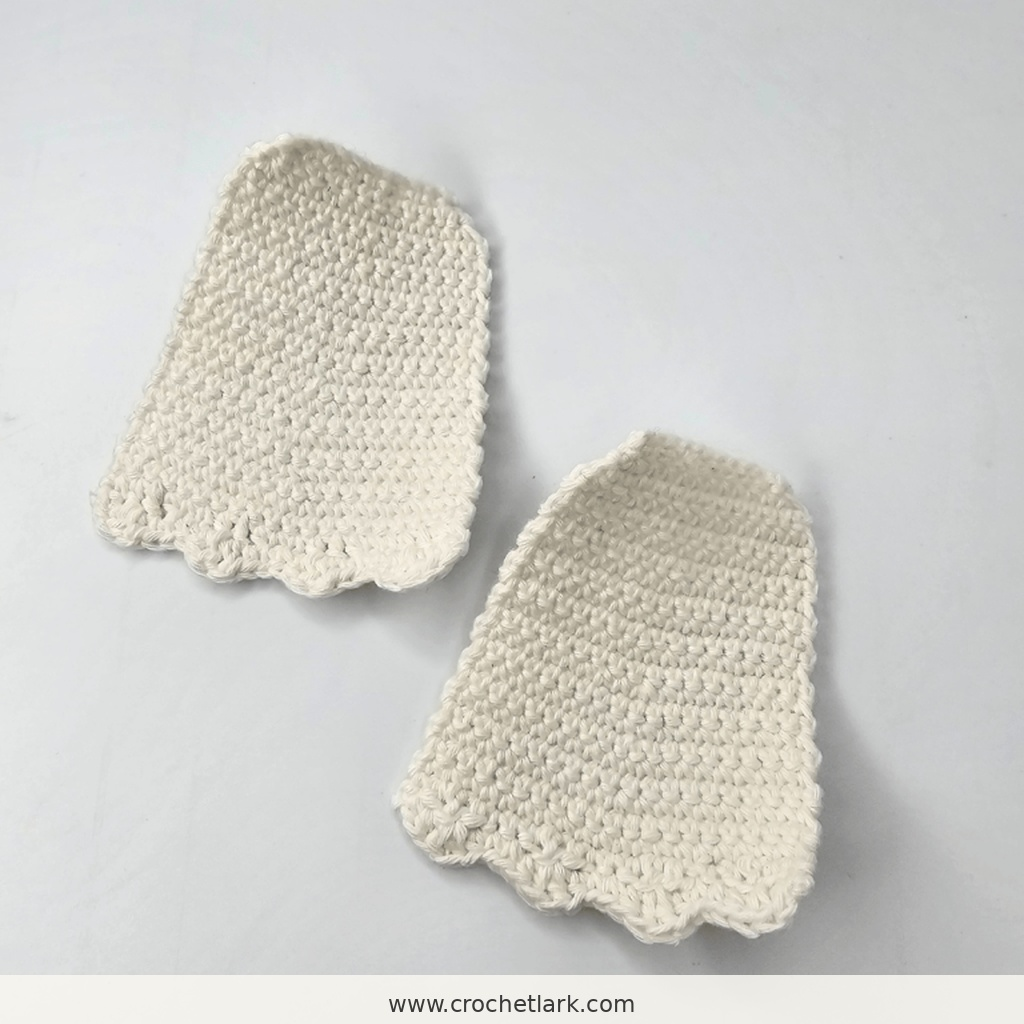
The ghost body is worked flat from the top downward. Make two matching panels before assembly.
The cheeks and eyes are worked separately in rounds and sewn onto only one body panel. That panel becomes the front of the ghost.
Use a stitch marker if it helps you keep track of the first stitch. A smaller hook than the yarn label might normally recommend also helps produce a dense fabric so the stuffing is less visible.
Crochet Instructions
Ghost Body – Make 2
Use Color A – White.
Start: Ch 12.
R1: Beginning in the 2nd ch from the hook, sc in each ch across. Ch 1, turn. (11)
R2: Inc, 9 sc, inc. Ch 1, turn. (13)
R3: Inc, 11 sc, inc. Ch 1, turn. (15)
R4–R6: Sc across. Ch 1, turn. (15)
Work 3 rows total.
R7: 7 sc, inc, 7 sc. Ch 1, turn. (16)
R8–R10: Sc across. Ch 1, turn. (16)
Work 3 rows total.
R11: 8 sc, inc, 7 sc. Ch 1, turn. (17)
R12–R13: Sc across. Ch 1, turn. (17)
Work 2 rows total.
R14: 8 sc, inc, 8 sc. Ch 1, turn. (18)
R15–R16: Sc across. Ch 1, turn. (18)
Work 2 rows total.
R17: 8 sc, inc, 9 sc. Ch 1, turn. (19)
R18–R19: Sc across. Ch 1, turn. (19)
Work 2 rows total.
R20: 9 sc, inc, 9 sc. Ch 1, turn. (20)
R21–R22: Sc across. Ch 1, turn. (20)
Work 2 rows total.
The final two rows create the ghost’s four lower scallops.
R23: [Sc, hdc, dc, hdc, sc] x 4. Ch 1, turn. (20)
R24: [Sc, hdc, 2 dc in next st, hdc, sc] x 4. (24)
Fasten off and weave in the ends.
Repeat the entire section to make the second body panel.
Cheeks – Make 2
Use Color B – Pink.
Work in rounds.
R1: Make an mc with 6 sc. Sl st to the first sc to join. Ch 1. (6)
R2: [Inc] x 6. (12)
Fasten off, leaving a longer yarn tail for sewing.
Repeat to make the second cheek.
Eyes – Make 2
Use Color C – Black.
R1: Make an mc with 6 sc. Sl st to the first sc to join. (6)
Fasten off, leaving a longer tail for sewing.
Repeat for the second eye.
Attach the Face
Choose one body panel to be the front.
Position the two black eyes and two pink cheeks on the front panel. Pin them temporarily if necessary, then sew each piece securely in place using its yarn tail.
Leave the embroidered mouth and optional white eye highlights until after assembly.
Assembly
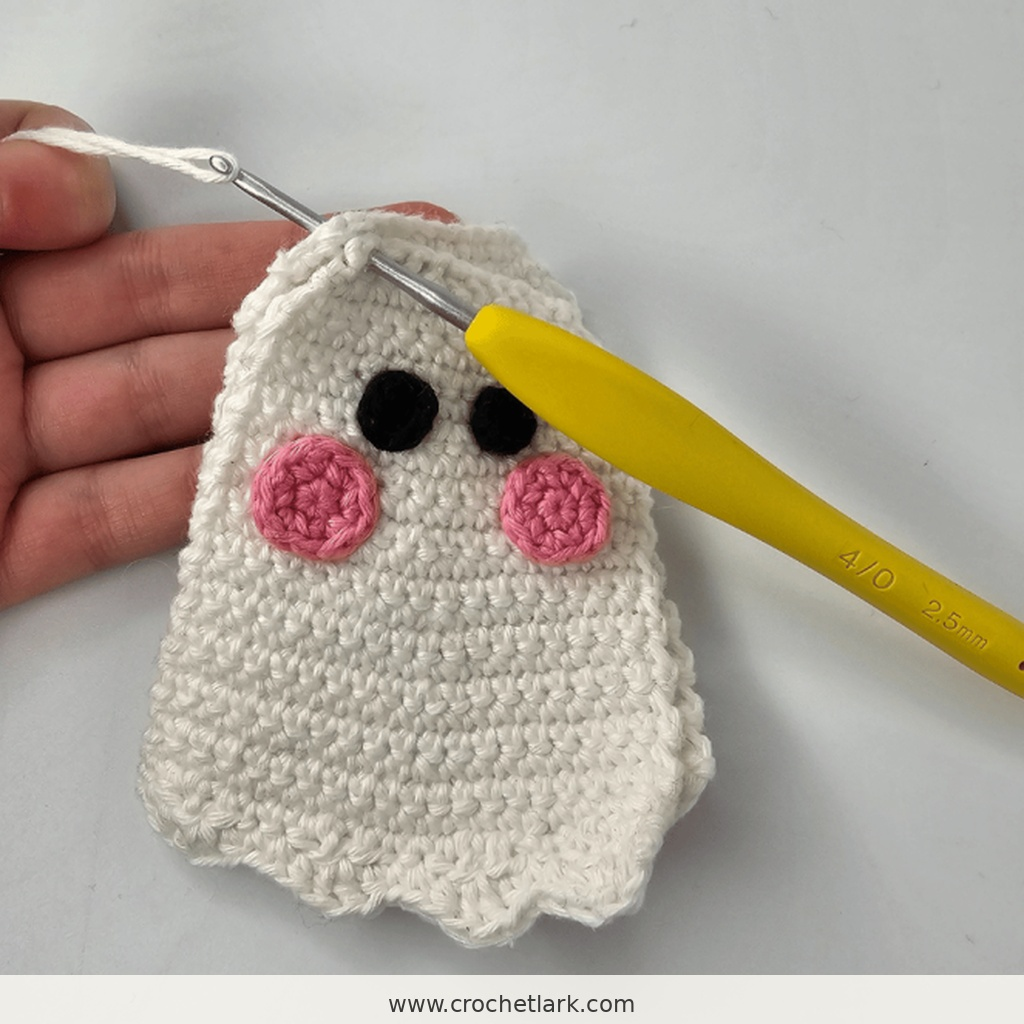
Place the two body panels together with their edges aligned. Keep the panel with the face toward the front.
Insert the hook through the top-left corner stitch of both panels and attach Color A.
Work single crochet around the outer edge through both layers to join them.
Work 2 sc in each corner stitch.
Once you have joined approximately half of the ghost, begin adding stuffing. Continue adding small amounts as you crochet around the remaining edge. The goal is a softly stuffed ghost rather than a heavily packed shape.
Hanging Loop
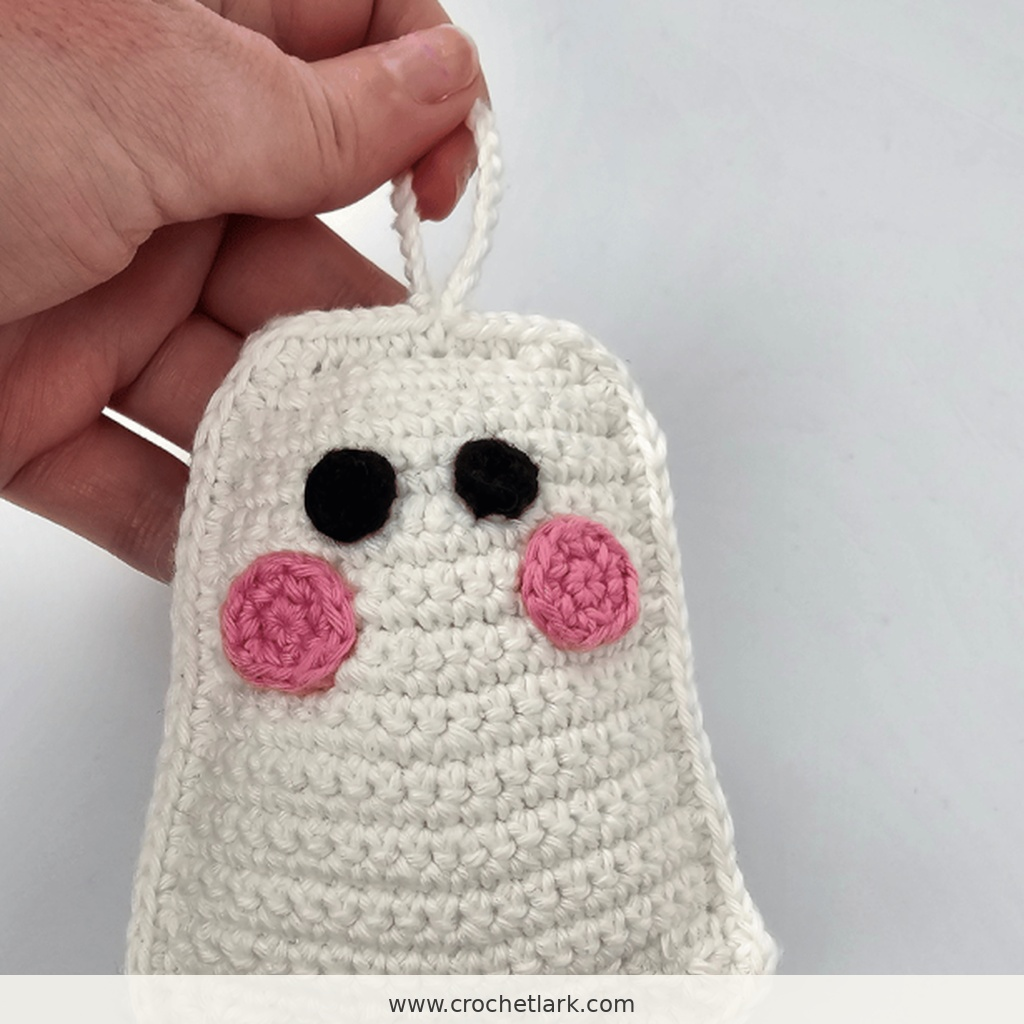
When you reach the middle stitch along the top edge:
- Work 1 sc in that stitch.
- Ch 20.
- Work 1 sc in the same stitch.
- Continue working sc around the remaining edge.
- When you return to the beginning, sl st to the first sc.
The loop can be shortened or lengthened by changing the number of chains. Check the hanging length before cutting the yarn.
The supplied assembly diagram shows 23 sc along each side, 1 stitch into each of the 24 stitches of Row 24 across the bottom, and 2 sc in the corner stitches. The original written instructions note that the precise overall joining stitch count is not critical.
Secure the Hanging Loop
Cut the yarn, leaving a tail of approximately 10 cm / 4 in.
Use the tail to reinforce the base of the hanging loop by sewing through the bottom stitches at the first and last sides of the loop.
Weave the remaining yarn tail securely inside the ghost.
Facial Embroidery
For the optional finishing details:
- Use black embroidery thread to make a small mouth between the cheeks.
- Use white embroidery thread to add a small highlight to each black eye.
Helpful Notes
Avoid overstuffing the ghost. A lighter amount of filling helps preserve the relatively flat ornament shape and keeps the four scallops along the bottom visible.
If you use a different yarn weight, your finished ghost will change in size and you may also need a different hook.
Pin the eyes and cheeks before sewing if you want to compare their placement and keep the face balanced.
The hanging loop is easy to customize. Add chains for a larger loop or remove chains for a shorter hanger.
FAQ
Is this crochet ghost suitable for beginners?
The original pattern is described as beginner-friendly, although it helps to already be comfortable with single crochet, half double crochet, double crochet, working in rows, and working in rounds.
Is gauge important?
No. Gauge is not required for the project, although the original reference gauge is 13 sc and 13 rows per 5 cm / 1.97 in.
Can I use a different yarn?
Yes, but changing yarn weight or fiber can alter the finished dimensions and may require a different hook size.
Can I make the hanging loop longer?
Yes. The published version uses ch 20, but the loop can be adjusted by adding or removing chains.
Does the ghost require safety eyes?
No. The eyes in this version are crocheted from black yarn and sewn onto the front panel.
Final Thoughts
This easy crochet ghost pattern combines straightforward flat-panel construction with just enough shaping to create a recognizable Halloween character. The scalloped base, pink cheeks, small smile, and hanging loop turn a simple crochet shape into a practical seasonal decoration.
Because the body requires only two matching panels and small amounts of accent yarn, it is also a useful project for using leftover DK yarn.